
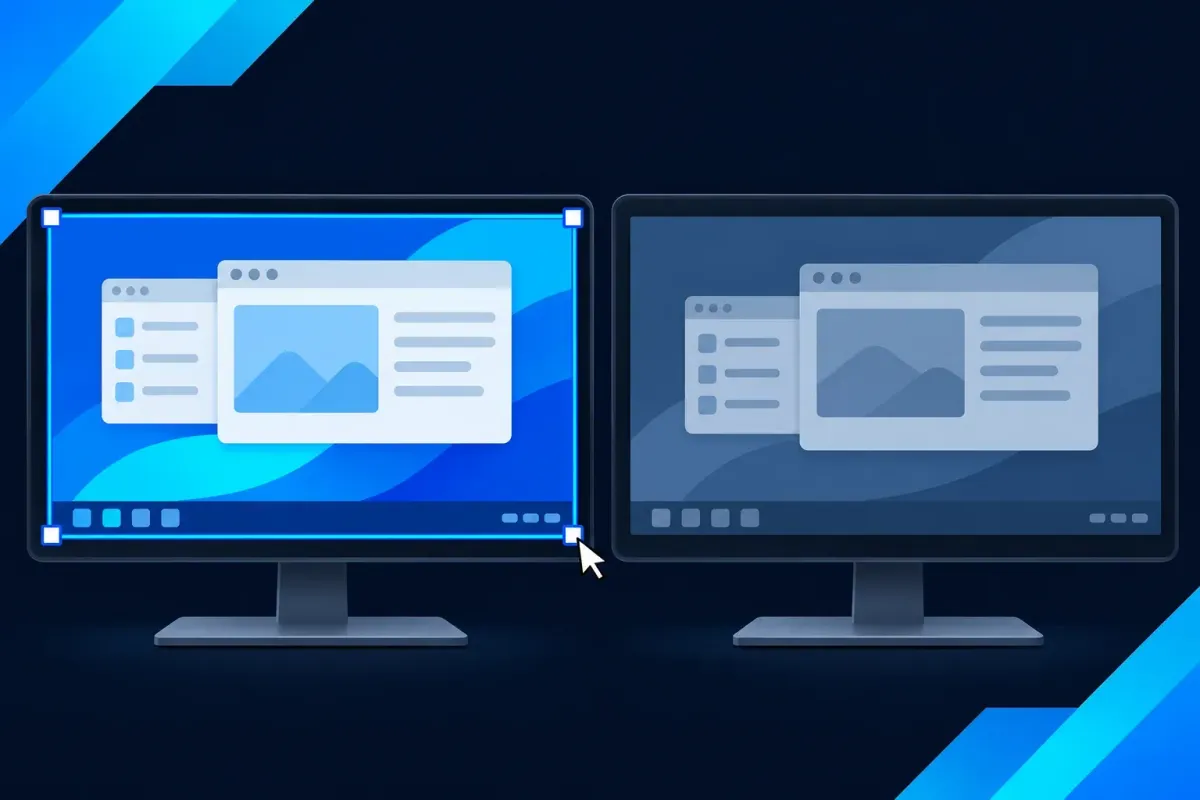
Press Win + Shift + S, choose Rectangle, and drag from one corner of the monitor you want to the opposite corner. Keep the selection inside that display, then open the capture and save it. I'd use this for a one-off screenshot because it lets you include the desktop and taskbar while keeping the other monitor out.
Alt + PrtSc captures the active window, not an entire monitor. Use it when the window itself is all you need.
Capture one whole monitor with Snipping Tool
A rectangle is a simple way to define the boundary yourself. You don't need to disconnect a display or make it your main screen.
- Prepare the monitor. Arrange the windows you want to show. Close private messages and dismiss notifications on that display.
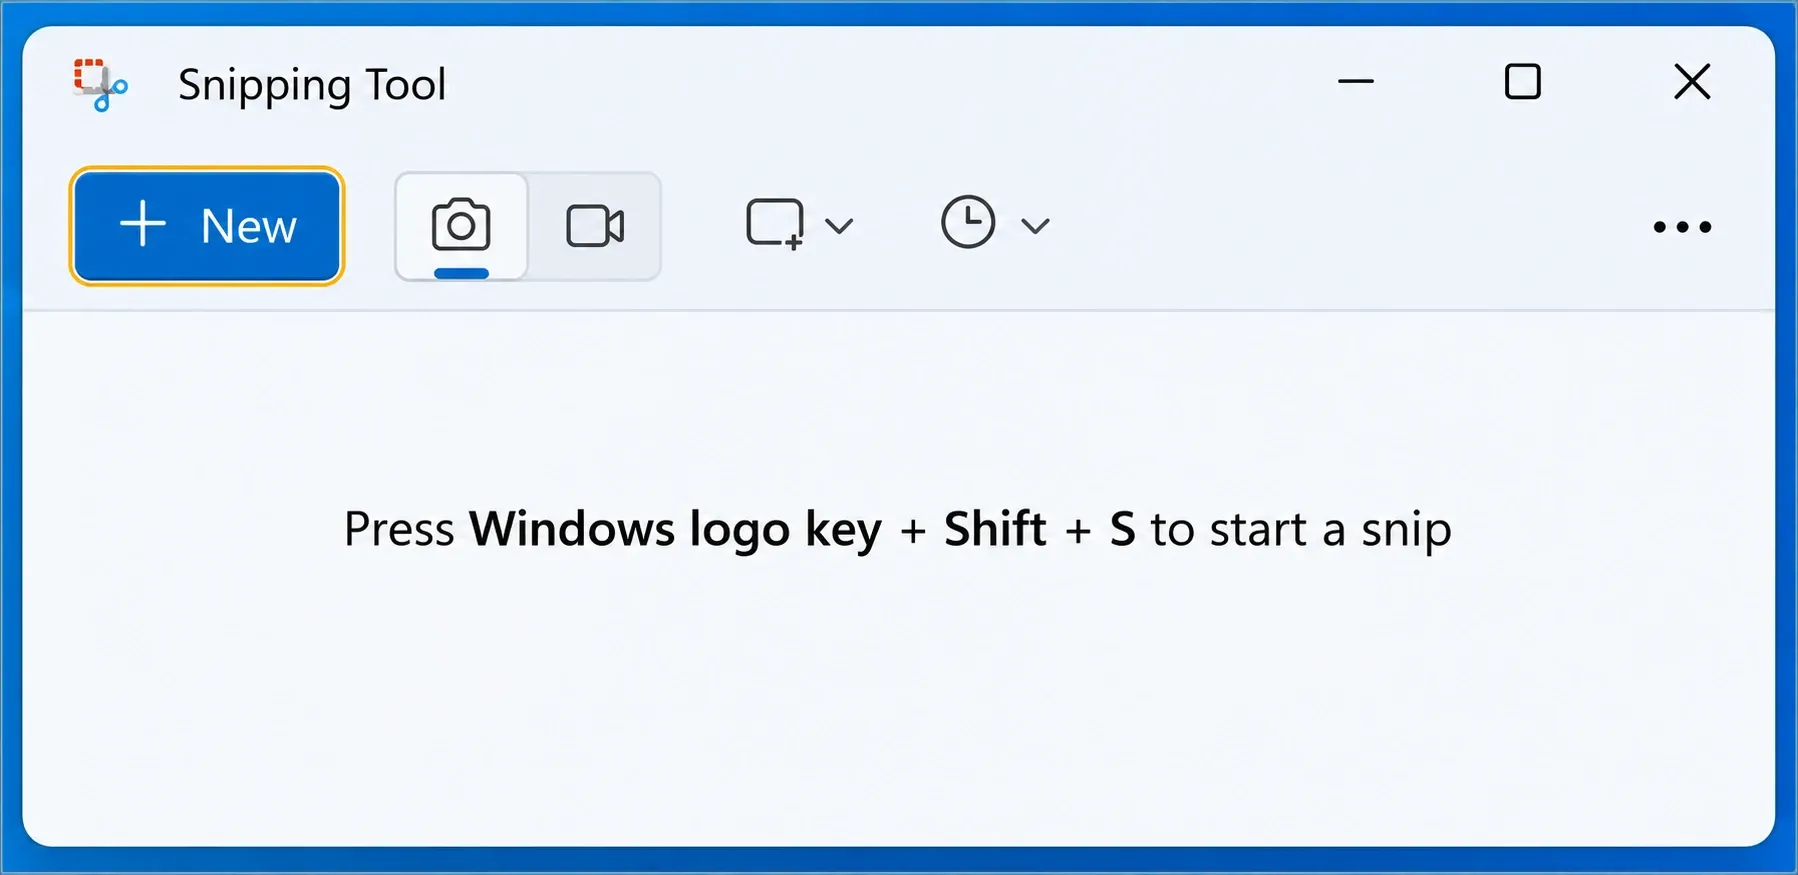
- Press
Win + Shift + S. Choose Rectangle from the screenshot modes. If the overlay doesn't appear, open Snipping Tool from Start, choose Rectangle, and select New. - Select the display. Start at a corner of its visible desktop and drag to the opposite corner. Include the taskbar if it belongs in the result. Watch the shared edge between the two displays: don't continue the selection onto the neighboring screen.
- Open the captured image. Click the notification to inspect it in Snipping Tool. The capture is also available on the clipboard for
Ctrl + V. - Save a named copy. Select Save as, choose a location, and use PNG for a screenshot containing text. Reopen that file and check all four edges before sending it.
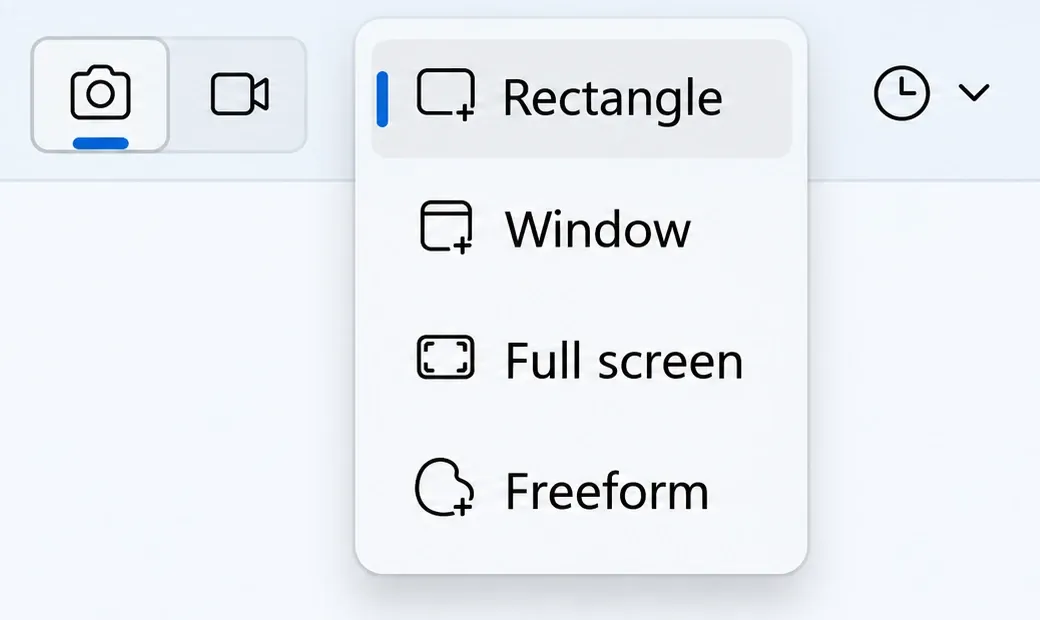
Microsoft's Snipping Tool instructions describe Rectangle, Window, and Full screen as different capture modes. For this task, explicitly choosing Rectangle avoids relying on what a full-screen command includes in your display setup.
The selection is manual. If you miss a narrow strip at the edge, retake it rather than stretching the result. For repeated captures that need the exact monitor boundary every time, use the monitor-specific option below.
One monitor and one window are different results
| What you need | Use | What to check |
|---|---|---|
| Desktop, taskbar, and several windows on one display | Win + Shift + S → Rectangle | Selection reaches the four display edges without crossing onto another monitor. |
| One application window | Click the window → Alt + PrtSc | The correct window has focus; paste the result into Paint or your destination app. |
| A window chosen visually | Win + Shift + S → Window | Select the intended window, not another window behind it. |
| The same complete monitor repeatedly | A capture app with a monitor-specific command | Choose the intended monitor and review the first saved result. |
I prefer a window capture when the reader only needs an error dialog or app. It keeps unrelated desktop content out and makes the useful part larger when the image is viewed on a phone.
Use Alt + PrtSc for an app, not the desktop around it
Click the title bar or content of the window you want, press Alt + PrtSc, then press Ctrl + V in Paint or another app that accepts images. Microsoft documents this as copying the active window to the clipboard. Save from the destination app if you need a file.
Maximizing the window doesn't turn this into a monitor capture. It still captures the window rather than the desktop and taskbar around it. A window stretched across displays can also contain more than the single-screen content you intended; move or resize it first.
If your keyboard shares PrtSc with another key, it may require Fn. The Rectangle route avoids that key entirely. For the broader clipboard and file shortcuts, see the Windows screenshot shortcut guide.
Why Print Screen can include both monitors
In an extended desktop, Windows treats the connected displays as a virtual screen. Microsoft's multiple-monitor keyboard documentation distinguishes a full virtual-screen capture from the foreground-window capture made by Alt + PrtSc.
Plain PrtSc also depends on your Windows setting: it can open the snipping overlay instead of immediately copying the virtual screen. If an overlay appears, choose Rectangle. If you get one wide image after pasting, you've captured the wider desktop rather than selected one monitor.
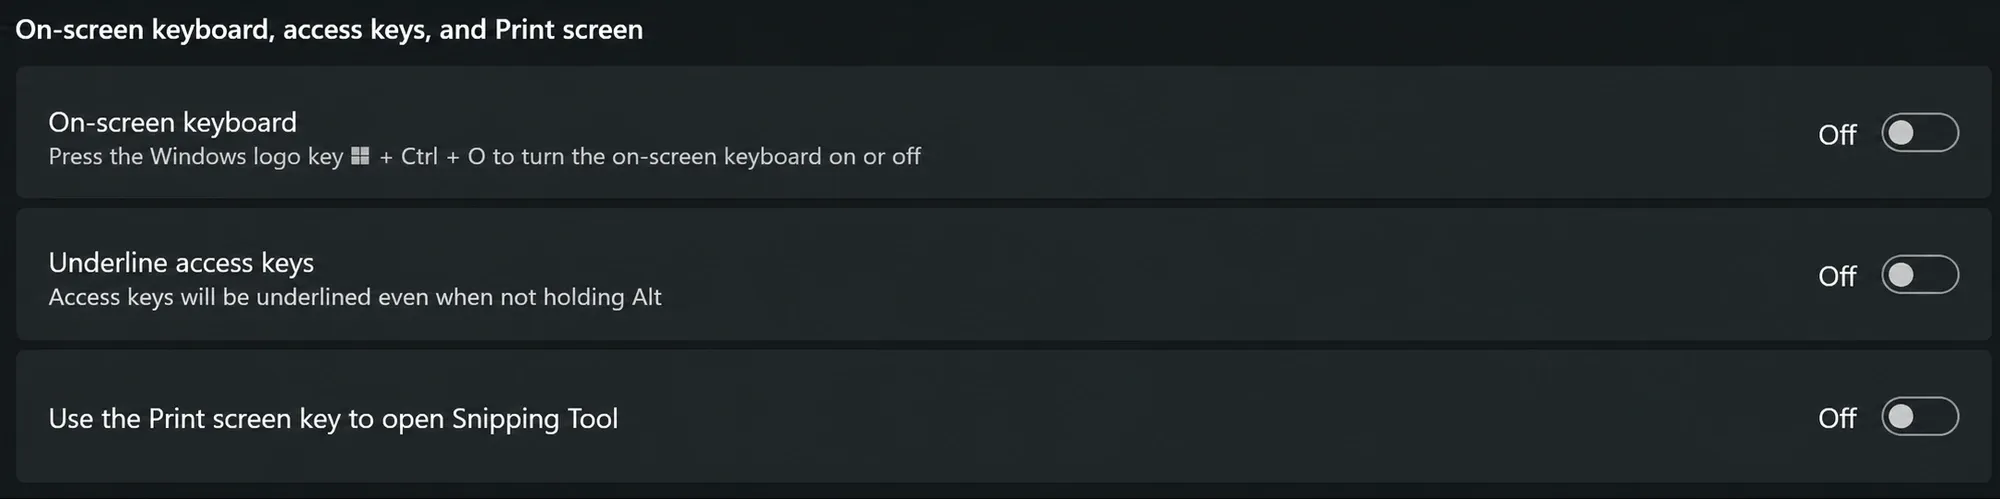
Moving the pointer onto a display or making that display primary isn't a reliable substitute for selecting a capture boundary. Don't rearrange your working desktop just to take this screenshot.
Need an exact monitor capture repeatedly?
A dedicated capture app is useful when manual edge selection becomes repetitive. If you already use Snagit, follow the Snagit multiple-monitor capture workflow for its display-specific choices. Keep the job on that page rather than applying Windows shortcuts as if they were Snagit commands.
For one screenshot, I'd stay with the built-in rectangle. For a series of support images, choose one method, check its first result, and keep the framing consistent. Don't install another tool solely because a general Print Screen shortcut captured too much.
Fix the result without changing the display setup
It still shows both monitors: check that you chose Rectangle rather than Full screen, then keep the drag inside the required display. Review the pasted or saved result, not just the dimmed overlay.
It shows only one app: that's the expected result of Alt + PrtSc or Window mode. Switch to Rectangle to include the desktop, several windows, and taskbar.
The capture exists but you can't find a file: an Alt + PrtSc capture is a clipboard image. Paste it and save it. Current Snipping Tool can save screenshots automatically; check its Settings for that option and the selected folder, or use Save as for an explicit copy.
The text looks small after sharing: crop closer to the app if the whole desktop isn't needed, and send the original PNG rather than enlarging a reduced image. Different screen sizes don't require matching both monitors' resolutions just to select one of them.
The picture is black: that needs a different diagnosis. Use the black screenshot checks, and respect protected content and workplace restrictions. For a normal desktop capture, the final check is simple: only the intended display content should appear in the file you send.