
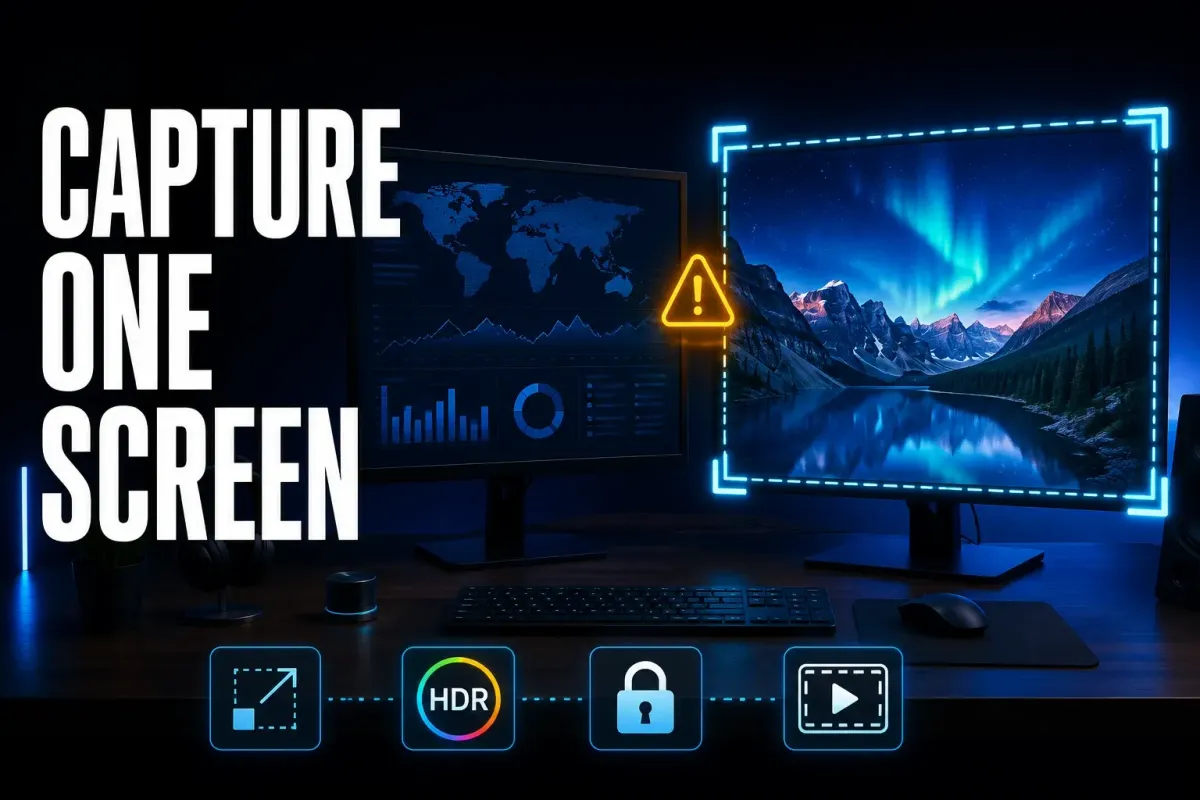
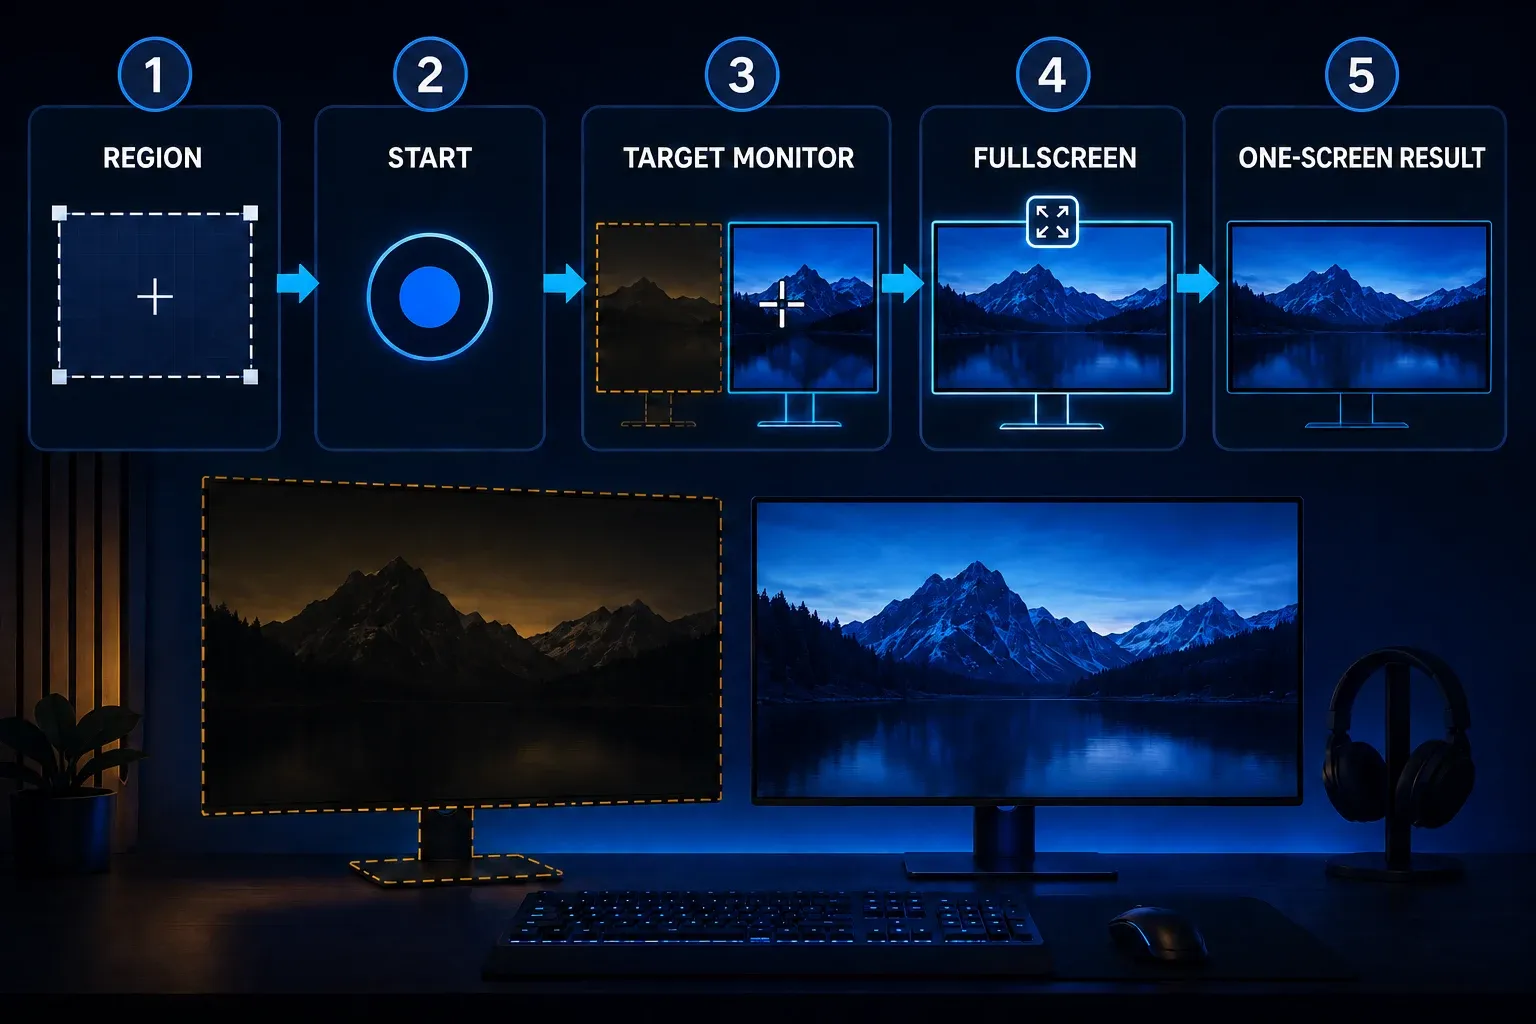
To capture one monitor with Snagit on Windows, choose Region, start the capture and move the pointer to that display. Click its Fullscreen control at the top center. Do not confuse this per-monitor button with the Full Screen selection setting, which TechSmith documents as capturing both Windows monitors.
If Snagit starts on the wrong monitor, looks magnified, misses part of a display, records a black screen, or changes color on an HDR panel, do not treat those symptoms as one bug. Use the controlled tests below. Hide private content and notifications on every connected display before you begin.
Documentation checked September 8, 2026. These are diagnostic instructions, not results from a hands-on multi-monitor test. The illustrations explain the checks; labels and controls can differ between Windows, Mac and Snagit versions.
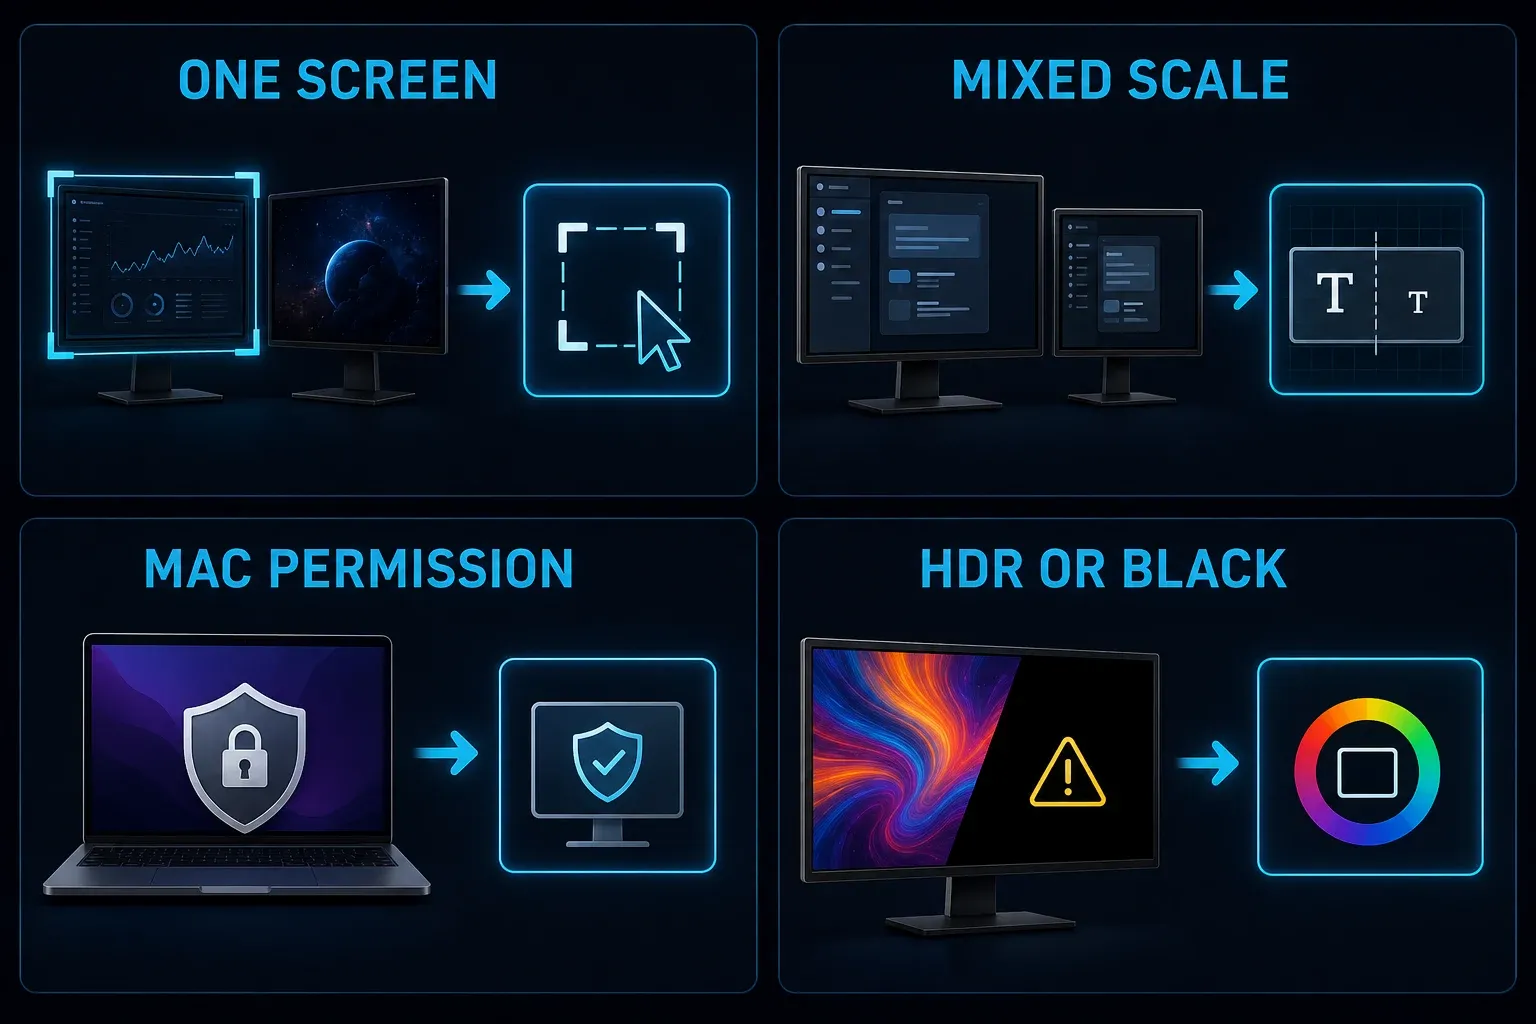
Snagit multiple monitors: choose the capture you need
| Goal or symptom | First check | What to verify |
|---|---|---|
| One whole Windows monitor | Region, then Fullscreen on the target display | Inspect all four edges before sharing |
| Both Windows monitors | Check Full Screen selection and preview the result | Do not assume the same behavior on Mac |
| Magnified overlay | Record and compare Windows scale values | A scale test suggests a cause; it does not prove one |
| Slow crosshairs on 4K displays | Try Simplified crosshairs and review display load | Keep resolution and refresh-rate notes |
| Wrong selection from a hotkey | Click Capture in the main window once | Compare current settings with preset or widget settings |
| Mac captures only desktop | Check the relevant Screen Recording permission | Quit & Reopen when prompted |
| HDR image looks washed out | Check updates and the Windows HDR experiment | Compare files on the same display |
| One app produces black output | Test a harmless window on that monitor | Investigate the app or protection without bypassing it |
| Video needs both screens | Test the exact region before recording | Separate clips need later review and editing |
Build a four-capture baseline before changing settings
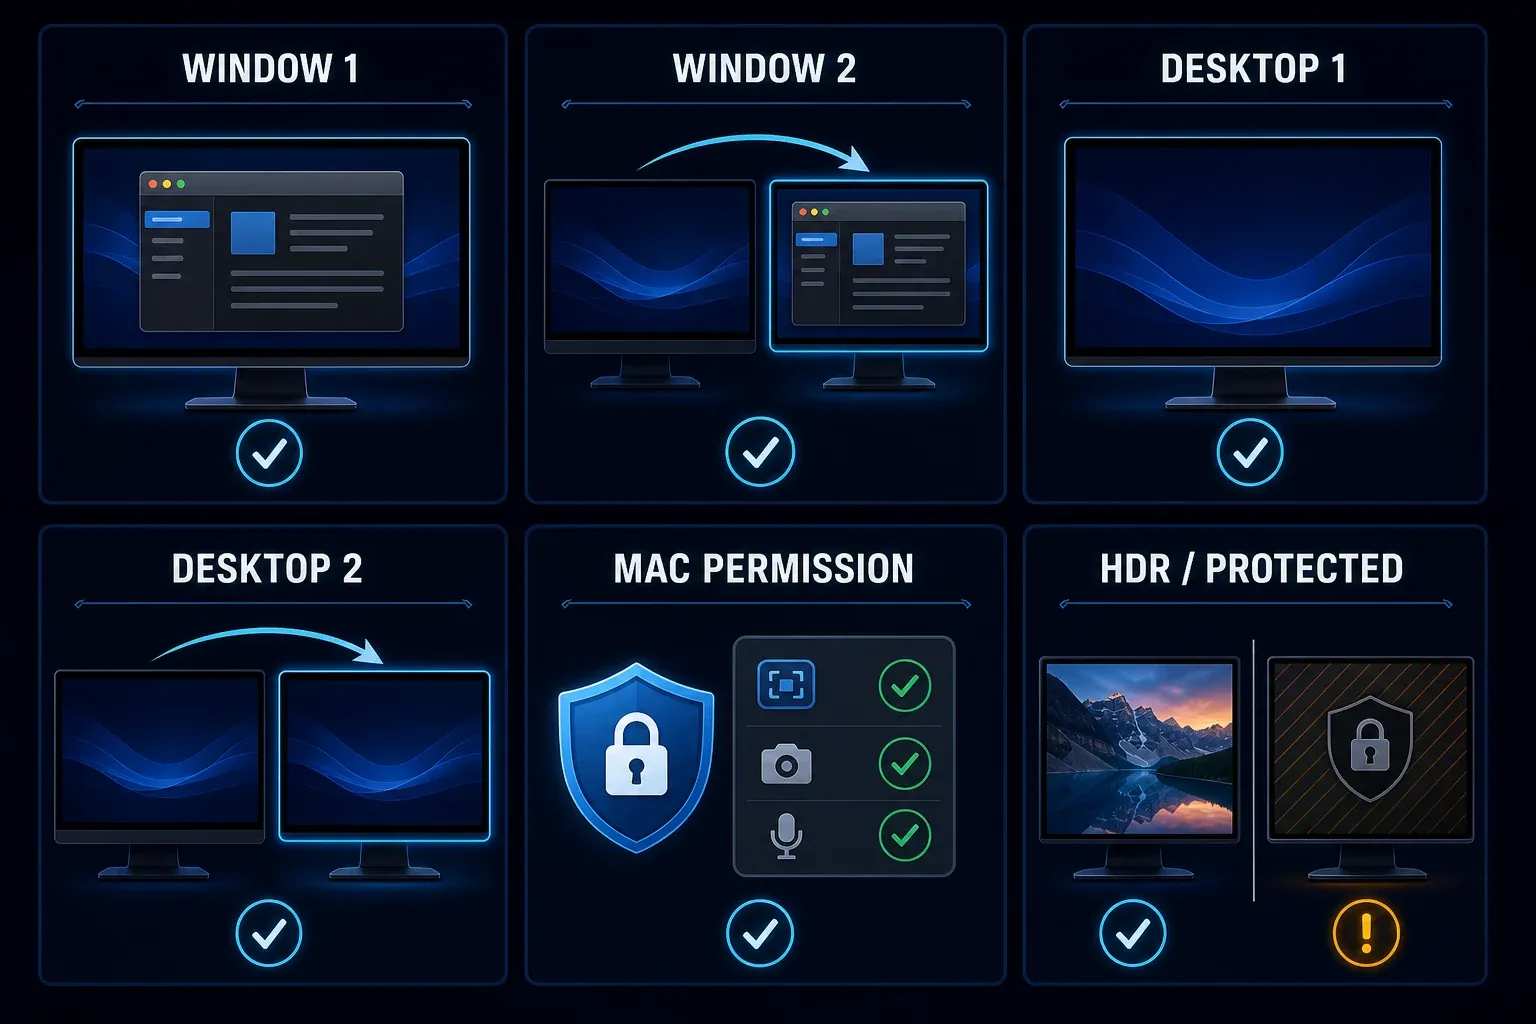
Save your work and choose a harmless window with large text. Capture it on monitor 1, then move it to monitor 2 and capture it again. Capture the plain desktop on each display as well. Keep the same capture settings throughout these four tests; record any automatic change in window size when you move it.
Record the monitor, image dimensions, start method and result. Failure only on the second display makes its configuration worth investigating. Failure only in one application points toward that application. Neither observation establishes a root cause by itself. Change one setting for the next test, then compare again.
Compare the exported images on the same monitor at 100 percent zoom. Keep the captured pixel dimensions separate from how large or bright the image looks in a viewer. A change in viewing conditions can otherwise obscure what your capture test found.
Capture only one monitor on Windows
- Hide private windows and notifications on every monitor.
- Open Snagit Capture and select the Image tab.
- Set Selection to Region instead of Full Screen.
- Start the capture and move the pointer onto the target monitor.
- Click the Fullscreen button at the top center of that display.
- Inspect the result in Editor and check all four edges before sharing.
TechSmith's one-monitor instructions distinguish these two controls. Region is the starting mode; the button on the selected display chooses its whole screen.
If you select a window accidentally, cancel and retry on a plain desktop. Use the screen-level Fullscreen button, not the boundary of an application window. Verify the resulting image rather than relying only on where the capture window opened.
Capture both monitors without exposing the wrong screen
The Windows support procedure says Full Screen selection includes both displays in a dual-monitor setup. Clear private content from both before trying it. On Mac, the Snagit 2024 manual explicitly describes full-screen capture as selecting one monitor at a time. Do not transfer the Windows instruction to Mac.
Check the full result and its dimensions before sharing. The operating system's display arrangement can leave unused areas around screens with different sizes or positions; a blank band alone does not establish lost content. If you need only one application from each display, take separate region captures and combine the reviewed images.
Fix a capture overlay that is too large, small, or zoomed
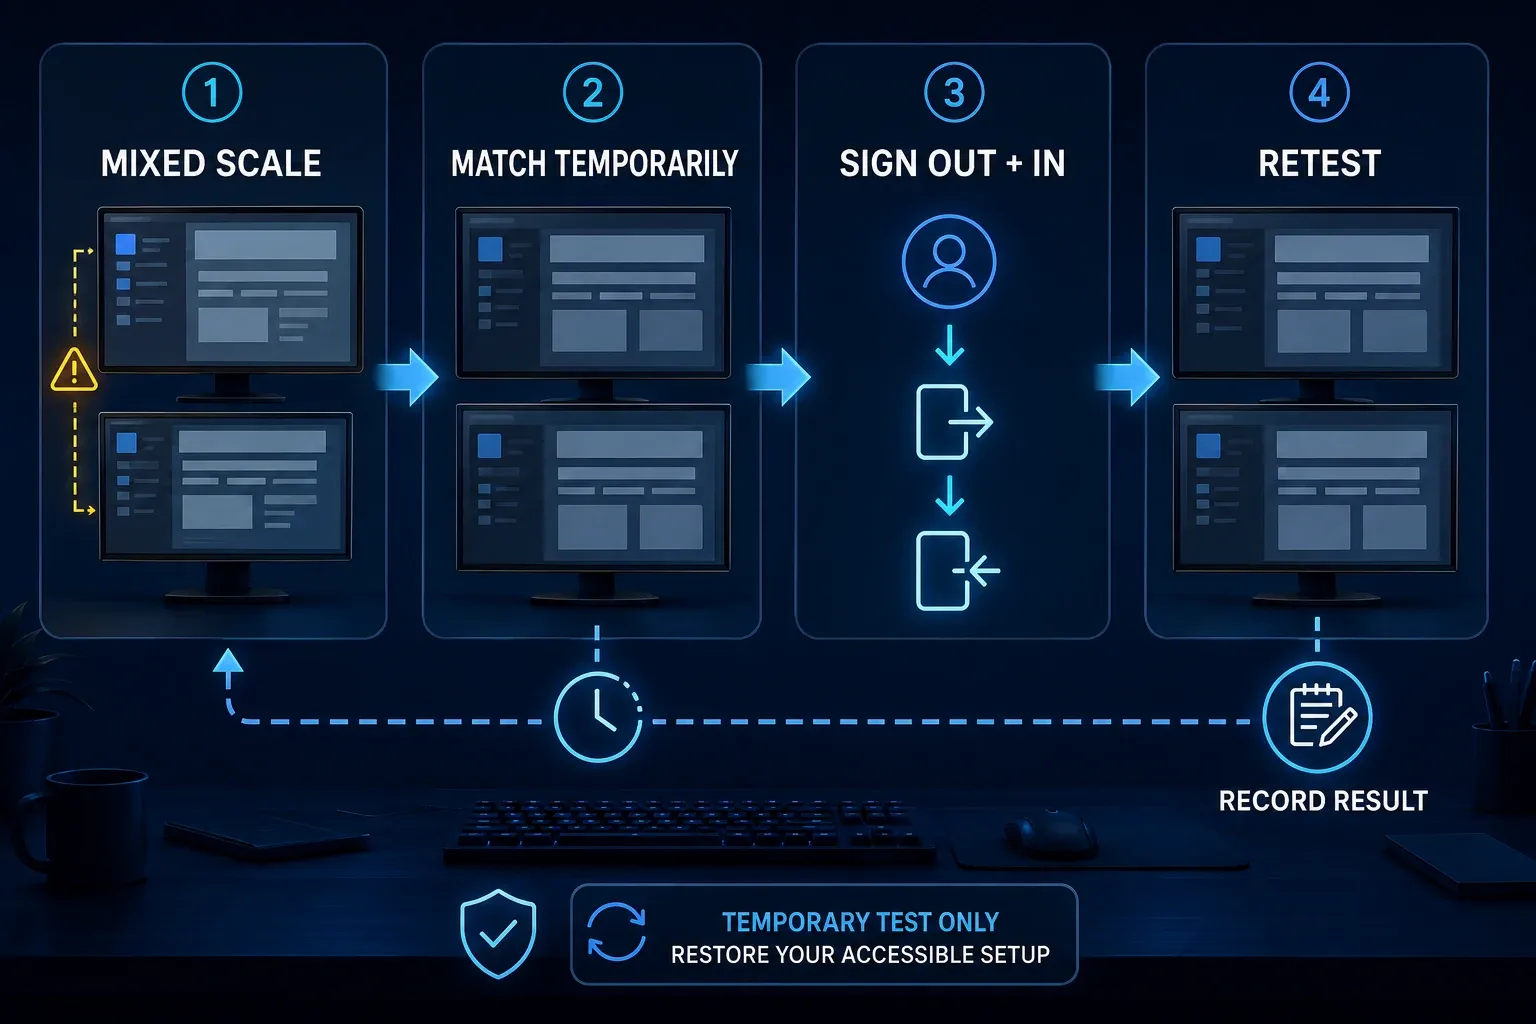
TechSmith's Windows scaling support note links an enlarged or tiny interface and a magnified capture overlay to high or mixed DPI settings. Install an approved update for your Snagit version, then record each display's scale under Settings > System > Display.
For the vendor's equal-scale test, save all open work, choose the same supported scale setting on each display, then sign out of Windows and sign back in. Repeat the capture. An improvement suggests a scaling-related problem, but the sign-out also resets parts of the session. Restore the accessible scale settings you need and give support the before-and-after values.
Use Windows display arrangement to match the physical desk: identify the numbered screens, drag their positions and apply the layout. Test pointer movement across the edges. This corrects the desktop map; it does not sharpen an image.
Slow crosshairs with several 4K or high-refresh displays
TechSmith's January 2026 multi-monitor performance guidance describes expected Windows configurations of two 4K monitors at 60 Hz or below, or two to three 1080p monitors. This is troubleshooting guidance, not a guarantee that every other arrangement fails. Compare your setup before treating slow crosshairs as a selection bug.
Try File > Capture Preferences > Capture > Simplified crosshairs, the documented route for Snagit 2018 and later on Windows. Retest before changing anything else. The support page also covers graphics and refresh settings, but do not import old registry hotfixes or apply a graphics profile to unrelated programs. Ask support or IT for a version-specific procedure if the simple option does not help.
Check which Snagit start path you used
On Windows, the capture-modes documentation separates three behaviors: the main Capture button and global capture hotkey use current Capture-window settings; a preset hotkey uses that preset; the widget's Capture button uses its defaults. Choosing a preset from the widget still uses the preset.
If clicking Capture works but your shortcut does not, compare the shortcut and preset settings before reinstalling. Once manual selection works, save a clearly named preset for the task. The Snagit presets guide explains how to reuse those settings; still confirm the target after changing your display arrangement.
Repair Mac capture permission when apps disappear
For a Mac capture that shows the desktop but omits applications, use Snagit > Settings > Capture > Fix Capture Permissions. TechSmith's permission instructions explain the Enable or Edit System Permissions controls. Approve the relevant Screen Recording setting and choose Quit & Reopen if prompted so the change takes effect.
The desktop-only capture procedure names System Settings > Privacy & Security > Screen & System Audio Recording; wording varies with macOS. It says Snagit 2022 and earlier also need the matching SnagitHelper entry. A macOS update can deselect approval. If Snagit is already enabled, follow the vendor's off/on and restart procedure, then make a new harmless capture.
Use the full Snagit Mac permissions guide when more than one permission is missing. Do not remove management profiles or grant unrelated applications screen access just to solve this test.
Separate HDR color from missing capture data
On Windows, washed-out color is a different symptom from selecting the wrong display. TechSmith's HDR support note says Snagit 2024 and later include HDR support, while acknowledging remaining issues. Install an approved update; do not assume that the version number guarantees correct color.
The same Windows note documents HDR CAPTURE FIDELITY as an experiment in Snagit 2025.4.0 and later: Edit > Editor Preferences > Experiments, accept the terms if allowed, enable the option and restart both Snagit and Editor. Retest the same image. If the option is unavailable or controlled by IT, use the approved support route rather than bypassing the policy.
Compare the files on one physical display under the same viewing conditions. Record HDR state and any color filter or calibration in use. This keeps display appearance from being mistaken for a different capture. It does not prove that an exported file has accurate color.
Diagnose a black or blank second monitor
Test a plain desktop and a harmless window on the affected display. TechSmith's blank-image support note identifies protected sites and applications as possible capture blockers. Close the protected app before the control test. Do not bypass copy protection or infer it is the cause of every black image.
If harmless content also fails, record whether the problem affects one display or all of them. Check the relevant capture permission and any security block with IT. Use the Snagit black-screen guide for the full diagnostic sequence. Do not disable endpoint protection as a permanent fix.
Record video on a multi-monitor desk
Start with one fixed recording region on one display and keep the demonstrated application inside it. Do not assume that dragging a window to the next monitor moves the recording boundary too. Review a short exported clip before recording the full demonstration.
If you need both displays, test the exact area your installed build lets you select. Where a suitable spanning region is unavailable or unreliable, record separate clips and combine them with an editor that supports that workflow. The resulting video will show the displays in sequence, not at the same moment. See the Snagit screen-recording guide for capture and audio setup.
Make a short test clip, about ten seconds, with harmless content. Check its edges, cursor, dimensions and only the audio sources you intend to include. Hide private notes as well as unrelated windows before the real recording.
Test a dock or adapter without dismantling the setup
If the problem began after connecting a dock, adapter, projector or KVM, save work and record the cable layout. Check that the OS detects the display. If safe and permitted, compare one direct display connection with the docked route. Do not disconnect storage, network access or power needed by ongoing work.
Change one connection at a time. A problem that moves with a port or adapter gives you a useful support detail, not conclusive proof that the accessory is defective. Keep the display resolution, scale, HDR state and orientation in the report.
After sleep or reconnection, recheck the OS display map before reopening Snagit for a new test. In Windows, Win+P offers Extend for separate desktops and Duplicate for mirrored content. If Windows cannot detect a screen, resolve that before changing Snagit settings.
Protect the unused monitor before every capture
Hide private windows and pause notifications on every display, even for a region capture. A selection can be wrong, and a notification can appear inside it. Keep notes free of secrets; moving them to another desktop is not a substitute for reviewing what was actually recorded.
Inspect the final image or video before sharing, including the outer edges, menu bars, tabs and transitions. Check any webcam view for private surroundings. Cropping a local copy does not withdraw an earlier upload or message.
Do not confuse DPI metadata with captured pixels
Changing DPI metadata alone does not add detail to a screenshot. TechSmith's DPI explanation separates captured pixels from print size. Resizing with resampling is a different operation and can change pixel dimensions; an increased pixel count does not restore missing source detail.
Capture the content at a useful displayed size and avoid enlarging a small crop. First determine whether the capture is wrong or just appears small at fit-to-window zoom. Keep that comparison separate from monitor selection so you can tell which change helped.
Send support a reproducible display map
Send support the Snagit and OS versions, monitor resolutions, scale percentages, refresh rates, HDR state, arrangement, start method and exact symptom. Add the GPU/driver and dock model when relevant. Check Snagit system requirements before assuming an older operating system supports the latest major release.
Attach only a sanitized display diagram or sample. State what worked in the four-capture test and what changed afterward. An older Windows 11 discussion includes reports of display trouble even with both screens set to 150 percent. That is anecdotal, not a current fix, and shows why the actual build and test result matter more than a universal scaling prescription.
Snagit multiple monitors FAQ
How do I make Snagit capture only one monitor?
On Windows, choose Region, start capture, move to the target display and click its Fullscreen button at the top center. Inspect the resulting image before sharing.
Why does Snagit capture both monitors?
TechSmith documents Full Screen selection as capturing both displays in a Windows dual-monitor setup. Region followed by the target display's Fullscreen button selects one. Mac full-screen capture is documented separately as one monitor at a time.
Why does Snagit start with the wrong selection?
On Windows, a preset shortcut uses its saved settings, while the widget's Capture button uses defaults. The main Capture button uses the current Capture-window settings. Compare these start methods before changing your installation.
Why does Snagit look zoomed on one monitor?
High or different Windows scale values can affect the interface or overlay. Save work, record the scales, temporarily match them, then sign out and back in. Improvement suggests a scaling-related issue but is not proof of a single cause. Restore the accessible settings you need.
Why does Snagit capture only the desktop on Mac?
Check Snagit's Screen Recording approval and choose Quit & Reopen when prompted. The system label can be Screen & System Audio Recording. TechSmith says macOS updates can deselect approval; Snagit 2022 and earlier also need the matching SnagitHelper entry.
Why is the capture washed out on my HDR monitor?
On Windows, check Snagit updates and compare the same file on the same display. TechSmith documents HDR support from Snagit 2024 and an experimental HDR Capture Fidelity option from 2025.4.0. Neither guarantees correct color for every setup.
Can I record across two monitors with Snagit?
Test the exact recording region available in your installed build; do not assume it follows a window onto another display. A fixed one-display region is simpler to verify. Separate clips can be edited together, but they are not simultaneous capture.
Does increasing DPI make a multi-monitor screenshot sharper?
No. Changing DPI metadata alone does not add captured pixels. Resampling can change pixel dimensions, but it cannot recover source detail that was never captured. Compare the image at 100 percent zoom before resizing.