
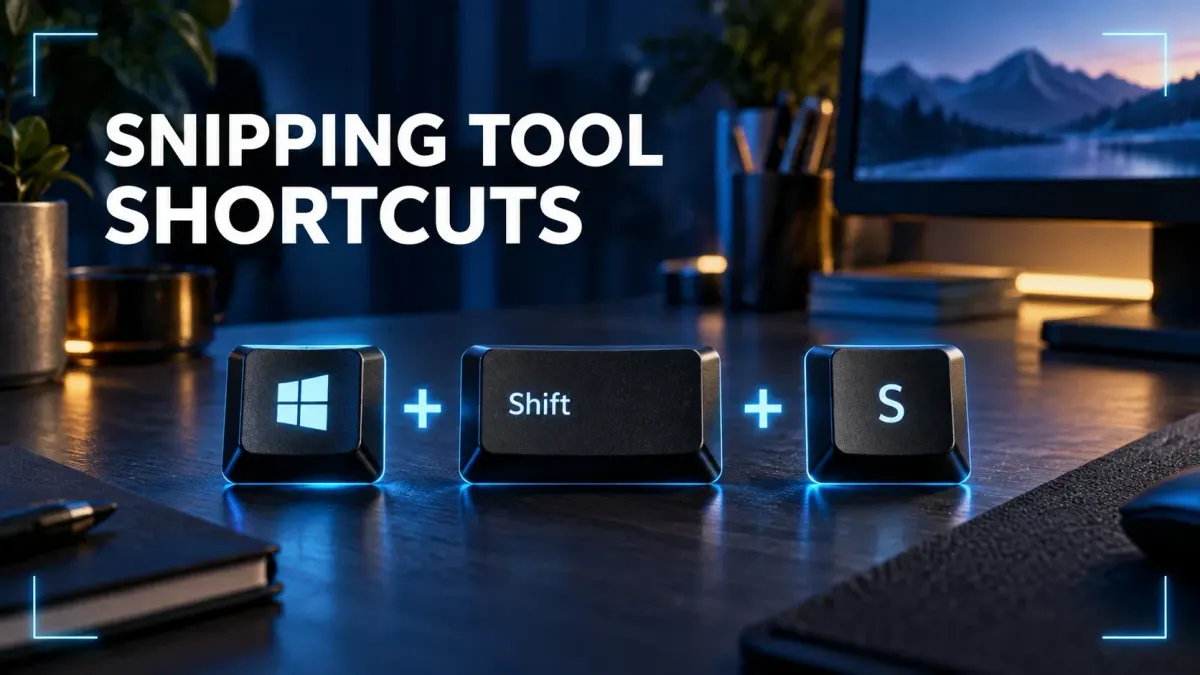
Press Windows + Shift + S to open the Snipping Tool capture overlay. Choose a rectangle, window, full-screen, or freeform snip, then use the notification to open the capture in Snipping Tool.
The other Windows screenshot shortcuts do different jobs. Some copy an image, some save a file, and one starts a screen recording. Use this table to pick the result you actually need.
Snipping Tool keyboard shortcuts at a glance
| Shortcut | What it does | Best use |
|---|---|---|
Win + Shift + S |
Opens the image-capture overlay | Region, window, full-screen, or freeform snips |
Win + Shift + R |
Opens the screen-recording overlay | Recording a selected area of the screen |
PrtSc |
Opens screen snipping or copies the full screen to the Clipboard, depending on the Windows setting | A one-key capture; check its Windows setting before relying on it |
Win + PrtSc |
Captures and saves the full screen | Creating a full-screen file immediately |
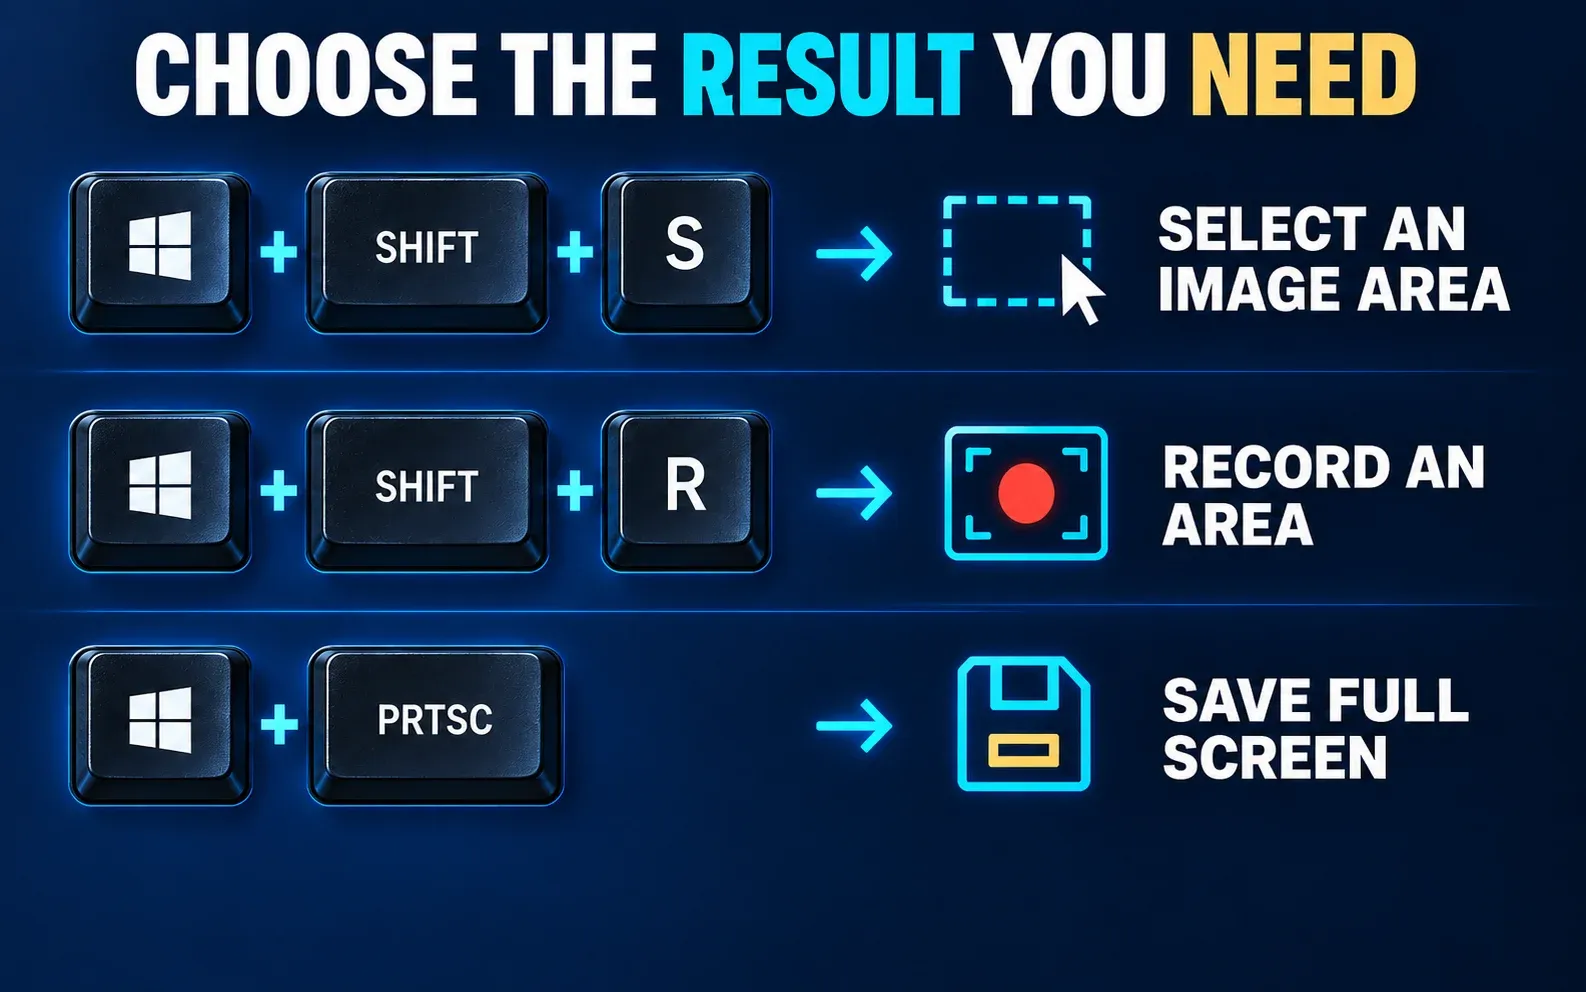
Which shortcut should you use?
Capture part of the screen: Win + Shift + S
Use Win + Shift + S when you need one region, one window, or a full-screen snip with a chance to crop or annotate it. The overlay appears before the capture, so you can choose the capture shape instead of cleaning up a full-screen image later.
This is the best default for support tickets, quick instructions, error messages, and anything that should exclude unrelated tabs or notifications.
Record a selected area: Win + Shift + R
Use Win + Shift + R when a still image cannot show the sequence: a menu closes too quickly, a visual bug appears after a click, or a short interaction needs context. The shortcut opens the recording overlay and doesn't start recording the whole desktop immediately.
Keep the recording focused on the problem. A short selected-area clip is easier to review and less likely to expose unrelated information than a long recording of every display.
Print Screen: check its setting first
PrtSc may open the snipping overlay or copy the full screen to the Clipboard. Microsoft’s Windows shortcut reference describes the overlay behavior and the Snipping Tool guide describes full-screen Clipboard capture. To check or change the mapping, open Start → Settings → Accessibility → Keyboard and find Use the Print Screen button to open screen snipping. Turn it off if you want the traditional full-screen Clipboard behavior. Then use Ctrl + V to paste the image into another app.
Keyboard labels vary. You may see PrtSc, PrtScn, Print Scr, or a secondary function that also needs Fn. If the key produces no useful result, follow the focused checks in my Print Screen troubleshooting guide.
Save the entire screen: Win + PrtSc
Use Win + PrtSc to capture the full screen as a file in Pictures → Screenshots without first opening an editor. This is useful for repeated full-screen evidence, but it can include more private or irrelevant content than a selected snip.
If the screen flashes but you cannot find the file, check the current screenshot folder and any OneDrive redirection before taking more copies. The guide to screenshots missing in Windows separates saved files from Clipboard-only captures.
What happens after Win + Shift + S?
After you make the selection, Windows copies the snip so you can paste it immediately. You can open it in Snipping Tool to annotate, crop, copy, or save it.
The current Snipping Tool guide says snips are automatically saved to Screenshots, and the app’s Settings can change automatic saving and the default folder. Check those settings before assuming that a missing notification means your capture was lost.
If the notification disappears, check the configured Screenshots folder. If the shortcut itself does nothing, use the separate Snipping Tool repair checklist rather than changing several Windows settings at once.
Keyboard shortcuts inside Snipping Tool
Once Snipping Tool is open, these keys reduce mouse movement:
| Shortcut | Action |
|---|---|
Alt + M |
Choose a snipping mode |
Alt + N |
Create a new snip in the same mode |
Shift + Arrow keys |
Choose among snip types |
Alt + D |
Delay the capture |
Ctrl + C |
Copy the current snip |
Ctrl + S |
Save the current snip |
These are editor controls, so keep them separate from the system-wide shortcuts that open a capture or recording overlay.
If the shortcut does nothing
- Check the keys individually. Confirm that the Windows, Shift, and S keys work in other shortcuts or text fields.
- Open Snipping Tool from Start. If the app will not open normally, repair the app before treating the problem as a keyboard conflict.
- Check shortcut conflicts and remapping. Capture utilities, keyboard software, accessibility tools, and managed-device policies can intercept a key combination.
Change one thing at a time, then retry the same shortcut. That makes the cause visible and avoids trading one broken capture method for another.
When Snagit shortcuts are more useful
Snipping Tool is enough for a quick Windows capture. Snagit becomes useful when the capture is part of a repeated documentation workflow: you need a configurable capture hotkey, a scrolling web-page capture, or a series of numbered steps that remains editable.
TechSmith documents a configurable global capture hotkey, scrolling website capture, and Step Capture for turning sequential clicks into editable screenshot steps. Those features solve repeatable capture and explanation tasks and are unnecessary if you only need one fast snip.
If Snagit has taken over a shortcut or you want to assign a different combination, use my guide to Snagit keyboard shortcuts and hotkey conflicts. For a broader tool decision, the Snagit and Snipping Tool comparison separates quick capture needs from documentation work.
For most Windows users, remember one starting point: Win + Shift + S selects an image snip. Switch to Win + Shift + R for a selected-area recording or Win + PrtSc to save the full screen. Check the Print Screen setting before relying on PrtSc alone.