
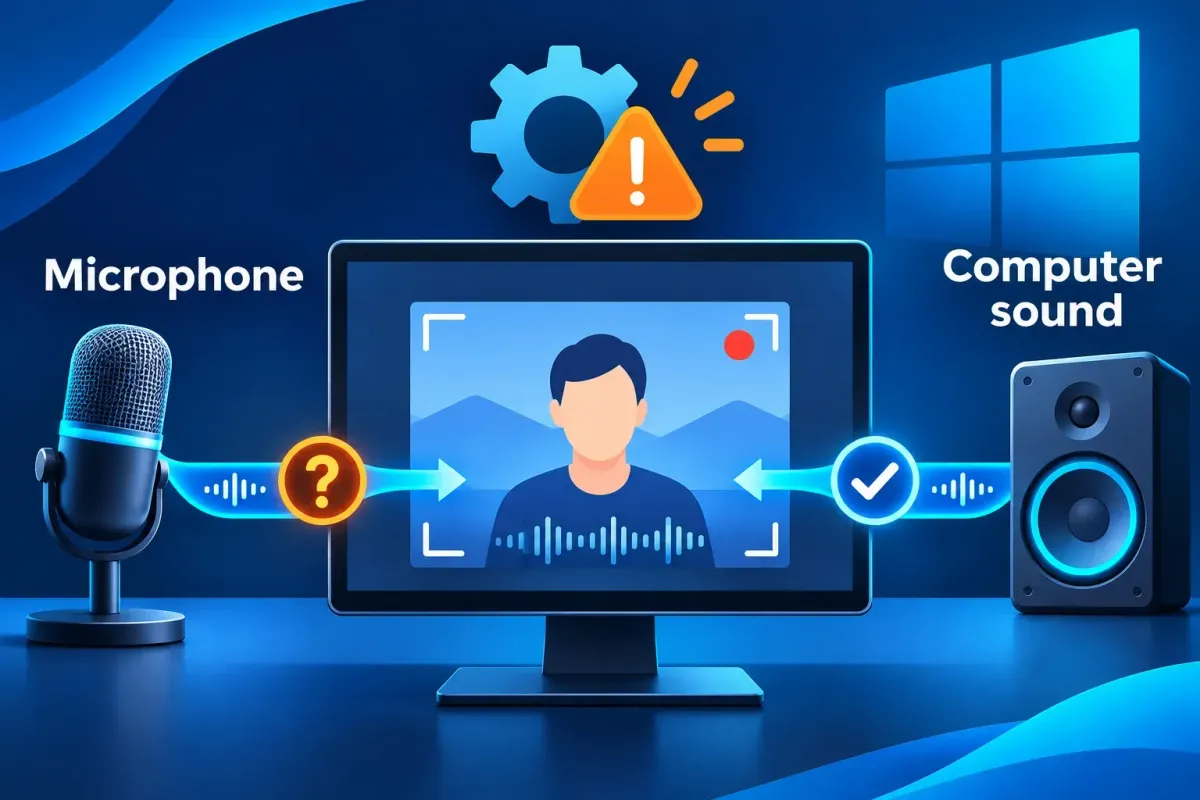
Open a new recording with Win + Shift + R and check the two sound controls before clicking Start: system audio for computer playback, microphone for your voice. If one is already enabled, check its device and permissions rather than switching both controls at random. I'd make a short sample first; it tells you which sound is missing before you repeat a long recording.
Start with the sound that's missing
A video can contain computer sound, your microphone, both, or neither. A working microphone doesn't prove that system audio was captured. Listening to a meeting through headphones doesn't prove that the recorder included its playback either.
| Symptom | Check first |
|---|---|
| Your voice is missing | Microphone control, selected input, hardware mute, then Windows microphone permissions. |
| App or meeting playback is missing | System-audio control, audible source, output device, and app volume. |
| Everything is silent | Playback volume, both recording controls, then a new sample using known sound. |
| Audio buttons are absent | Windows version and the installed Snipping Tool app; update through Microsoft Store. |
| A WASAPI message appears | Record the exact message, then isolate audio-device and competing-app conditions. |
If you're investigating an existing silent recording, keep the original file. The checks below fix the next capture; they don't add sound retroactively.
Check the recording controls, not just the defaults

- Connect the microphone or headphones you intend to use before opening the recorder.
- Press
Win + Shift + R, or open Snipping Tool from Start and choose Record → New. - Select a harmless area. Enable system audio for computer playback and the microphone for narration. If you need both, enable both.
- Check the microphone device selector when several inputs are available. A laptop mic, webcam mic, and headset mic are different inputs.
- Start a short sample, speak, and play a harmless sound. Stop, save, and listen to the file.
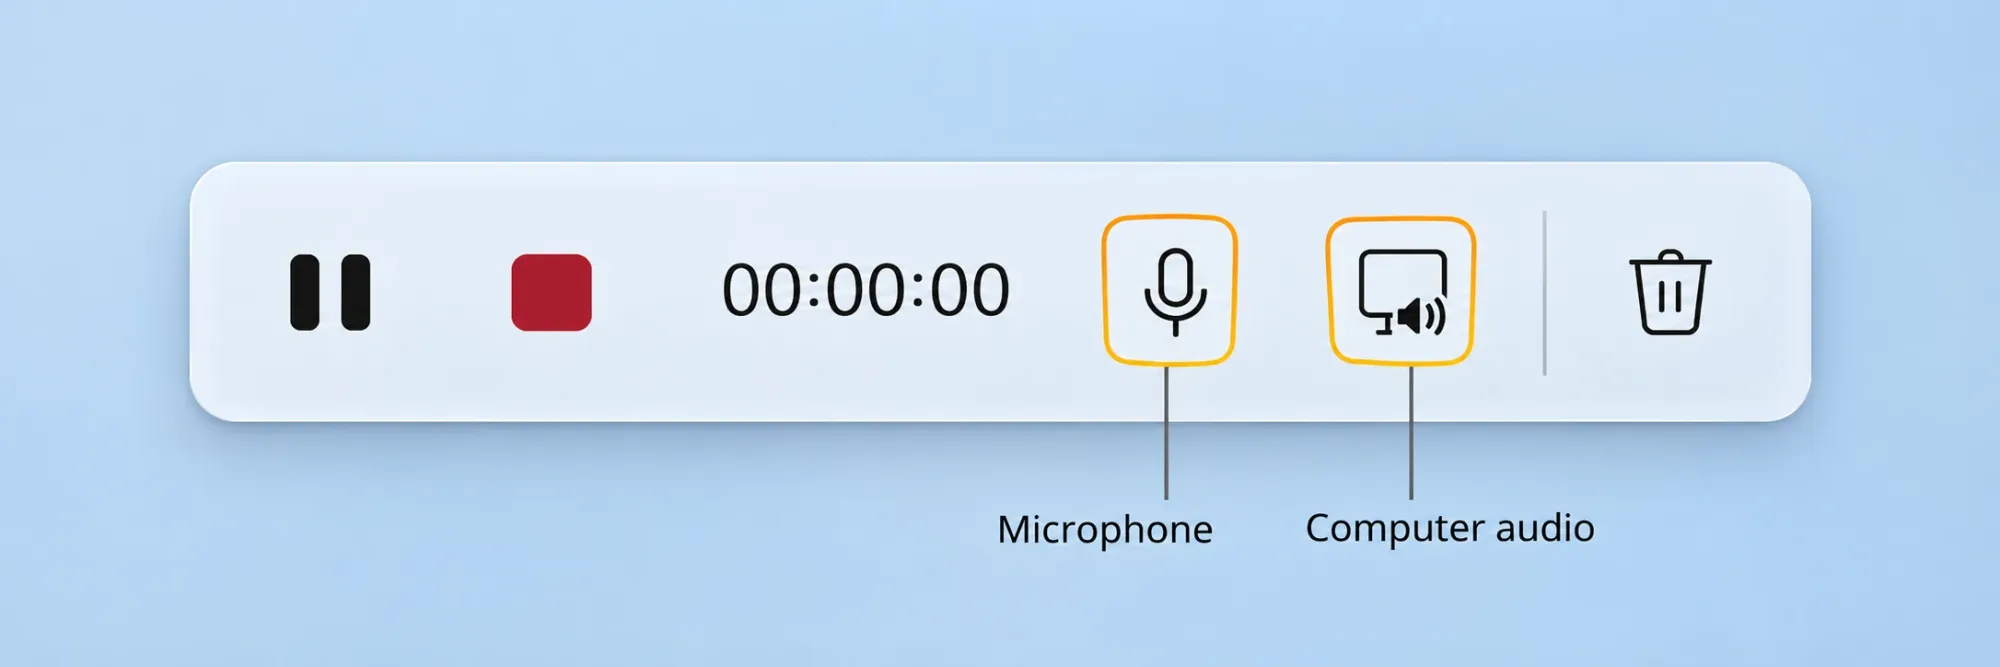
Microsoft introduced separate PC-audio and microphone capture, including a preferred recording device. Advice that Snipping Tool cannot record sound describes an older app. The current video shortcut is Win + Shift + R; Win + Shift + S opens image capture.
Under Snipping Tool's See more (...) → Settings, review the defaults for including system audio and microphone input when a recording starts. Still check the actual toolbar for the next capture. A remembered default isn't a substitute for confirming the state you are about to record with.
If your microphone isn't recorded
First check a physical mute switch, a disconnected cable, or the wrong selected input. Then open Settings → System → Sound → Input and select the intended microphone. Use Windows' microphone test and listen to the result where offered. Microsoft's microphone setup and test procedure separates device selection from recording-app settings.
If Windows can't hear that microphone either, solve the input problem before repairing Snipping Tool. Recheck the connection and device selection; on a managed PC, give IT the failed microphone-test result.
If Windows can hear it but Snipping Tool can't, open Settings → Privacy & security → Microphone. Turn on Microphone access and Let apps access your microphone, then allow Snipping Tool if it appears in the app list. Microsoft documents the separate app and desktop-app microphone permissions. Use the control that applies to the installed app; don't grant unrelated apps access.
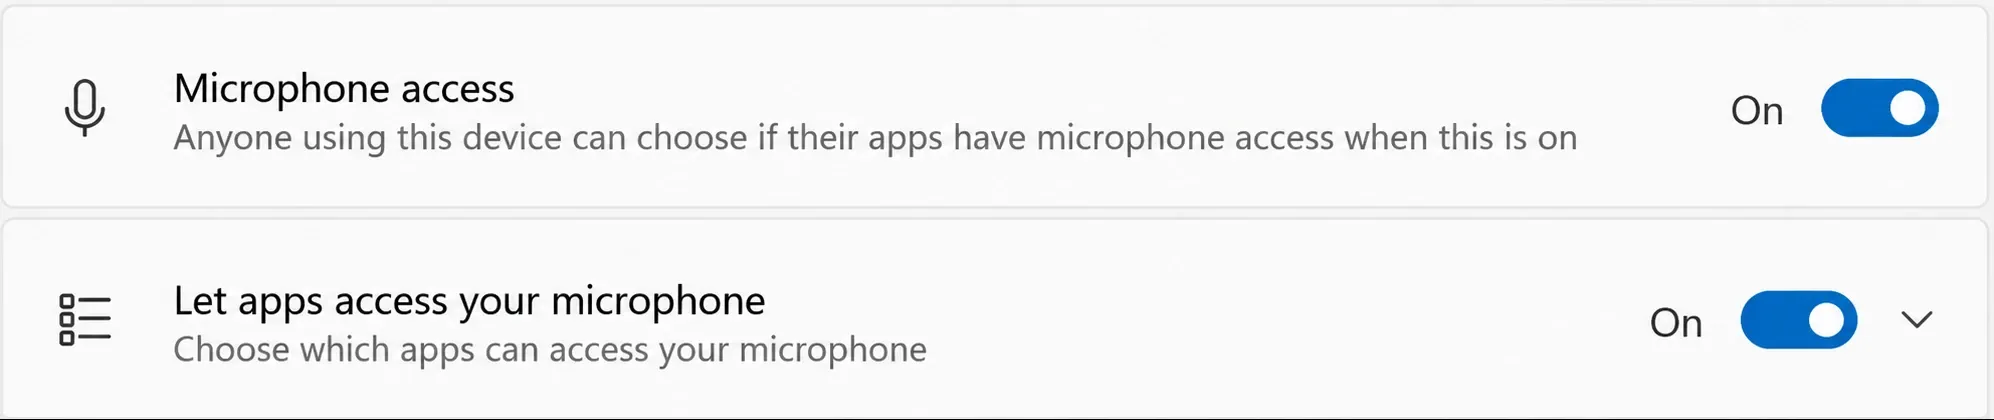
Reopen Snipping Tool and select the microphone again. A gray control can have more than one cause, so check whether Windows detects an input and whether access is allowed. If your organization locks either setting, ask IT to review it.
If computer or meeting sound isn't recorded
Leave the microphone off for this check so it can't pick up the speakers and disguise a failed system-audio capture.
- Play a short, non-private sound in the source app and confirm that you can hear it.
- Open Settings → System → Sound and check the selected output device. Under Volume mixer, check the source app's volume and output assignment where available.
- Keep the intended headphones or speakers connected. Close and reopen the recording session after a device change.
- Turn system audio on in Snipping Tool, record the sample, and listen to the saved file.
Microsoft's Windows sound troubleshooting guidance covers output devices, app volume, and muted playback. Those checks matter before you diagnose the recorder: a source routed to a different device is a different condition from a muted recording control.
If a normal local sound records but a meeting doesn't, compare the meeting app's speaker choice with Windows' output choice. Follow the meeting's recording policy and obtain permission where required. Don't change company controls or bypass protected playback.
I'd keep the device setup fixed through the recording. User reports in this Snipping Tool no-sound discussion describe output changes and gray audio controls, but they don't establish one universal fix. Treat a successful short sample as evidence for that setup, not a guarantee for a later session.
If Snipping Tool mentions WASAPI or exclusive mode
Write down the exact message and whether the missing source is the microphone or computer playback. WASAPI is part of Windows audio handling; the name alone doesn't identify a broken driver.
After saving work, close audio players and other recording apps you don't need. Reopen Snipping Tool and try the same harmless sample with one stable input and output. If it succeeds, reopen the other apps one at a time and repeat the check. Don't close the meeting you're trying to record without planning for the interruption.
The WASAPI problem thread includes a reported improvement that later stopped working. That is a reason to isolate conditions, not proof that everyone should change the same device settings.
If the message persists, send IT or Microsoft Support the app version, Windows version, device names, exact error, and sample results. Don't disable security protections or make registry changes as a generic audio fix.
Update or repair after checking the sound path
If Record or the audio controls are missing, update Snipping Tool through Microsoft Store and reopen it. On a managed PC, use the approved update route. Windows 10's Snipping Tool is not the Windows 11 video recorder.
For an app that still fails after the source and permission checks, save accessible recordings and try Settings → Apps → Installed apps → Snipping Tool → More (...) → Advanced options → Repair, if available. Microsoft puts Repair before Reset. Make another sample after Repair.
Consider Reset only after backing up needed files and noting your preferences. Read the warning shown on the PC; don't assume app-local work or settings will survive. For crashes, missing installation controls, or Store errors, use the full Snipping Tool repair guide rather than repeating microphone checks.
Can you recover sound from an already silent recording?
Check playback before concluding that the sound is absent: unmute the player, choose the correct output device, and try a copy of the file in another player you already trust. If another player reproduces the sound, the capture contains audio and the first playback setup needs attention.
If the required sound was never captured, changing permissions, resetting Snipping Tool, or raising the volume cannot recreate it. Keep the original and look for an authorized meeting recording, a separate audio recording, or another existing copy. Adding new narration is an edit, not recovery of the missing conversation.
Before the next important take, check a saved sample with the same devices and source app. Once that works, the Snipping Tool guide covers its wider capture and editing features. If the problem is in TechSmith's app instead, use the separate Snagit audio troubleshooting steps.