
To blur part of a screenshot in Snagit, open it in Editor, select Blur, choose the treatment and shape, and drag over the area. Use the intensity slider to adjust the effect. For passwords, recovery codes, account details, or other private information, choose fully opaque redaction instead of blur, then export and inspect a flattened copy.
Smart Redact helps find fields to cover, but you still need to review the whole image. This guide separates manual masking, automatic detection, and the file you actually share. Product documentation and redaction guidance were checked on September 13, 2026. The illustrations show the process, not exact controls in every Snagit version.
Choose blur, pixelation, or solid redaction
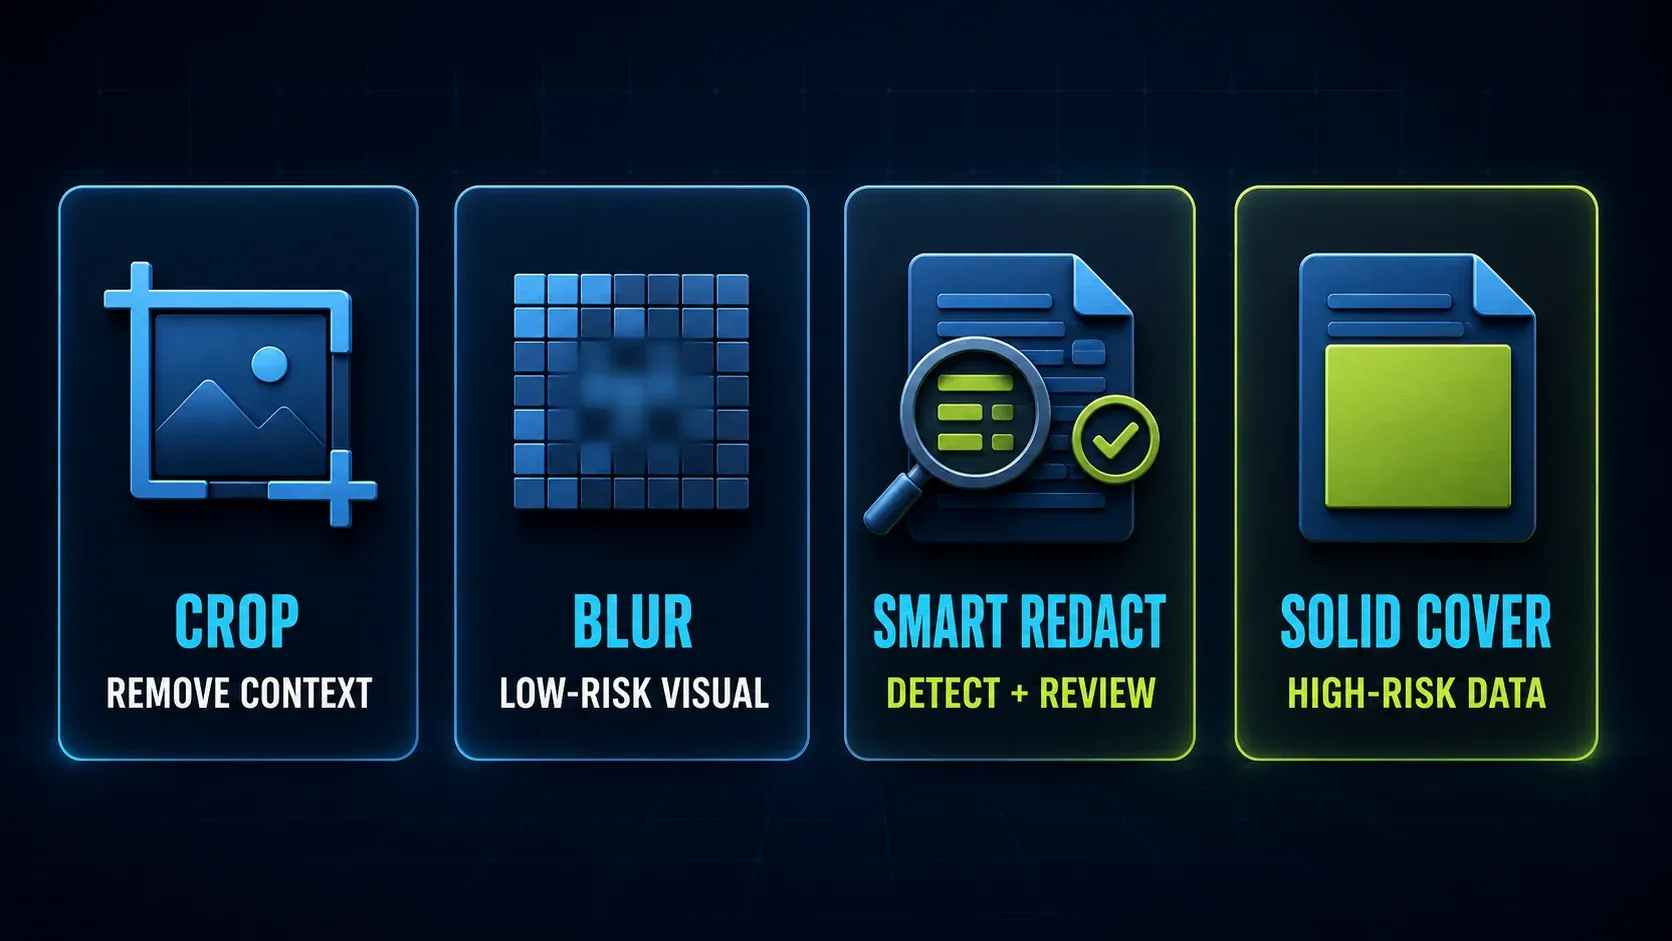
| Method | Useful for | Boundary |
|---|---|---|
| Crop | Removing unnecessary tabs, panels, or desktop context | Inspect what remains and keep the original private |
| Blur or pixelation | Reducing visual distraction in non-sensitive material | Not reliable protection for secrets or identifiers |
| Smart Redact | Finding likely personal-data fields | Detection is not a complete privacy review |
| Opaque redaction | Covering information that must not be disclosed | Flatten the delivery copy; do not send editable covers over private content |
The UK's Information Commissioner's Office warns that blur and pixelation may be reversible. For still images, its guidance describes solid-color coverage followed by export to a simple image format without editable layers. That is a technical precaution, not a guarantee that an image or disclosure complies with every privacy requirement.
How to blur or pixelate a region
- Open the screenshot in Snagit Editor.
- Select Blur. If it is hidden, check the toolbar's More menu.
- In Tool Properties, choose the blur treatment and selection shape.
- Drag across the region, then adjust the intensity slider.
- Review the edges and repeat for any other distracting areas.
TechSmith's image-masking tutorial documents these controls for Snagit 2025. Panel layout and labels can differ by build. Use blur for visual focus, such as softening an irrelevant background in a fictional example. Do not use a percentage value as proof that a real person's details are anonymous.
How to black out text instead
Within the Blur tool, choose the opaque redaction treatment. TechSmith's 2025 tutorial calls it Black shapes; later builds also allow changing the solid redaction color. Cover the entire private field, including its edges. A rectangle outline or translucent fill is not full coverage.
Keep enough of the surrounding interface to explain the task. For example, a support screenshot may need the error text but not the customer's account number beside it. If the same identifier appears in a tab title or URL, cover that occurrence too. Complete the export procedure below before sharing.
How to use Smart Redact
Smart Redact arrived in Snagit 2025 on both platforms, as the Windows release history and Mac release notes show. Installing an OCR maintenance patch for Snagit 2024 does not add Smart Redact.
- With your image open, choose Blur and click Smart Redact in its side panel.
- Wait for detection, then inspect the proposed regions.
- Toggle categories off only when those details should remain visible.
- Use opaque coverage for private fields and manually cover any missed areas.
- Finish the detection pass, then review the whole frame before exporting.
The documented detection categories are addresses, credit card numbers, dates, emails, faces, IP addresses, phone numbers, Social Security numbers, and URLs. Those categories are search targets, not an accuracy guarantee. A password, recovery token, customer reference, or contextual clue still needs your attention even if the scan marks nothing.
Check each cover against the content underneath before flattening. Over-masking can remove an error message the reader needs; under-masking can leave an identifying character or a repeated value visible. Work on a copy so you can correct either mistake without altering the original.
Export and verify the delivery image
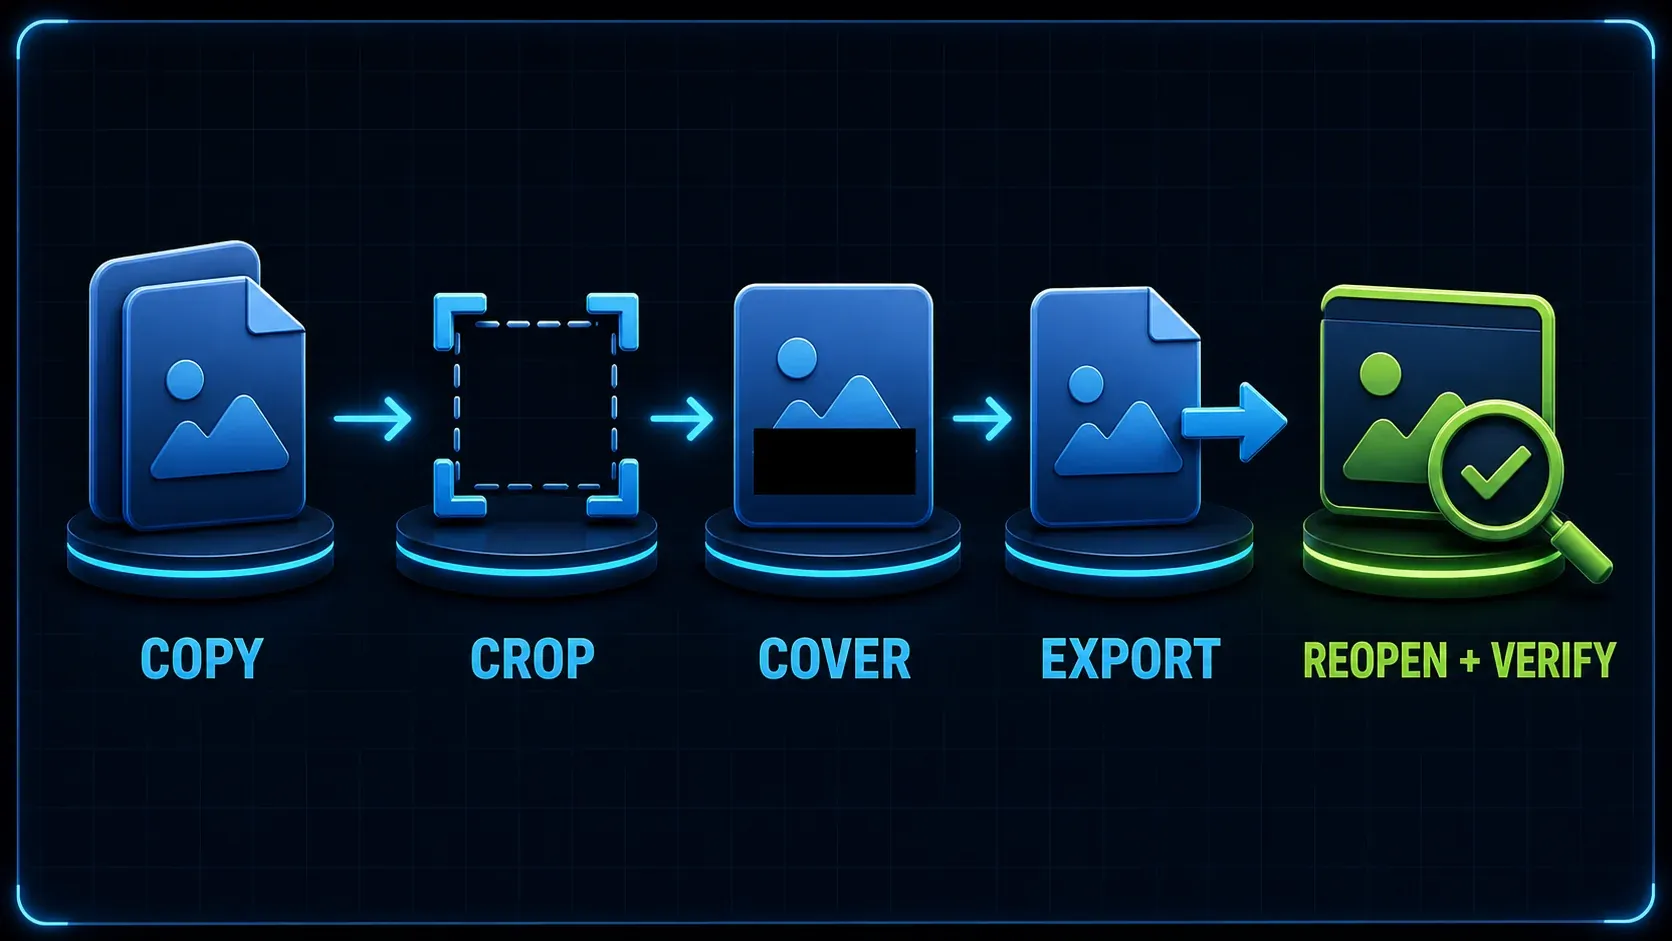
Make a private working copy
Keep the original capture and editable project outside the delivery folder. Make the redactions on a separate copy.
Remove unnecessary context
Crop irrelevant tabs, panels, notifications, and surrounding records before covering the remaining private fields.
Apply complete opaque coverage
Review automatic detections and manually cover missed fields. Ensure every private value is fully obscured, including its edges.
Export a flattened copy
Save a separate PNG or JPEG with the redactions intact, close that image in Editor, and keep the SNAGX source private.
Reopen the exact file
Open the exported file from its saved location. Inspect the full frame, masks, filename, metadata, and sharing destination before sending it.
The export icon in the illustration is only a file symbol: your exported image must retain every opaque cover. TechSmith's flattening explanation says objects in a PNG or JPEG become part of the image after saving and closing it. Inspect that exported file rather than an earlier editable canvas. The Snagit export guide covers the format choices.
Review the whole frame
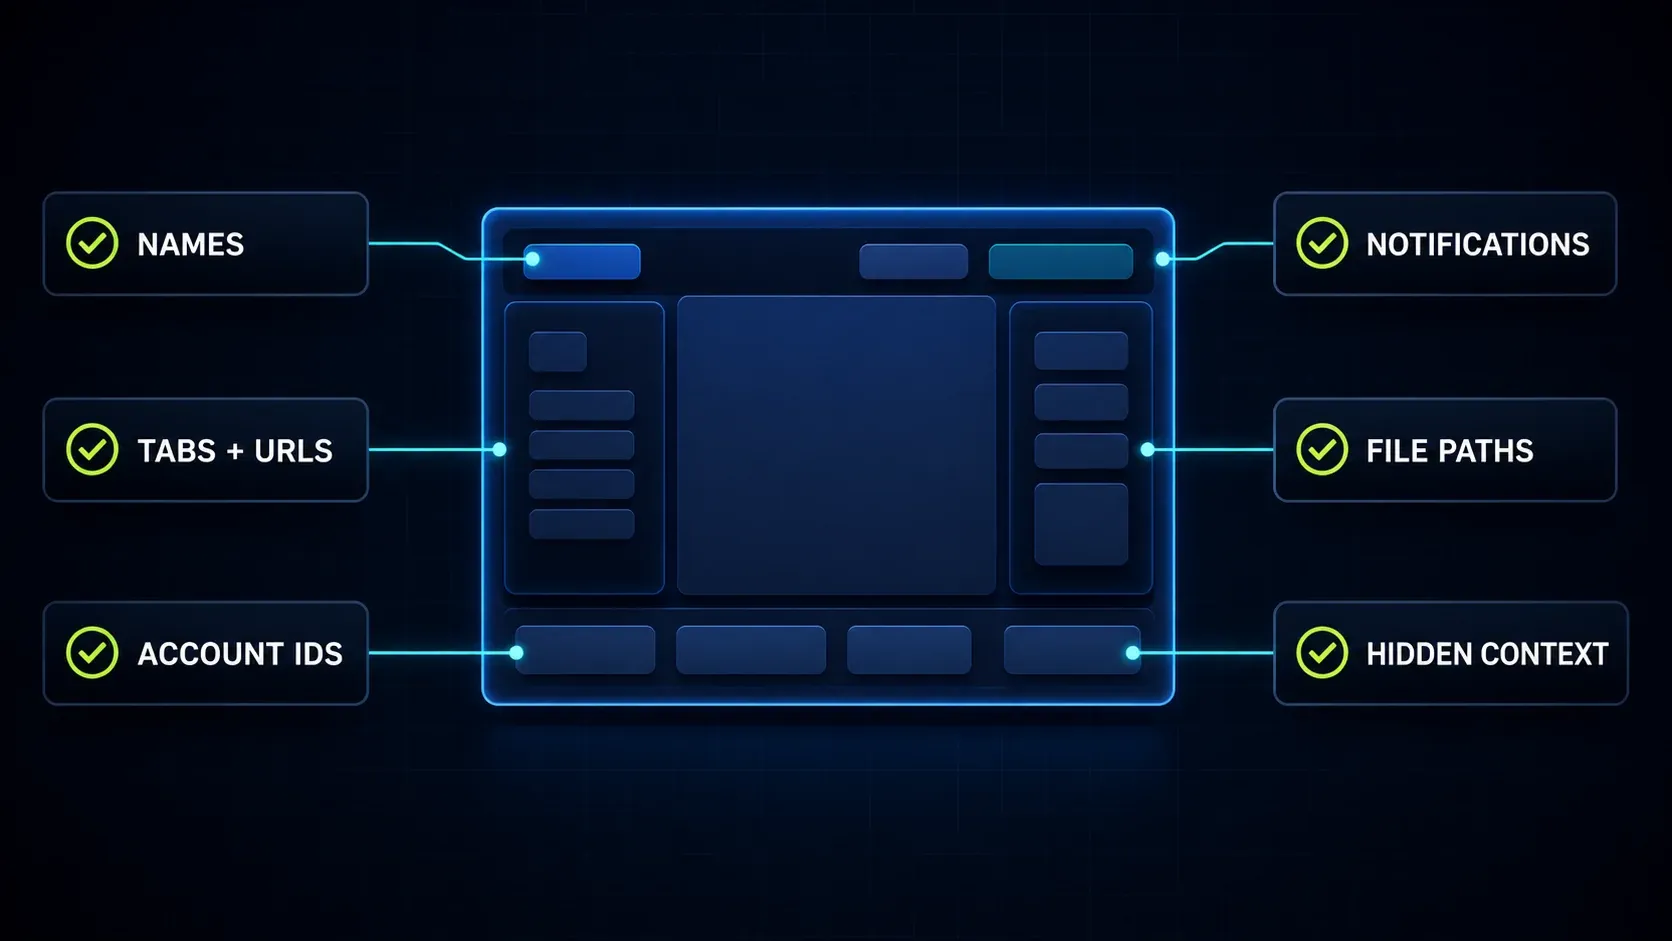
Check window titles, browser tabs, address bars, filenames, paths, notifications, avatars, account IDs, and nearby rows. Covering a name in the main panel does not remove the same name from a sidebar. A location and timestamp together can also reveal more than either field alone.
Look for Capture Info added by Snagit, such as the capture time, application, or operating system. These are visible image details, separate from hidden file metadata.
Inspect metadata with an approved viewer, especially when the original came from a phone, camera, scanner, or another app. Do not assume export removes every location, author, comment, or software field. Reopen the cleaned file and check its pixels again if you remove metadata.
When a screenshot needs many masks, recreate the task with fictional data if you can. For a cross-platform checklist beyond Snagit, use the guide to redacting personal information in screenshots.
Keep the source and sharing route separate
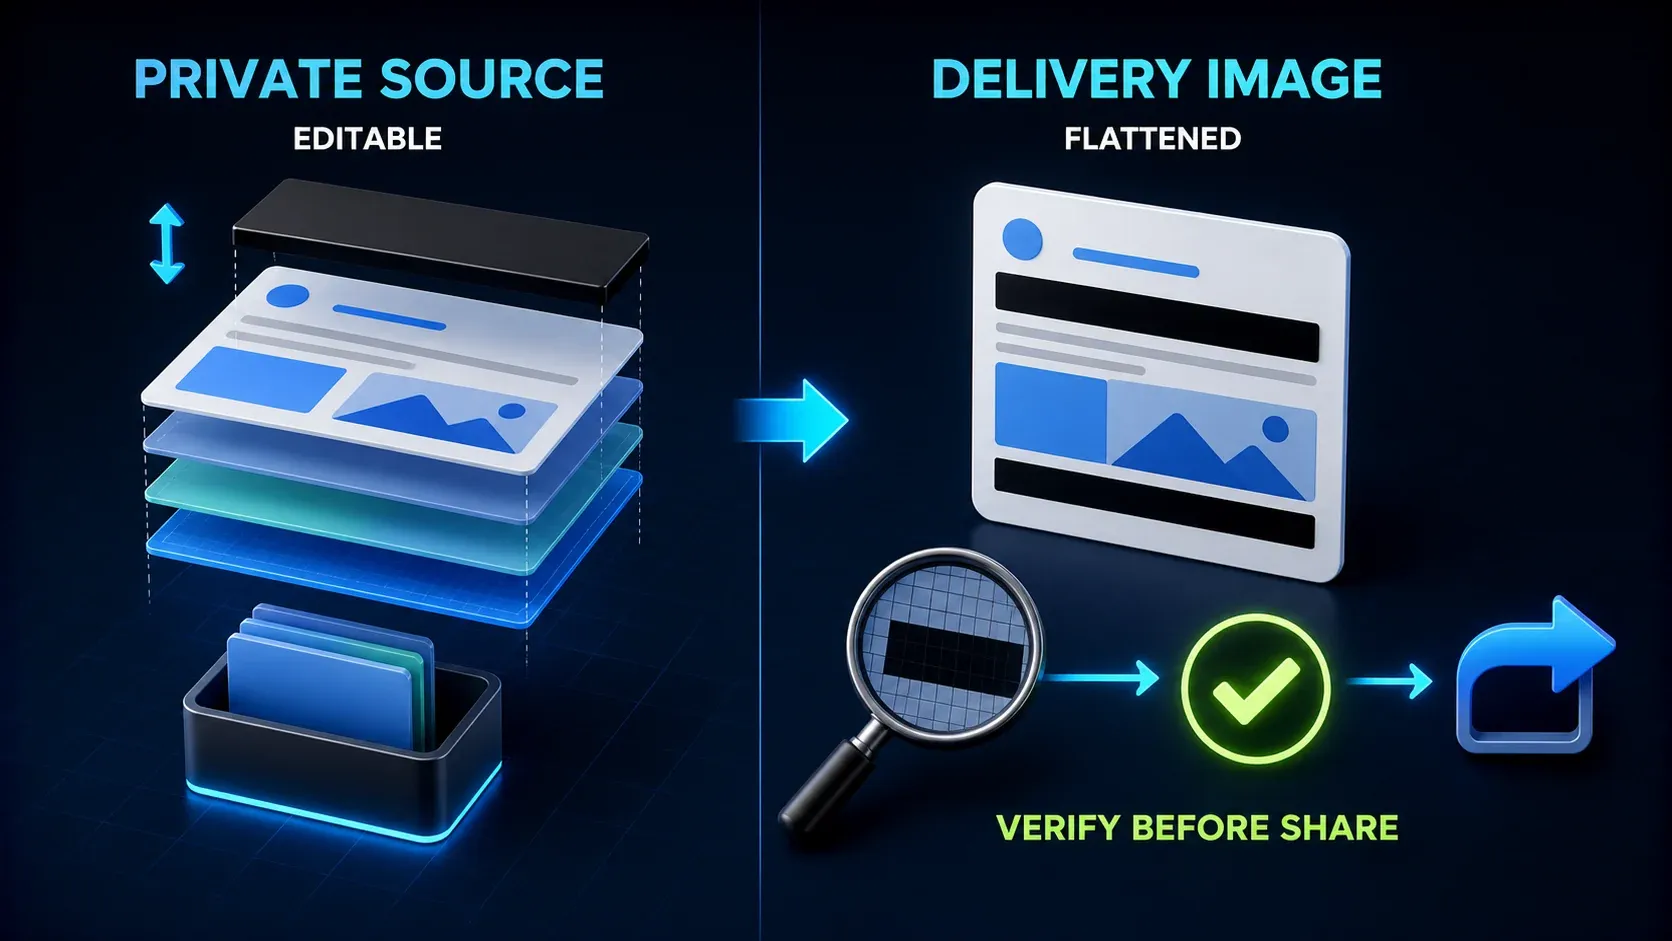
A black cover in a SNAGX project can remain editable. Anyone with that source may be able to move or remove the object. Store the working copy with the same care as the original, and send the reviewed delivery image instead. The SNAGX format guide explains that distinction.
Check the destination as well as the file extension. Recent releases can send original SNAGX files to Camtasia Online: this change is documented for Windows 2026.3.1 and Mac 2026.3.2. Do not assume every Share command sends only flattened pixels.
TechSmith lists Snagit's text and face recognition as on-device processing. That does not mean a cloud-sharing command stays on your computer. Confirm the recipient, link permissions, and storage location. The separate online Blur Image tool is not the desktop workflow described here.
If Smart Redact is missing or fails
First check Help > About Snagit on Windows or Snagit > About Snagit on Mac. Note the complete build and whether the tool is missing, the scan errors, or it simply misses a field.
- Snagit 2024 or earlier: the Smart Redact procedure above does not apply. The feature starts with Snagit 2025; manual controls also vary by version. Use a supported opaque-redaction workflow and verify its flattened output.
- Windows OCR failure: TechSmith's May 2026 OCR-license notice identifies fixed builds 2026.1.1 and 2025.4.2, or later within each branch. Its 2024.3.7 fix applies to OCR features already in 2024, not an added Smart Redact feature.
- Mac failure: do not apply that Windows build table. Mac uses Apple OCR. Check the Mac release notes and the supported macOS version, then test a clear, non-sensitive image.
- A missed field: cover it manually and inspect other occurrences. A successful scan is not proof that every private item was detected.
Use your approved update route. On a managed computer, ask IT to handle disabled updates or experiments rather than changing deployment policy. Windows 2026.3.0 documents improved Smart Redact accuracy with experimental Optimized OCR, but turning on an experiment is not required to make an opaque manual cover. The OCR troubleshooting guide handles the deeper diagnosis.
Screenshots, documents, and video need different checks
This workflow is for still-image copies. It does not remove live text from the original PDF or Office document, and it does not apply a tracked blur to a video. Use a document-redaction process or video editor suited to those files. For a video, review every frame where the private detail appears.
If you need help placing annotations after redaction, return to the Snagit Editor guide. If you need blur in another app or on a phone, use the cross-platform screenshot blur guide.
Snagit blur and redaction FAQ
Is Snagit blur permanent?
A blur can become part of a flattened image, but that does not make the hidden information reliably secret. Patterns and surrounding context may still reveal it. Use complete opaque coverage for private fields and keep the editable source private.
Can someone unblur text in a screenshot?
Some blurred or pixelated information can be inferred or reconstructed. The risk depends on the image; there is no universal safe blur percentage. Use opaque redaction and inspect the exported file instead of relying on blur for secrets.
How do I redact a screenshot in Snagit?
Work on a copy, crop unnecessary context, cover private fields completely, and save a separate flattened PNG or JPEG. Close and reopen the exact delivery file, then inspect the whole frame, metadata, filename, and sharing destination.
What does Smart Redact detect?
TechSmith lists addresses, credit card numbers, dates, emails, faces, IP addresses, phone numbers, Social Security numbers, and URLs. Review detections and cover missed private fields manually.
Why is Smart Redact missing or not working?
Check your platform and complete build. Smart Redact started with Snagit 2025. A Windows OCR-license issue has fixed builds 2026.1.1 and 2025.4.2 or later within those branches. Mac uses Apple OCR and needs a separate platform check. Missed detections still require manual review.
Should I send a redacted SNAGX file?
Not when the recipient should receive only the redacted image. SNAGX can retain editable covers and source content. Send the flattened delivery copy you reopened and checked, and keep the working source private.
Does Snagit export remove every metadata field?
Do not assume it does. Inspect the delivered file with an approved metadata viewer and apply your required cleanup process, especially for imported photos or scans. Check the image again after cleanup.
Does Smart Redact upload my screenshot?
TechSmith documents on-device text and face recognition in Snagit. That is separate from sharing: a cloud destination or synced folder can still receive your files, and some destinations accept editable SNAGX sources. Review the actual delivery route.