
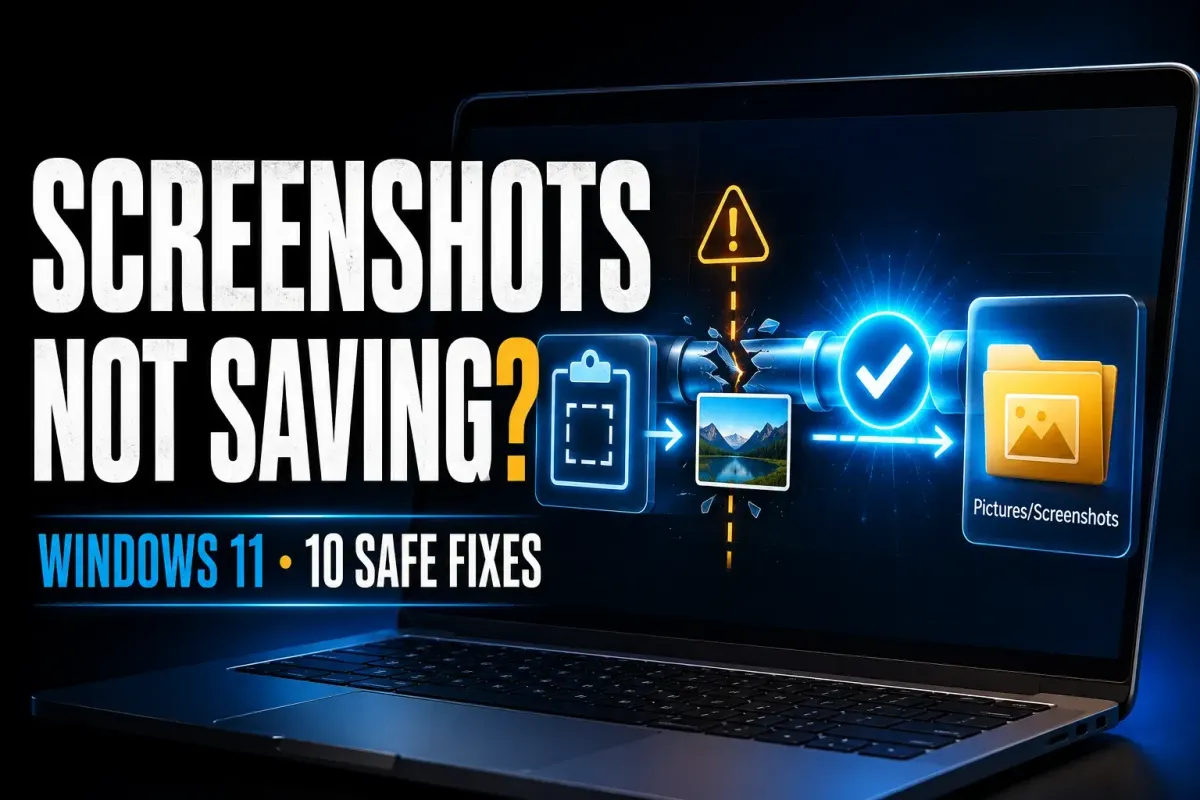
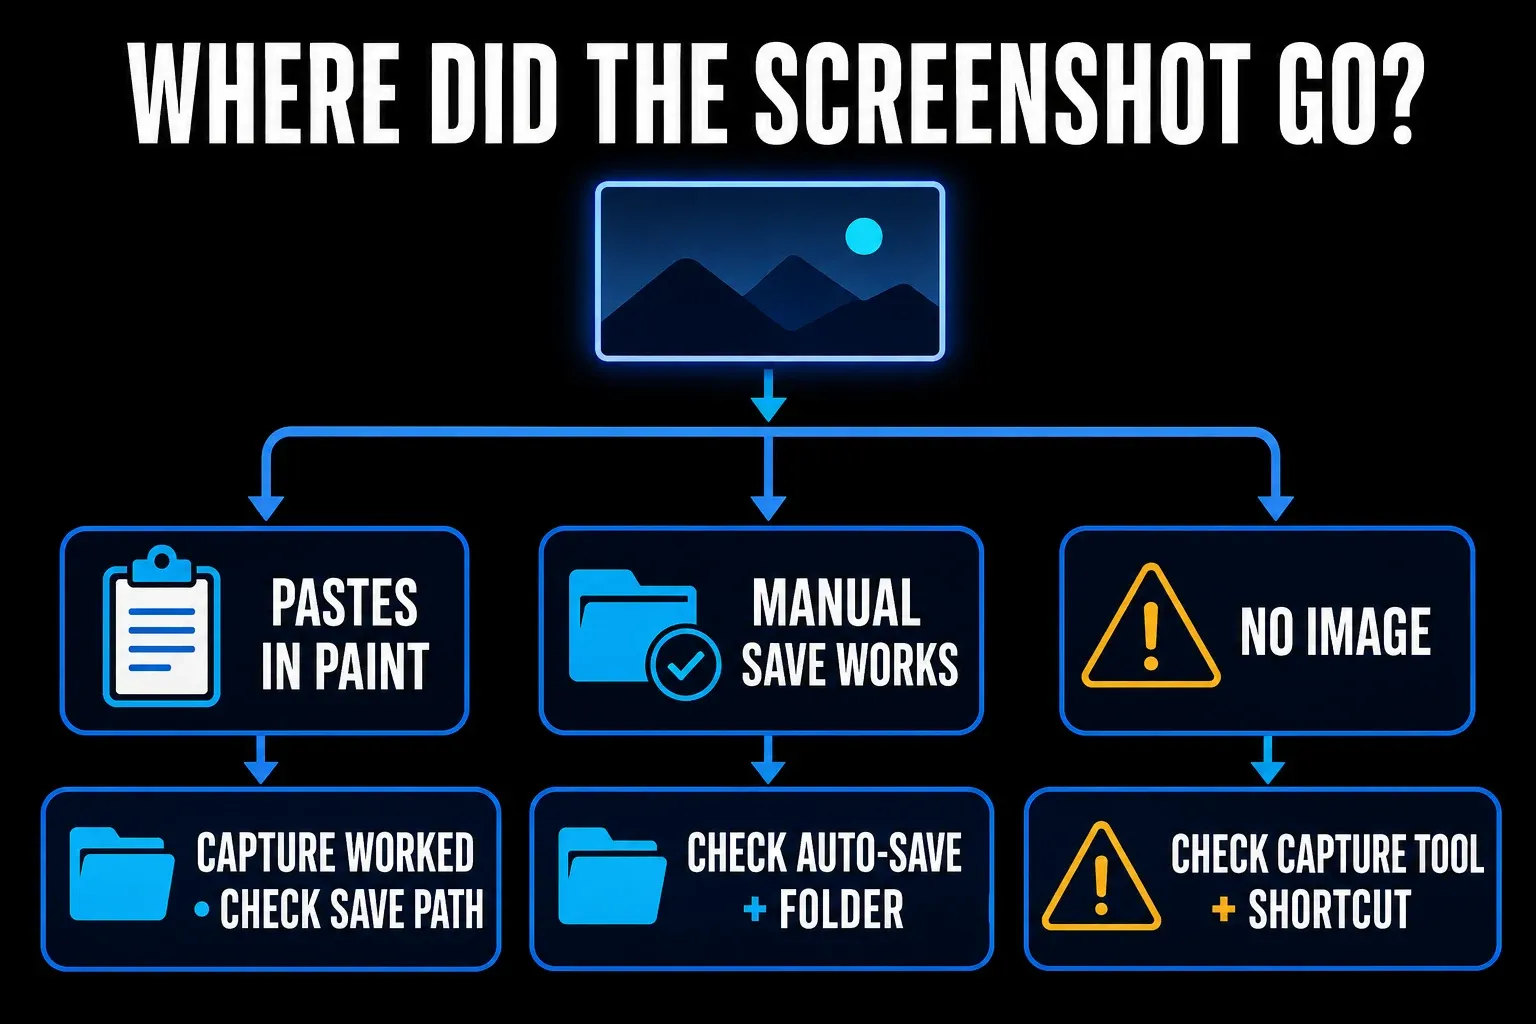
If screenshots are not saving in Windows 11, check capture and file saving separately. First save any important image still open in Snipping Tool or on the clipboard. Then display something harmless and recognizable, such as a note reading “capture test 1,” take a new screenshot, and paste it into Paint with Ctrl + V. Confirm that the pasted image contains that new note, not an older capture.
If the fresh image pastes, that capture reached the clipboard. Save it from Paint if you need it. Next, open Snipping Tool from Start, select image capture and New, and take a small test snip. Use Save as to choose a permitted folder and a new name such as capture-test-1.png. Reopen the file from File Explorer. This tests writing a usable file to that particular location; it does not prove automatic saving works.
The Windows 11 app controls and Microsoft guidance below were checked on September 19, 2026. This is a documentation-based troubleshooting guide, not a claim that every fix was tested on your build. Stop once the capture method you use reliably creates readable files. These Windows 11 auto-save instructions do not describe the older Windows 10 Snipping Tool.
For each test, note the shortcut, fresh image content, actual save path, filename and any exact error. Use harmless content because automatic save or folder backup may retain a copy. Save your open work before a restart, app update, Repair or Reset. On a managed PC, follow your organization’s policy; do not bypass capture restrictions or change registry and security settings yourself.
Use the shortcut that matches the result you need
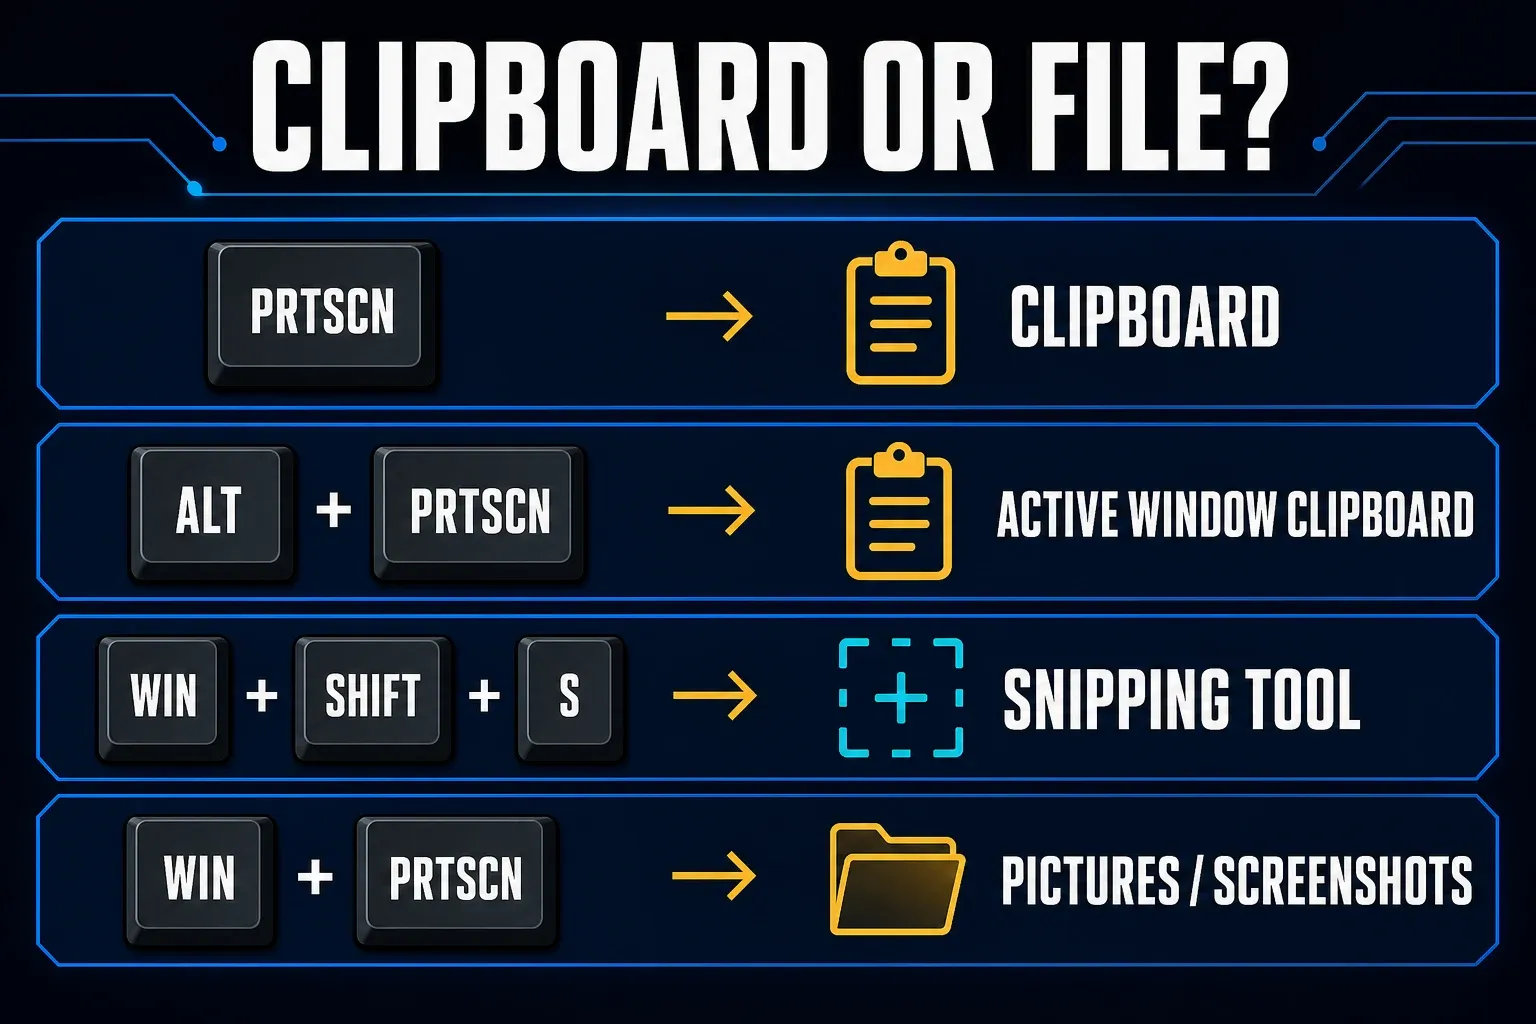
A clipboard image and a saved file are different outputs. Use this table to choose a test, then check the result instead of relying on a screen flash or notification.
| Method | Expected result | Where to look |
|---|---|---|
| PrtScn | Copies the full screen to the clipboard on the standard path; a Windows setting may instead open Snipping Tool | Paste with Ctrl + V, or complete the Snipping Tool capture |
| Alt + PrtScn | Copies the active window to the clipboard | Paste with Ctrl + V |
| Windows + Shift + S | Opens the Snipping Tool overlay; current Snipping Tool can also save completed image snips automatically | Snipping Tool editor, clipboard, and the folder selected in Snipping Tool Settings |
| Windows + PrtScn | Captures the screen and creates a file | Pictures > Screenshots, subject to folder redirection |
Microsoft’s Print Screen instructions describe clipboard capture and pasting. Its separate Windows + PrtScn guidance points to Pictures > Screenshots and notes that the shortcut depends on your hardware. Follow your keyboard’s own instructions if PrtScn shares a key.
The diagram below shows the standard shortcut routes. PrtScn can be reassigned to Snipping Tool, so its clipboard-only row is not a promise about every PC. If the shortcut does not capture but New in Snipping Tool does, use the Print Screen troubleshooting guide. If a saved file opens but its image is black, use the black screenshot diagnosis. A missing flash or banner alone does not prove either failure.
1. Check whether the screenshot is on the clipboard
Use a new, recognizable test image and paste immediately into Paint with Ctrl + V. Check the content, not merely whether an image appears. If the capture is visible in Snipping Tool but will not paste, use its Copy control or Ctrl + C and try again. That isolates a clipboard problem from a failure to capture or save a file.
Windows + V opens optional clipboard history. Microsoft documents a 4 MB limit per history item and support for bitmap images. History is cleared at restart except for pinned entries. An image missing from history is not proof it was never captured, and turning history on now is not a recovery guarantee. You do not need cloud clipboard sync for this test.
If the old snip is still open or pasteable, save it before continuing. Then try New in Snipping Tool. If no image is produced even through the app, use the Snipping Tool repair guide. If the image appears but cannot be written to a file, continue below. Do not clear temporary app folders while trying to recover an unsaved capture.
2. Ask Snipping Tool where it is saving
Open Snipping Tool’s three-dot See more menu, then Settings. Under the image auto-save control, inspect the destination shown by your installed app. Microsoft’s current Snipping Tool guide documents both the automatic-save setting and the default Screenshots folder control. Your last manual Save as location is not necessarily that automatic destination.
Open that exact folder, using the app’s Open folder control if available. Take a fresh harmless snip and sort by Date modified. Open the new image and confirm its contents. A file saved here means this route works even if you previously searched another Pictures folder. Record the paths for Snipping Tool and Windows + PrtScn separately; do not assume changing one changes the other.
3. Turn on automatic save, then retest
In Snipping Tool Settings, enable the image auto-save option, commonly labeled Automatically save original screenshots, if that behavior is allowed on your device. Return to capture, select a small rectangle, then inspect the displayed destination. Check the actual file instead of waiting only for a notification. A video-recording save control is a different setting.
If the setting is absent or does not persist, first save open work, then follow the Store update and app-repair steps below. Do not install an unofficial copy or change policy to expose the switch. Until automatic saving is reliable, use Save as and reopen each required image. An automatic original is not a guarantee that later annotations or redactions were saved into that same file.
4. Check the local and OneDrive Pictures folders
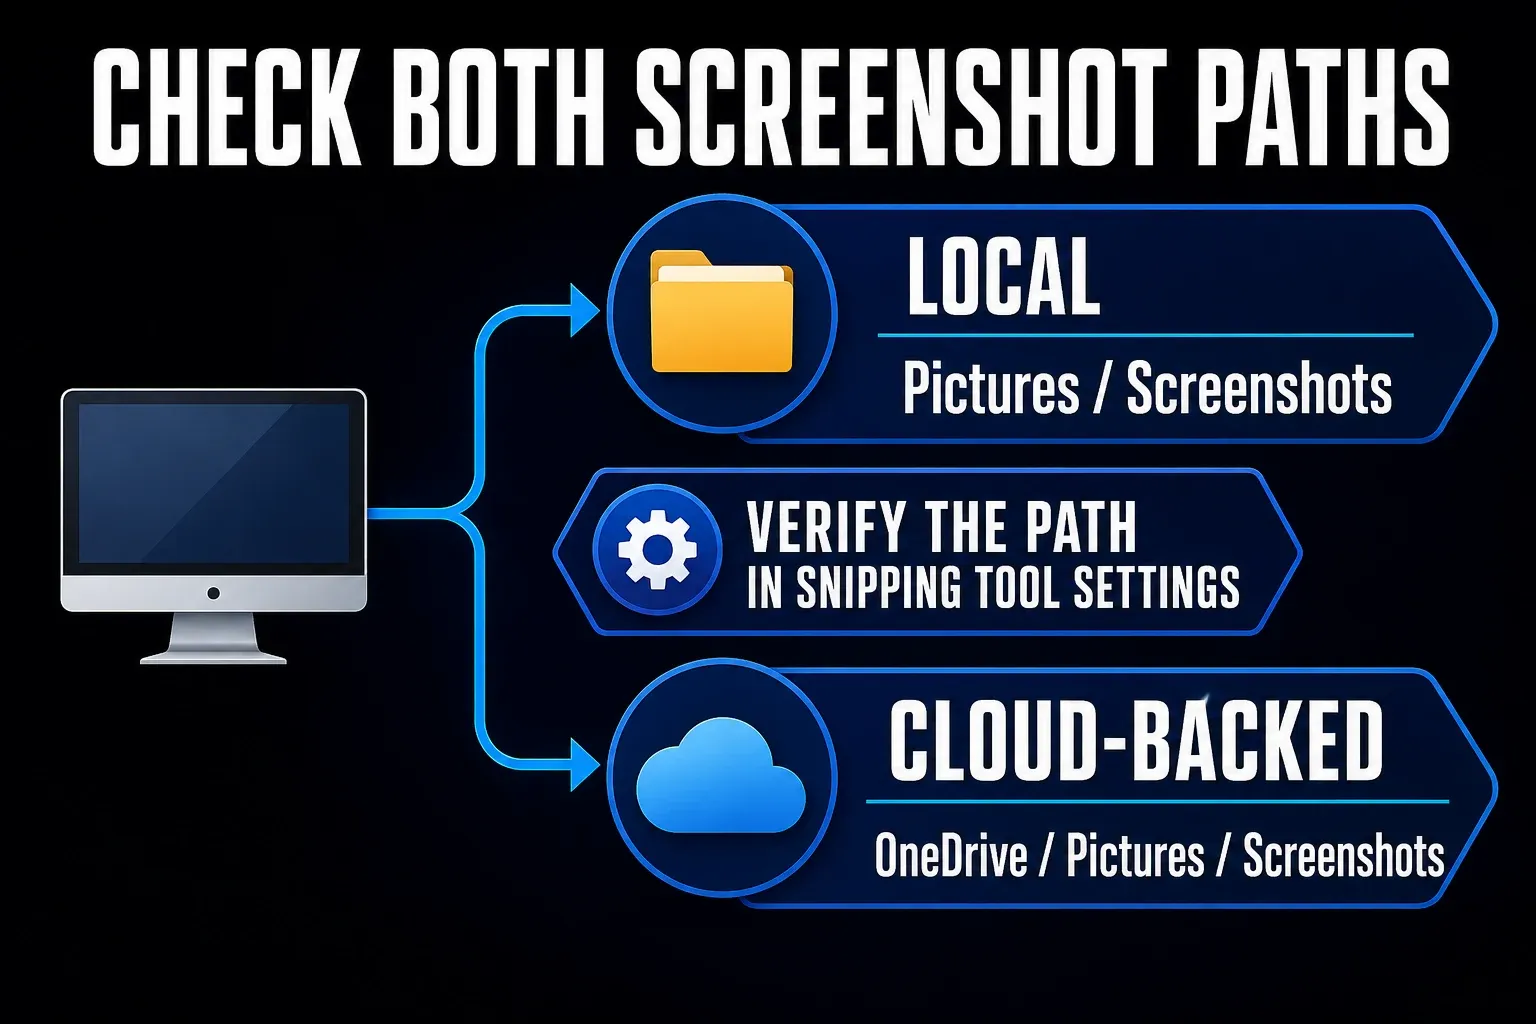
Pictures may be local or included in OneDrive folder backup. The following are examples you can inspect in File Explorer, not guaranteed paths for every account:
%USERPROFILE%\Pictures\Screenshots%USERPROFILE%\OneDrive\Pictures\Screenshots
Work or school OneDrive folders can have different names, and Pictures may be redirected elsewhere. Start with the actual path in the app. If the file opens locally but is missing from another device or OneDrive online, investigate synchronization separately from screenshot creation.
Microsoft says the old Save screenshots to OneDrive switch is no longer available. To inspect current Pictures backup, select the OneDrive cloud icon, open Settings > Sync and backup > Manage backup, and read the Pictures status. Do not toggle backup just to diagnose a missing image.
Stopping folder backup can change where files remain: the current Windows folder-backup instructions offer choices for keeping files on the PC or in OneDrive. Read the exact prompt before making an intentional change. If OneDrive reports full storage, Microsoft says new files cannot upload or sync. Preserve the local capture and resolve the reported sync issue; do not delete folders or buy storage without checking the cause.
5. Check free space and app write access
Try Save as from Snipping Tool to the intended folder, using a new PNG filename, then reopen that file. Repeat in another permitted local folder if the first location fails. Check free space on the destination drive in File Explorer > This PC, under Devices and drives. An inaccessible disk, low space or an access error needs its own correction.
A successful text-file test in File Explorer does not prove Snipping Tool has the same permission. Microsoft’s Controlled folder access guidance explains that protection can block a particular app from writing to a protected folder. If Windows reports an app block, record its exact path and ask your administrator to review it. Keep protection enabled and avoid broad antivirus exclusions.
If Snipping Tool can save and reopen a PNG in the exact automatic destination but auto-save still fails, focus on its settings and app state. If only another folder works, keep that temporary copy and investigate the destination. A zero-byte file or one that will not open is not a successful save; record the error rather than repeatedly overwriting the same filename.
6. Restore a missing Screenshots folder safely
If the app points to a local folder that no longer exists, first confirm that you are not looking at a disconnected drive, an offline network location or a redirected Pictures folder. When a new local destination is appropriate, create it and select it through Snipping Tool Settings. Test a fresh capture there. Creating a folder alone does not repair every Windows capture method.
Reconnect an intentionally moved drive before changing its saved location. A 2019 Microsoft Q&A case about a moved Screenshots folder describes this symptom on Windows 10. It is a user report and advisor response, not evidence that every current Windows 11 failure has a stale registry path.
Do not merge Pictures with Downloads, drag a known folder between drives, or overwrite a managed OneDrive path as a quick fix. Keep old files intact. Verify the Snipping Tool destination through its own settings; if Windows + PrtScn still uses an unavailable known folder, keep that as a separate finding for step 10.
7. Update Snipping Tool and Windows
Save any open snips and other work, then open Microsoft Store and select Check for Updates. Install an offered Snipping Tool update, close and reopen the app, and repeat the same small capture. Automatic Store updates do not prove your installed copy is already current.
For Windows itself, use Settings > Windows Update and install the supported updates offered for your device, following work-PC policy. Restart if requested. Do not switch to Insider builds or reinstall Windows just for this symptom. Retest the original shortcut and destination with a new filename.
8. Repair Snipping Tool before you reset it
After preserving open captures, follow Microsoft’s app-repair route: Settings > Apps > Installed apps > Snipping Tool > three-dot menu > Advanced options. Choose Repair if it is available and repeat the failing save test. Some app installations do not expose every option.
If Repair is unavailable or does not help, record your app settings before considering Reset. Microsoft distinguishes Repair from Reset: Reset returns the app to its default state and may remove app data. Do not rely on it to preserve unsaved captures. Afterward, recheck the image auto-save setting and destination. This means resetting the app, not using Reset this PC.
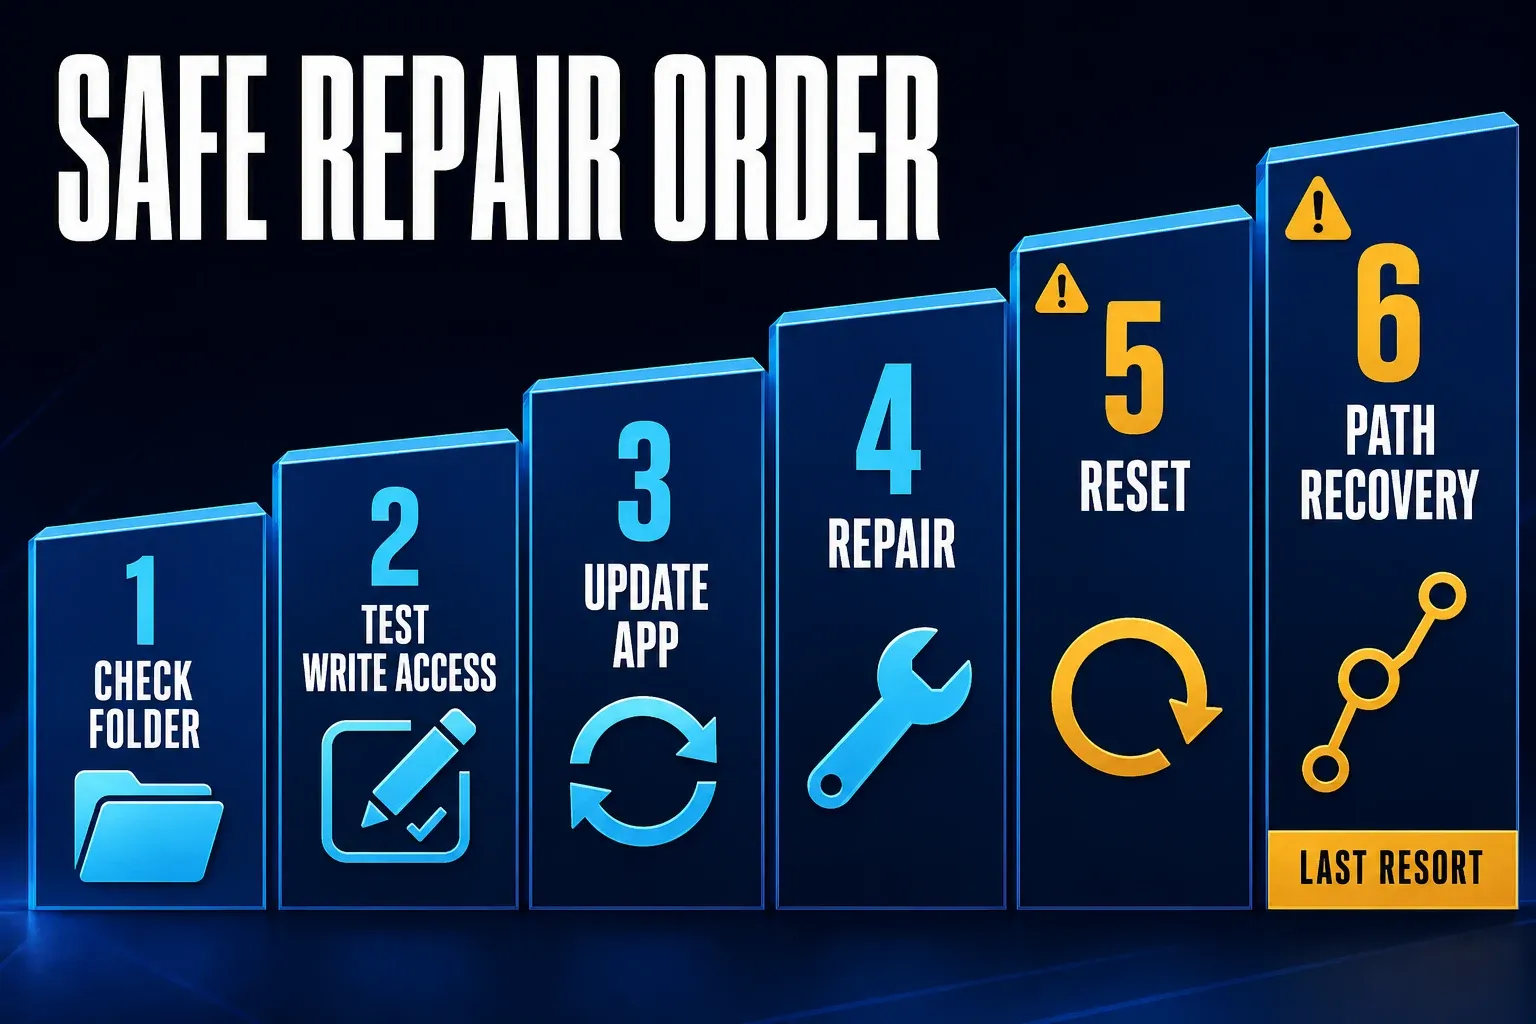
9. Remove save conflicts without deleting tools
If capture from New works but a keyboard route behaves differently, close one recognized, nonessential capture or keyboard utility at a time, after saving its work. Restore it if the result does not change. Do not terminate a remote session you depend on or your organization’s security tools. This is a controlled conflict test, not proof that an overlay caused the missing file.
Check Settings > Accessibility > Keyboard for the Print Screen capture assignment. If PrtScn opens Snipping Tool, evaluate the app’s own auto-save setting. Test Windows + PrtScn separately on a supported keyboard. Neither a changed shortcut nor a restored notification proves that a readable image was written.
10. Escalate a persistent Windows screenshot-path failure
Ask IT or Microsoft Support to review the known-folder configuration if Windows + PrtScn still fails after the supported checks. Do not treat Snipping Tool’s manual-save success as proof that its shortcut, Windows’ known folder and every security rule are healthy. Gather these observations first:
- whether a fresh recognizable image reaches the clipboard or Snipping Tool editor;
- whether Save as creates a readable PNG, and the exact successful destination;
- whether Snipping Tool auto-save creates a readable image and which folder it uses;
- the installed app version, Windows version and update or repair steps already tried;
- what happens with Windows + PrtScn, including the expected path and any exact error;
- whether Pictures or Screenshots was previously moved, backed up, disconnected or managed by your organization.
Microsoft’s known-folder reference identifies Screenshots as a per-user folder with a default path of %USERPROFILE%\Pictures\Screenshots. A valid configured path can differ from that default. Knowing the default is not enough reason to overwrite an existing value.
The historical Q&A repair uses a value under HKEY_CURRENT_USER\Software\Microsoft\Windows\CurrentVersion\Explorer\User Shell Folders. It does not establish that your current configuration is damaged. Have support inspect the intended destination and any OneDrive or organization policy before recommending a change.
Do not paste a registry value or run a repair script from an unrelated PC. Before any authorized registry change, the person making it should back up the exact affected key and have a recovery plan. A missing, managed or unfamiliar value is a reason to stop, not create one by guessing.
Keep using a verified manual Save as destination while the path issue is investigated, if your policy permits it. Send logs or screenshots through the approved private support channel; remove personal folder names, account details and unrelated content from anything shared publicly.
Confirm saving works after the change
- Take a fresh Snipping Tool image and reopen the automatic file if you want auto-save enabled. Verify its contents, not just the filename.
- Test Windows + PrtScn separately if you use that route, and reopen its new file in the actual destination.
- After saving all open work, restart Windows and repeat the route that failed. If OneDrive backup is required, also confirm that the new file finishes syncing.
Record the working path and the change that helped. A successful retest confirms that route at that moment; it is not a guarantee against every future app or folder change. Use distinct filenames during diagnosis and keep required captures before removing your own disposable test files.
If no image is captured, the output is black, or a different device is affected, return to the screenshot troubleshooting hub and select that symptom. Avoid repeating save-path repairs for a different failure.
Screenshots not saving in Windows 11 FAQ
Why is my screenshot not showing in Pictures > Screenshots?
The image may be on the clipboard, Snipping Tool may use another automatic destination, or Pictures may be redirected to OneDrive. Test with recognizable new content, inspect the exact path shown in Snipping Tool Settings, and reopen the saved file. Check Windows + PrtScn separately.
Does PrtScn save a screenshot file in Windows 11?
The standard Print Screen route copies the screen to the clipboard, but the key can be assigned to open Snipping Tool instead. Clipboard capture alone does not create a file. Use Windows + PrtScn on supported hardware to test direct screenshot saving, then check the actual Pictures > Screenshots location.
Where does Windows + Shift + S save screenshots?
Windows + Shift + S opens the image-capture overlay. Current Windows 11 Snipping Tool supports automatic saving to the destination selected in its Settings, as well as clipboard capture. Inspect the image auto-save setting and actual folder; a manual Save as copy can go somewhere else.
Why are screenshots saving to OneDrive?
Pictures may be included in OneDrive folder backup. The old separate screenshot-saving switch has been removed. Inspect OneDrive Settings > Sync and backup > Manage backup and your actual paths before changing backup. A file present locally but absent online calls for a separate sync check.
How do I turn on automatic screenshot saving?
Open Snipping Tool’s three-dot menu, then Settings, and enable the image auto-save option if permitted on your device. Check the destination and take a fresh test image. If the control is missing, update the app through Microsoft Store and check device policy rather than using unofficial fixes.
Should I reset Snipping Tool?
Try Repair first if available. Before Reset, save open captures and record your settings: Reset may remove app data and restore defaults. Afterward, verify automatic save and the destination again. Do not confuse an app reset with Reset this PC.
Is it safe to edit the screenshot folder registry value?
Do not edit it simply because its path differs from an online example. A redirected or managed path can be correct. Use supported app settings first; for a persistent Windows + PrtScn known-folder failure, ask IT or Microsoft Support to inspect the configuration and arrange a scoped backup before any authorized change.