
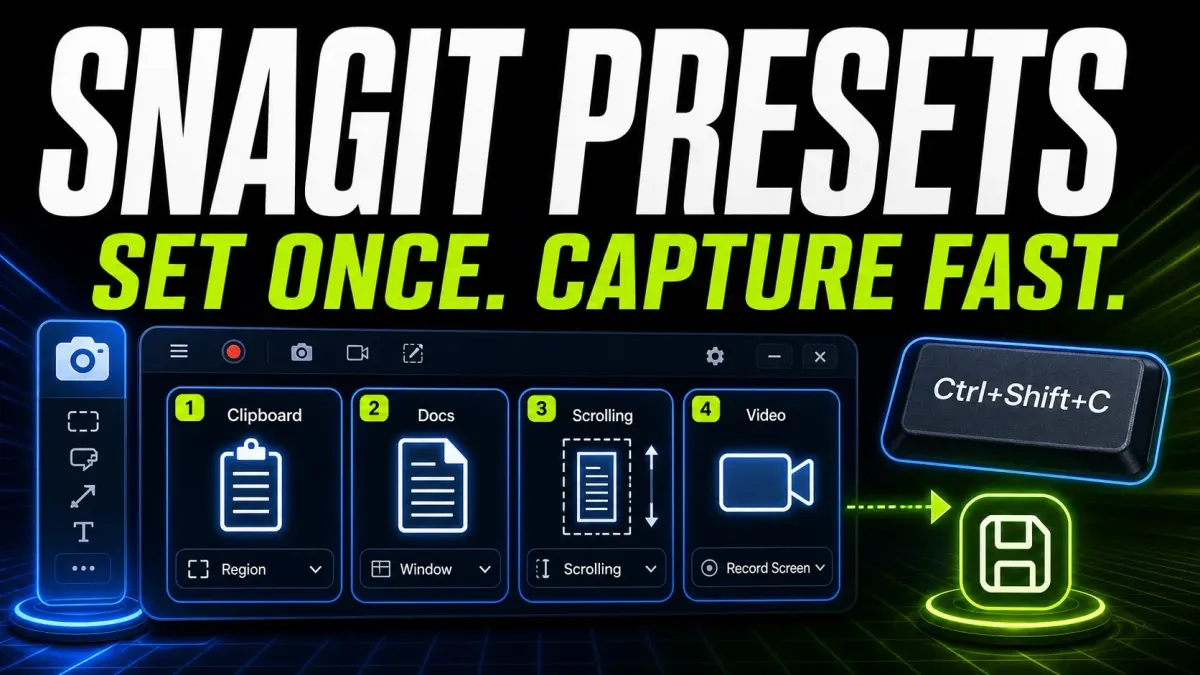
To save a Snagit capture preset, configure the Capture window, open Add Preset, and choose New preset from current settings. Name it, then start captures from that preset or assign it a shortcut. You can keep separate setups for clipboard copies, screenshots that need Editor review, scrolling pages, and video with a particular microphone.
Documentation checked September 20, 2026. The instructions below distinguish Windows from Mac where TechSmith documents different controls. They are documentation-based instructions, not a claim that every Snagit version or keyboard has been tested here. The existing illustrations summarize workflows; use the platform-specific text for exact commands.
What a Snagit preset saves
A preset stores capture settings. Available options depend on Image, Video, or All-in-One mode: selection, cursor, delay, Editor preview, effects, audio or webcam choices, and sharing. A preset shortcut starts that saved setup. It does not guarantee that a destination account, microphone, or folder will still be available.
Editor tools have separate settings. A Quick Style saves tool properties, such as a callout’s appearance; a capture preset controls how you take the capture. Use the Snagit Editor guide for the editing stage. Preset export also does not replace a backup of your captured images.
| Saved with a capture preset | Managed elsewhere |
|---|---|
| Image, Video, or All-in-One | Editor toolbar layout |
| Region, window, fullscreen, or supported selection | Annotation Quick Styles and themes |
| Cursor, delay, and Editor preview | Editable SNAGX content |
| Capture effects | Library retention and backup |
| Share destination; check platform-specific file settings below | Manual exports created later |
| Preset-specific hotkey | Operating-system shortcut ownership |
Know which settings Snagit will use
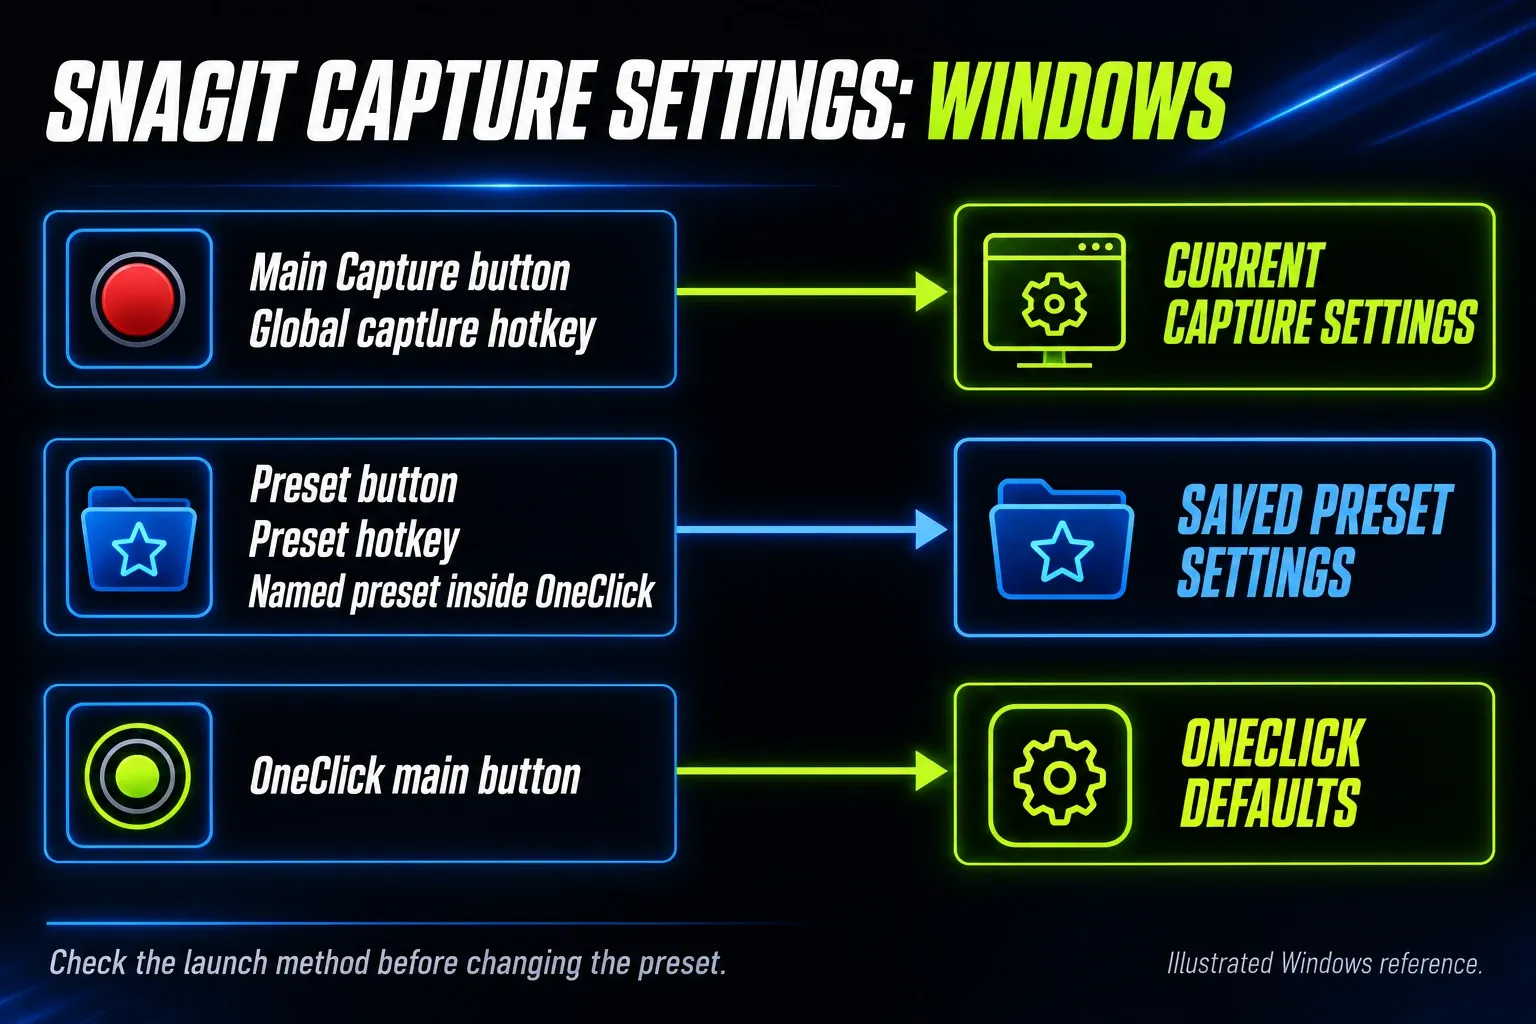
First check how the capture started. TechSmith documents the following launcher behavior for Windows: the red Capture button and global capture hotkey use current Capture-window settings; a preset button or preset hotkey uses the saved preset. OneClick’s main button uses its own defaults. This Windows OneClick behavior should not be assumed to describe the Mac capture widget.
| How capture starts | Settings used | Typical surprise |
|---|---|---|
| Red Capture button | Current Capture window | A recent manual change persists |
| Global capture hotkey | Current Capture window | Print Screen produces a different result tomorrow |
| Preset Capture button | Named preset | Effect or destination runs automatically |
| Preset hotkey | Named preset | Another app may own the shortcut |
| OneClick main button | OneClick defaults | Capture-window choices are not applied |
| Preset selected in OneClick | Named preset | The preset may include sharing |
The Windows capture-mode reference lists OneClick’s main-button defaults as All-in-One, Editor preview and cursor on, with no delay, effect, or share destination. Select a named preset inside OneClick when you want the preset’s settings. A dedicated preset shortcut selects a known setup; it cannot prevent a keyboard conflict or failed upload.
Design the outcome before saving the preset
Decide what the capture needs before saving it. For a private support note, choose Editor review and no automatic sharing. For a quick clipboard copy, decide whether the image is safe to paste without redaction. Include the destination in the preset name so you can distinguish otherwise similar setups.
Set cursor visibility and any delay before saving an image preset. If you need to capture a dropdown menu in Snagit, choose the menu or delayed-capture method for your platform first. For video, check microphone, system audio, and webcam separately. The audio troubleshooting guide helps when the test recording is silent.
Create a Snagit capture preset
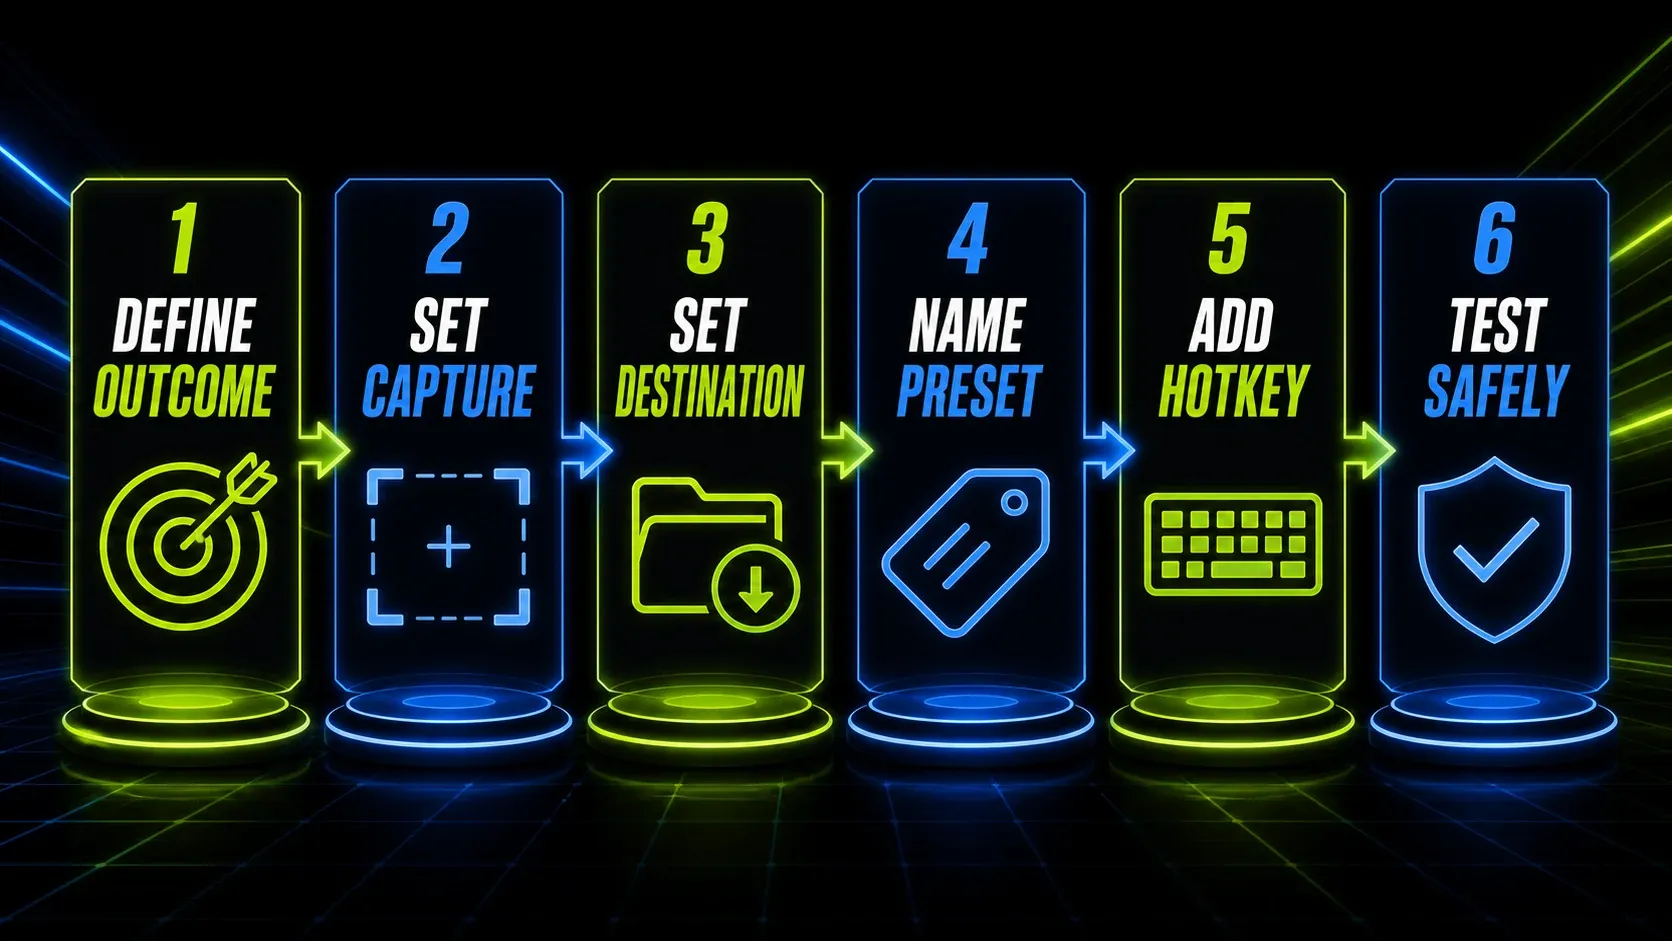
- Open Snagit Capture and choose Image, Video, or All-in-One for the task.
- Set the selection method, cursor, delay, and other available capture options. For video, check the selected audio and webcam devices.
- Choose Preview in Editor and the destination. Keep Share set to None when the capture needs a privacy review.
- Open the Add Preset dropdown and choose New preset from current settings.
- Type a descriptive name, such as Docs Region: Editor, and press Enter.
- To add a shortcut, click Add Hotkey on Windows or + Shortcut on Mac, then press an available key combination.
- Run the preset on harmless demo content. Check the captured area, Editor behavior, clipboard or file result, and any sharing destination.
TechSmith’s current preset tutorial documents these commands. To run a saved preset without a shortcut, expand Presets, hover over its name, and click its red Preset Capture button. Do not use the main Capture button as a substitute when you are checking the saved preset.
Four practical presets to keep
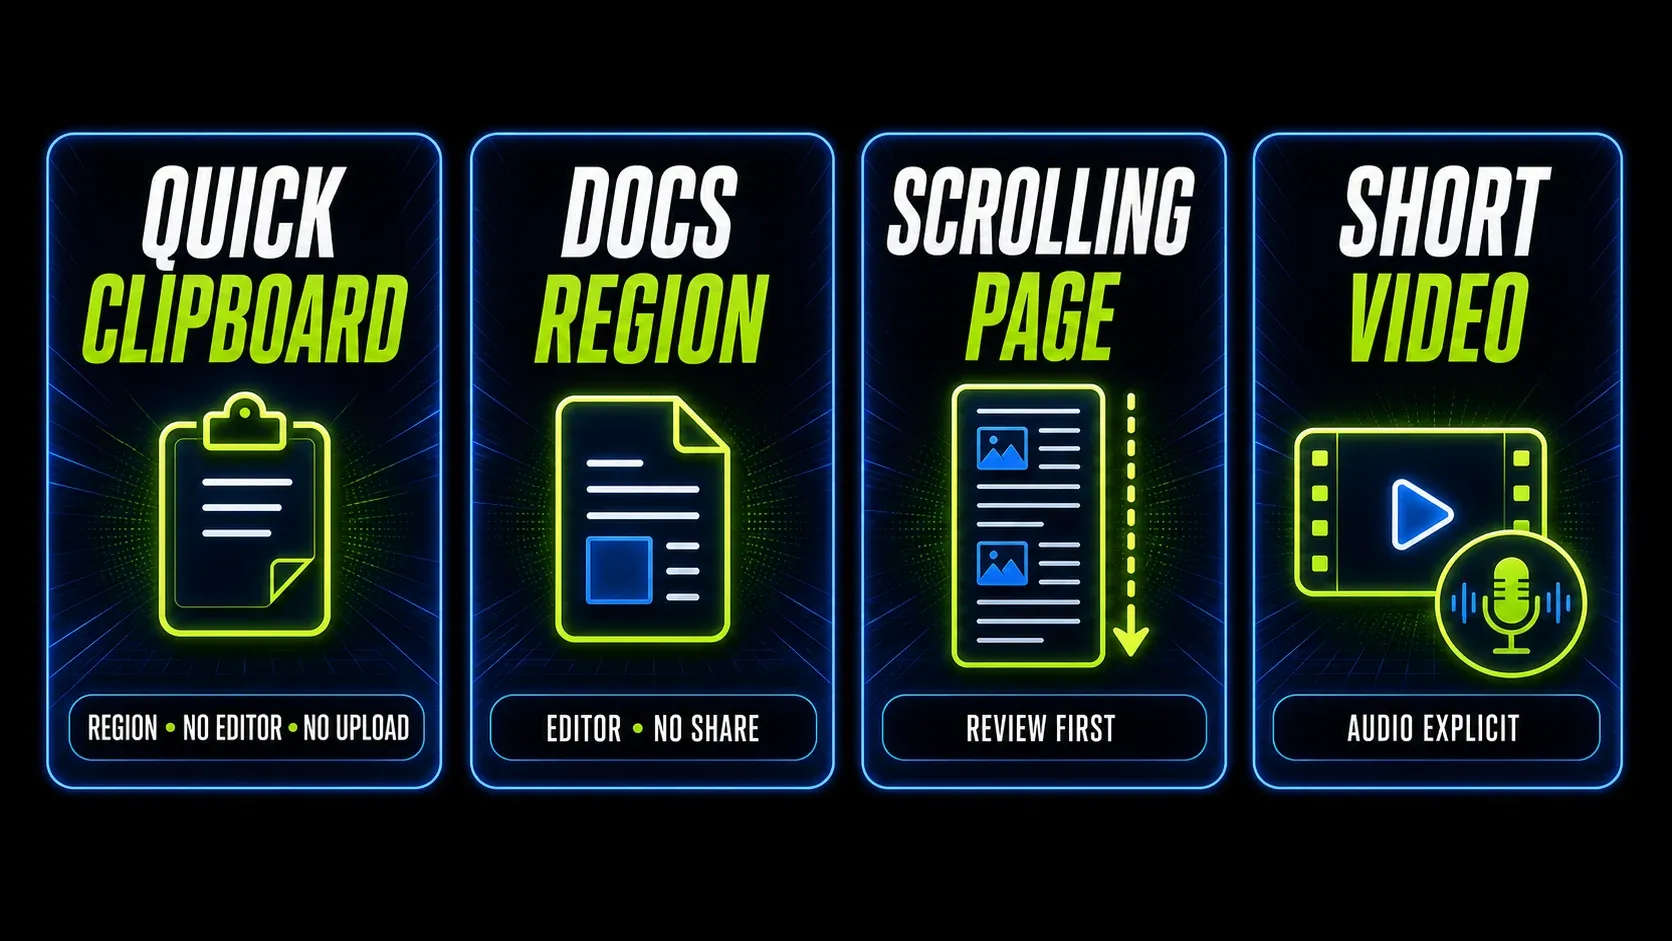
Use these four examples as starting points. Adjust the cursor and destination for your task, then test the saved preset itself.
Quick Clipboard: No Editor
Choose Image with Region selection, turn Capture Cursor and Preview in Editor off, enable Copy to Clipboard, and set Share to None. Use this for non-sensitive material that can be pasted immediately. Keep Editor review on if you need to redact information or inspect the crop before delivery.
Docs Region: Editor
Choose Image with Region selection, set cursor visibility as needed, keep Preview in Editor on, and set Share to None. Crop and annotate in Editor before exporting. Follow the annotation guide for readable labels and the redaction checklist for private information. Add accessibility text later in the app or CMS where you publish the image.
Scrolling Page: Review First
On the Image tab, choose Scrolling in Selection. Keep Preview in Editor on, leave automatic effects off, and set Share to None. Inspect the finished image for repeated headers, duplicated rows, and missing content before using it. The scrolling screenshot guide covers the capture steps and alternatives when stitching fails.
Short Video: Audio Explicit
Choose Video with Region selection. Select the microphone and system-audio options you need, leave the webcam off unless required, and avoid automatic sharing. Make a short test recording, for example ten seconds, then play it back and check both the sound and captured area. Recheck the input device if a microphone was disconnected.
Assign preset hotkeys without creating conflicts
TechSmith’s hotkey reference lists Print Screen as the default global capture key on Windows and Control+Shift+C on Mac. Your assignment may differ. A preset shortcut selects its saved setup; the global shortcut follows current Capture-window settings. Check which field you assigned before troubleshooting the output.
Assign shortcuts to the presets you use often. Test each combination with Snagit in the background and in the app you intend to capture. If you need other commands, the Windows and Mac shortcut guide separates capture shortcuts from Editor commands.
TechSmith’s hotkey troubleshooting page identifies conflicts with other applications, including OneDrive and Dropbox. Try a different combination. If that works, investigate the original key assignment before changing the capture preset; the test narrows the cause but does not identify which app intercepted the key.
Fix Print Screen launching the wrong tool
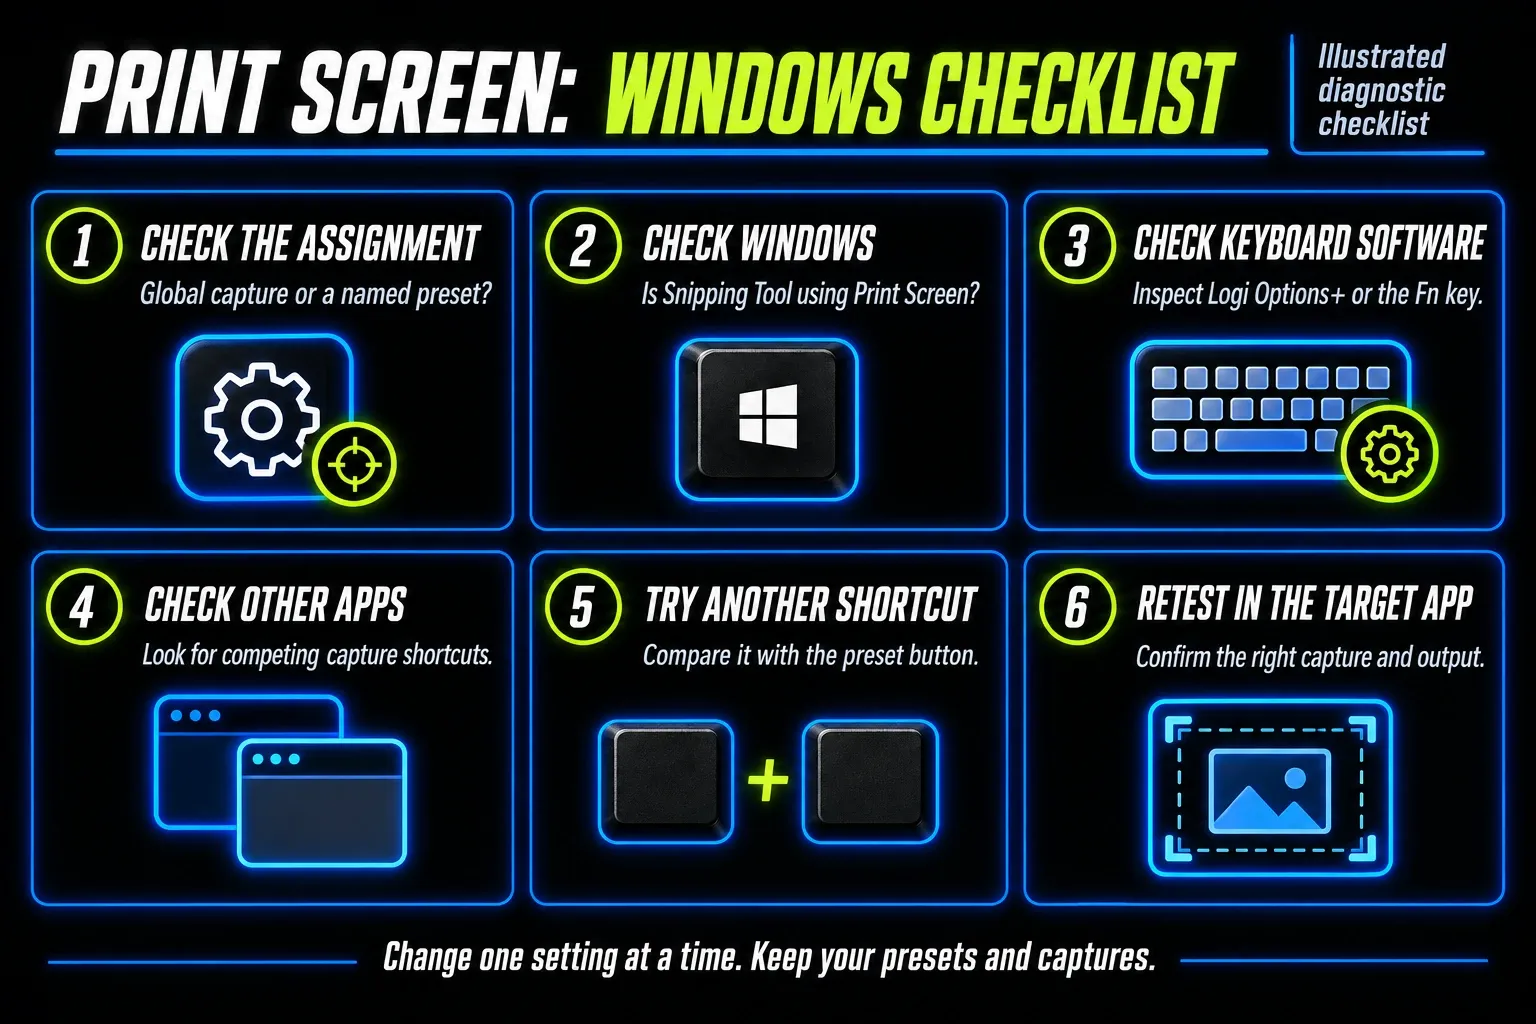
- Confirm whether Print Screen should start global capture or a particular preset. Check the corresponding shortcut field in Snagit.
- On Windows 11, open Settings > Accessibility > Keyboard. If Use the Print screen key to open Snipping Tool is on and you want Snagit to handle that key, turn it off. TechSmith advises restarting the computer after this change.
- If you use Logi Options+, inspect the keyboard’s Print Screen action. TechSmith’s instructions select Other Actions > Print screen; check the labels available for your keyboard.
- Check other capture tools or apps using the same key. On laptops, also check whether the keyboard requires Fn for Print Screen.
- Assign a temporary alternative shortcut and test it in the app where capture failed. Restore your preferred combination only after resolving the conflict.
The official Print Screen troubleshooting instructions, updated February 26, 2026, cover these Windows cases. Use the Snagit Print Screen guide for the detailed checks. Changing a shortcut does not require deleting presets or captured files.
Do not hide an upload inside an innocent preset
A share destination can send the capture to another app or an online service. For customer records, access tokens, internal dashboards, and private notifications, keep Share set to None and review in Editor before sending anything. A reassuring preset name does not establish where its output goes.
Check the permissions for each destination you use. TechSmith’s share-destination permissions FAQ describes OneDrive’s delegated access and destination information stored locally. A preset cannot substitute for checking the connected account and intended folder.
Test a shared or imported preset on non-sensitive content. Check whether Editor opens, the clipboard changes, a file is written, an external app launches, or a cloud link appears. Fix unexpected delivery behavior before using the preset on private material.
Name and maintain presets like workflows
Use names that describe capture and delivery: Docs Region: Editor: No Share, Support Menu: Delay 5s: Editor, or Clipboard Region: No Editor. These are examples, not required settings. Record any folder, microphone, or account dependency in your team’s notes.
Keep a record of the working settings before changing a preset. Use the menu to the right of its name to edit it, or create a separately named preset from the new Capture settings. Retest after changing devices, folders, or accounts. Back up any preset you may need before removing it.
Export and import presets on another computer
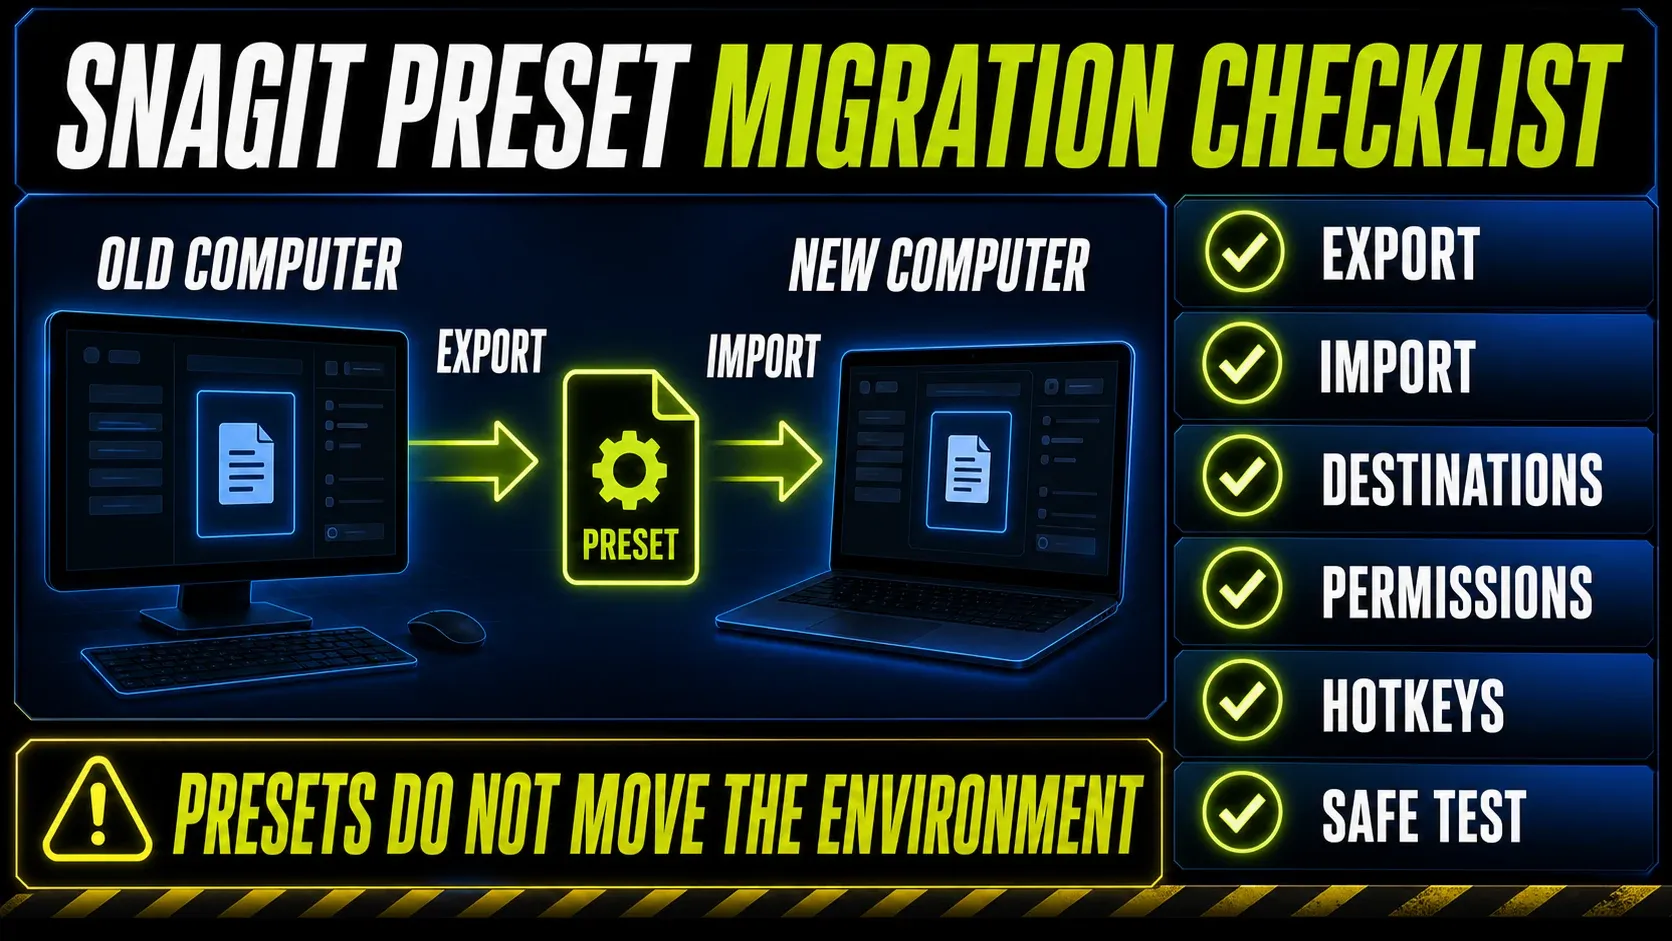
For Windows, TechSmith’s preset migration instructions use File > Export All Presets and File > Import Presets in the Capture window. The current tutorial labels sharing .snagpresets files as Windows. Do not assume that this establishes Mac import/export or Windows-to-Mac compatibility. If your Mac version lacks these commands, record the settings and recreate the presets manually.
- On the Windows source computer, choose File > Export All Presets and retain the export before removing or changing any presets.
- On the destination Windows installation, choose File > Import Presets and select the export.
- Inspect the imported settings before capture. Check that the folder, account, microphone, and intended hotkey are available.
- Run each preset with harmless content, verify where its output goes, and correct any missing destination or key assignment.
Exporting presets does not back up captured images. Follow the Library backup guide for those files. If you also need to move or update the application, use the installation and update guide; importing settings alone does not install Snagit or transfer an account sign-in.
When a Snagit preset seems ignored
- Wrong launcher: start from the named preset’s button or shortcut. On Windows, distinguish it from the main Capture button and OneClick’s main button.
- Unexpected saved settings: open that preset’s menu and inspect its configuration. Changing the main Capture window does not prove the preset was updated.
- Shortcut conflict: compare the preset button with its hotkey. If the button works, test another shortcut before changing the capture settings.
- Destination failure: confirm the folder and connected account. Test a separately named preset with Share set to None to separate capture from delivery.
- Unexpected Editor window: inspect Preview in Editor in the preset that actually ran. For Windows OneClick, confirm that you selected the preset rather than its main button.
- Wrong format: check the File destination and the platform-specific format settings below. A Library capture and the delivered PNG are different files.
- After migration: compare the saved settings with the source computer and recreate unavailable options. Do not delete the original presets until you have a working replacement.
For automatic PNG output, the controls differ. Windows: choose Image > Share > File, open its gear icon, and set PNG, filename behavior, and folder. Turn Preview in Editor off. A filename prompt can still appear if you chose prompting; see TechSmith’s automatic file-save instructions. Mac: turn Preview in Editor off. Choose Image > Share > File and open the gear icon. Set filename and folder on Share, then PNG under Advanced > Default sharing format. Close settings, reopen Capture, and save the preset from the current settings. The Mac format control is a default sharing setting; do not assume that each preset isolates that format from later changes. Test the actual output file after changing it.
FAQ
What does a Snagit preset save?
It saves capture settings, including the mode and available selection, cursor, delay, preview, effects, and destination options. Available options depend on the capture mode and platform.
Can I assign a hotkey to a Snagit preset?
Yes. Click Add Hotkey on Windows or + Shortcut on Mac next to the preset, then press the combination you want. Test that combination for conflicts in the app you capture.
Why does Print Screen use the wrong settings?
On Windows, Print Screen assigned as the global capture key uses current Capture-window settings. If you want a saved preset, assign and use that preset’s shortcut instead. Check for another app intercepting the key if the wrong tool opens.
Why does OneClick ignore my current Capture settings?
TechSmith documents this behavior for Windows: OneClick’s main button uses its own defaults. Select a named preset inside OneClick to use that saved configuration. Do not apply this Windows-specific explanation to a Mac widget without checking its controls.
Can a Snagit preset save PNG files without opening Editor?
Yes. On Windows, configure PNG and the folder in the File destination’s options and turn Preview in Editor off; filename prompting may still apply. On Mac, turn Preview in Editor off, set the File destination and PNG under Advanced > Default sharing format, then save a preset from those settings. Test the delivered file because the Mac format setting is a sharing default.
Can I move presets to another computer?
The documented Windows route is File > Export All Presets on the source computer, then File > Import Presets on the destination. Retest destinations and shortcuts. The current tutorial does not establish equivalent Mac import/export or cross-platform compatibility; recreate settings manually if your Mac version lacks those commands.
Are imported presets safe to run?
Inspect their settings and test with non-sensitive content before relying on them. Check automatic sharing, connected accounts, folders, and whether Editor review is enabled.
What is the difference between a Snagit preset and a Quick Style?
A capture preset saves capture settings and delivery choices. A Quick Style saves Editor tool properties, such as the appearance of a text box or callout. They serve different stages of preparing an image.