
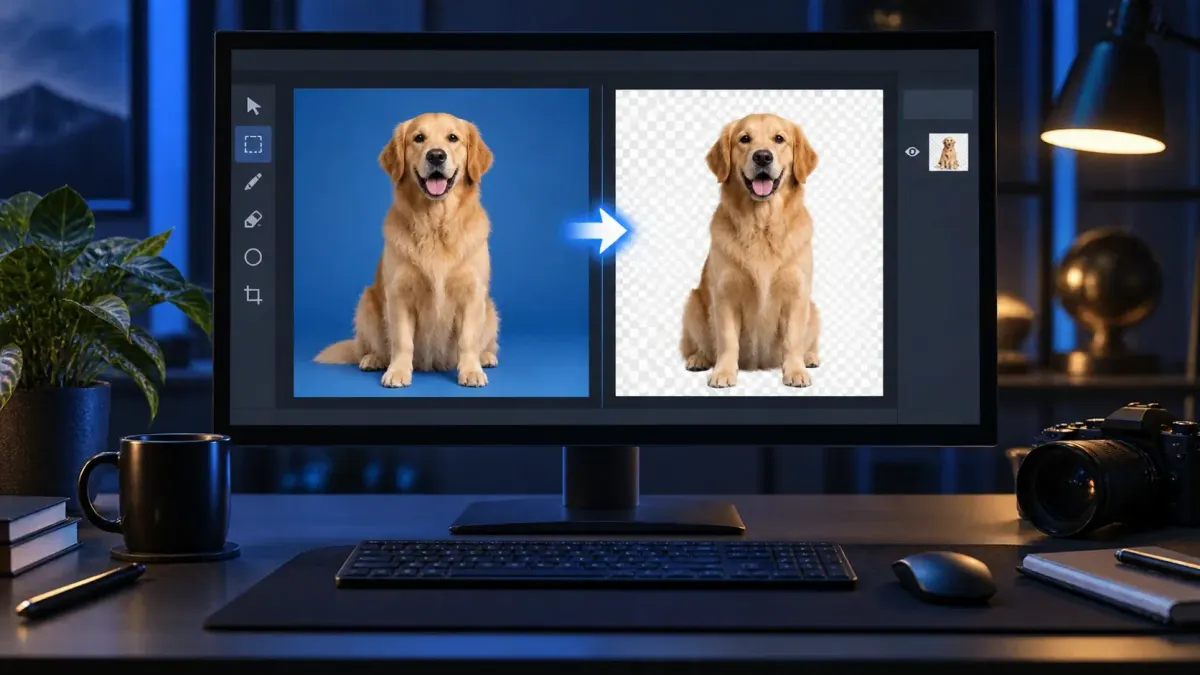
For a solid background in Snagit, set the canvas to Transparent, choose Fill > Transparent, and click the background. Save a separate PNG to keep the transparent result. If you use Magic Wand instead, selecting the background is only the first part: choose Background Fill > Transparent, inspect the selection, then press Delete.
Keep an untouched original before you start. Fill works well on enclosed, single-color areas; Selection helps when you can trace the subject; Eraser is for small corrections. Check the finished PNG on both a light and a dark background. A checkerboard in Editor alone does not prove that the file you share will remain transparent.
Checked September 21, 2026. I checked these steps against TechSmith’s current feature pages and release notes and its documented manual-tool workflows, with the official 2024 help manual as the detailed reference. Toolbar labels can differ in later Windows and Mac builds, so test the steps on a copy of your image in your own version first.
A quick method for a solid background
- Open a working copy of the image in Snagit Editor. Keep the original separate.
- Set the canvas to Transparent: Image > Canvas Color on Windows, or Image > Change Canvas Color on Mac. Choose the checkerboard option and confirm the dialog.
- Select Fill. If the tool is hidden, check More in the Editor toolbar. In Tool Properties, choose Transparent from the Fill dropdown.
- Click an area of the background. If too much or too little disappears, undo the fill, adjust Tolerance and try again.
- Clear separate enclosed areas, such as the center of a letter or the space inside a handle. Check that you have not removed part of the subject.
- Save a separate SNAGX working file and a PNG delivery copy. SNAGX keeps editable objects, but it is not a backup of pixels you already deleted.
- Place the exported PNG on light and dark backgrounds in a local slide or document app that supports transparency. Inspect the edges and check it again at the final display size.
Canvas transparency and background removal are different settings. A transparent canvas can still sit beneath an opaque photograph. You must remove the unwanted image pixels as well. TechSmith’s current removal tutorial specifically calls out canvas color when an imported JPG keeps showing white.
Choose a tool for the background you have
| Image condition | Start with | Watch for |
|---|---|---|
| One enclosed, solid-color background | Fill > Transparent | Check the canvas color and tolerance |
| A solid color or slight gradient in several areas | Magic Wand, then Delete | Use Transparent rather than Auto-Fill; inspect global matches |
| An outline you can trace, with a varied background | Selection, Invert Selection, then Delete | Check the selected side before deleting |
| A few stray pixels after removal | Small Eraser at higher zoom | Erase on a working copy with transparent canvas |
| Fine hair, glass or difficult soft edges | An editor with masking and edge refinement | Review the result on contrasting backgrounds |
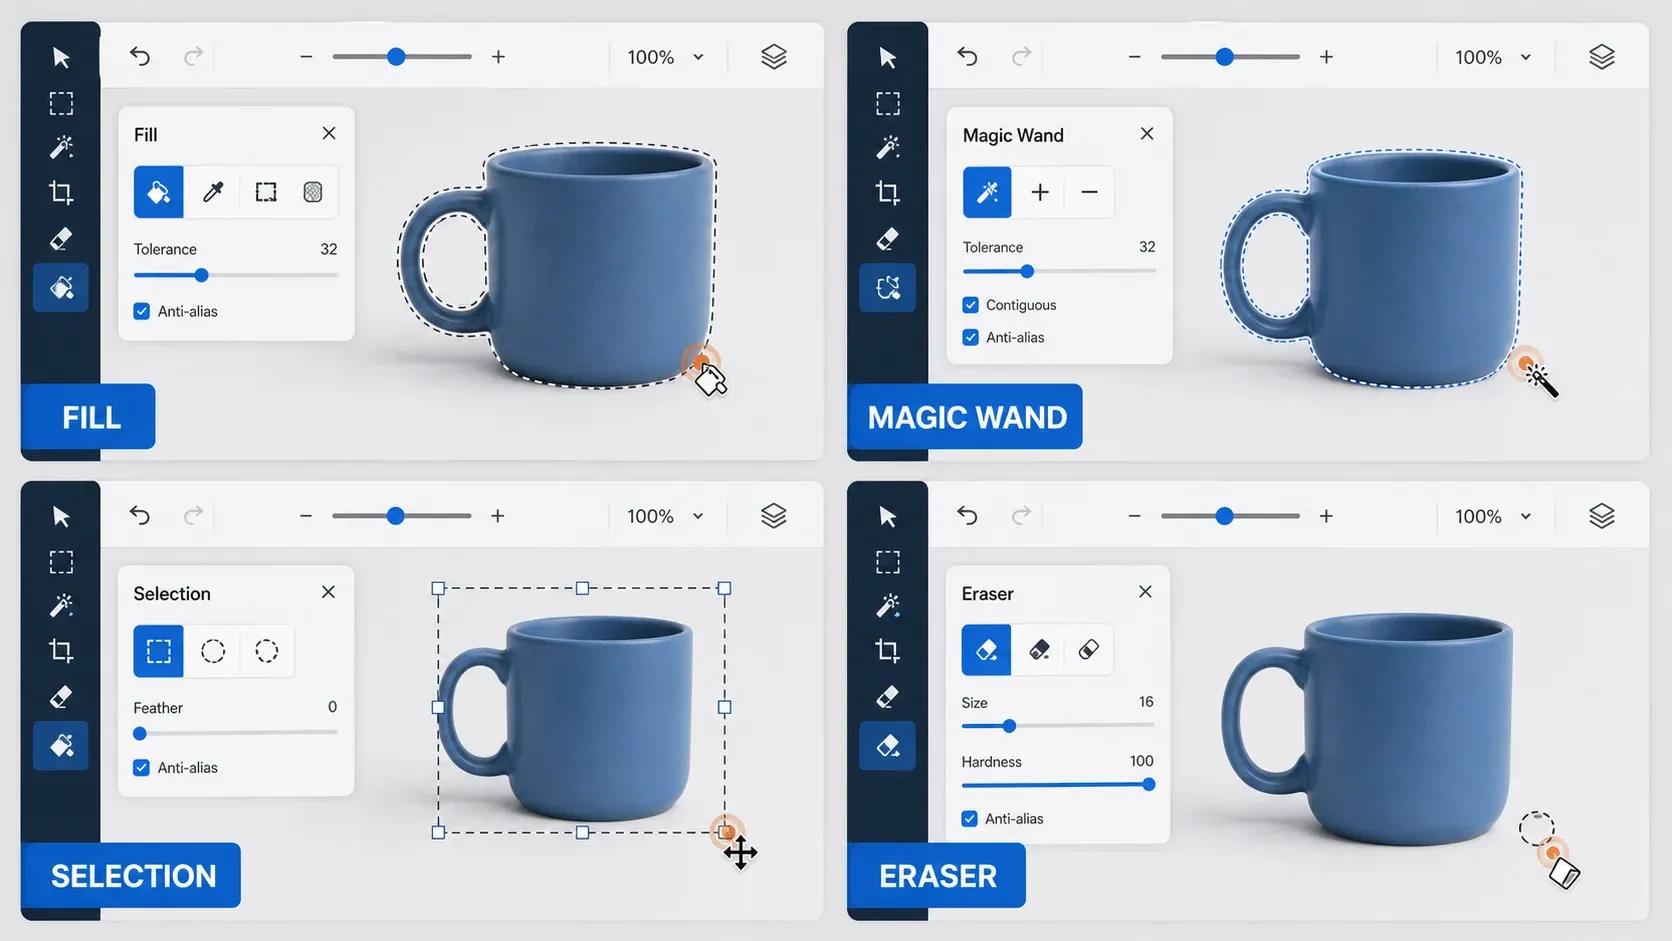
TechSmith’s background-removal support article identifies Fill, the Selection tool’s lasso option and Magic Wand. Its feature overview also mentions Color Replacer. The three methods below cover the actual selection and deletion steps; none promises a clean one-click result on every photograph.
Method 1: remove a solid background with Fill
Use Fill for an icon, diagram or other hard-edged subject on a flat background. Set the canvas to Transparent first, select Fill, choose the transparent checkerboard under Fill in Tool Properties, and click the unwanted area. The canvas becomes visible where the image color is removed.
If the fill misses background pixels, undo with Ctrl + Z on Windows or Command + Z on Mac, raise Tolerance a little and try again. If it removes subject detail, undo and lower the tolerance. Clear disconnected areas separately. The hole in a letter O or inside a handle may need another click.
Tolerance controls which nearby colors count as a match. Opacity controls the transparency of the replacement. Choose the Transparent fill; if you are using an opacity control to make a fill fully transparent, that means 0% opacity. Increasing tolerance does not make pixels “more transparent.” There is no single tolerance percentage that works for every image.
On Windows, Snagit 2026.2.0 added Fill support for floating images and changed Fill so that clicking an annotation or floating image no longer applies it to the canvas underneath. If you are editing a pasted image rather than the base canvas, check your installed version and which object you clicked before repeating the edit.
Method 2: use Magic Wand for a color range
Magic Wand selects pixels by color; it does not remove them just because you clicked. Choose Magic Wand, set Background Fill to Transparent and click the background, then adjust the Select slider to include a narrower or wider color range. Inspect the selected area, then press Delete to replace it with transparency. These are the steps in TechSmith’s documented Magic Wand workflow (PDF).
Enable Global Color Selection only if you want matching colors selected throughout the image, including disconnected areas. For example, a white background and a white label on the product may both be selected. Check before pressing Delete. If the result damages the subject, undo rather than trying to rebuild the missing detail with more deletion.
Do not choose Auto-Fill when you want transparency. Auto-Fill uses surrounding content to fill the removed area. If the foreground and background share too many colors for a useful selection, switch to an outline-based method.
Method 3: keep the subject with Selection and invert
Choose Selection and a suitable shape, such as Freehand or Polygon. Set Background Fill to Transparent, not Auto-Fill. Draw around the subject you want to keep. Right-click on Windows or Control-click on Mac and choose Invert Selection; check that the unwanted outside area is selected, then press Delete.
The documented keyboard shortcut for Invert Selection is Ctrl + Shift + I on Windows and Shift + Command + I on Mac. You can use the context-menu command if your shortcut has changed. The Snagit shortcut reference covers other selection and editing commands.
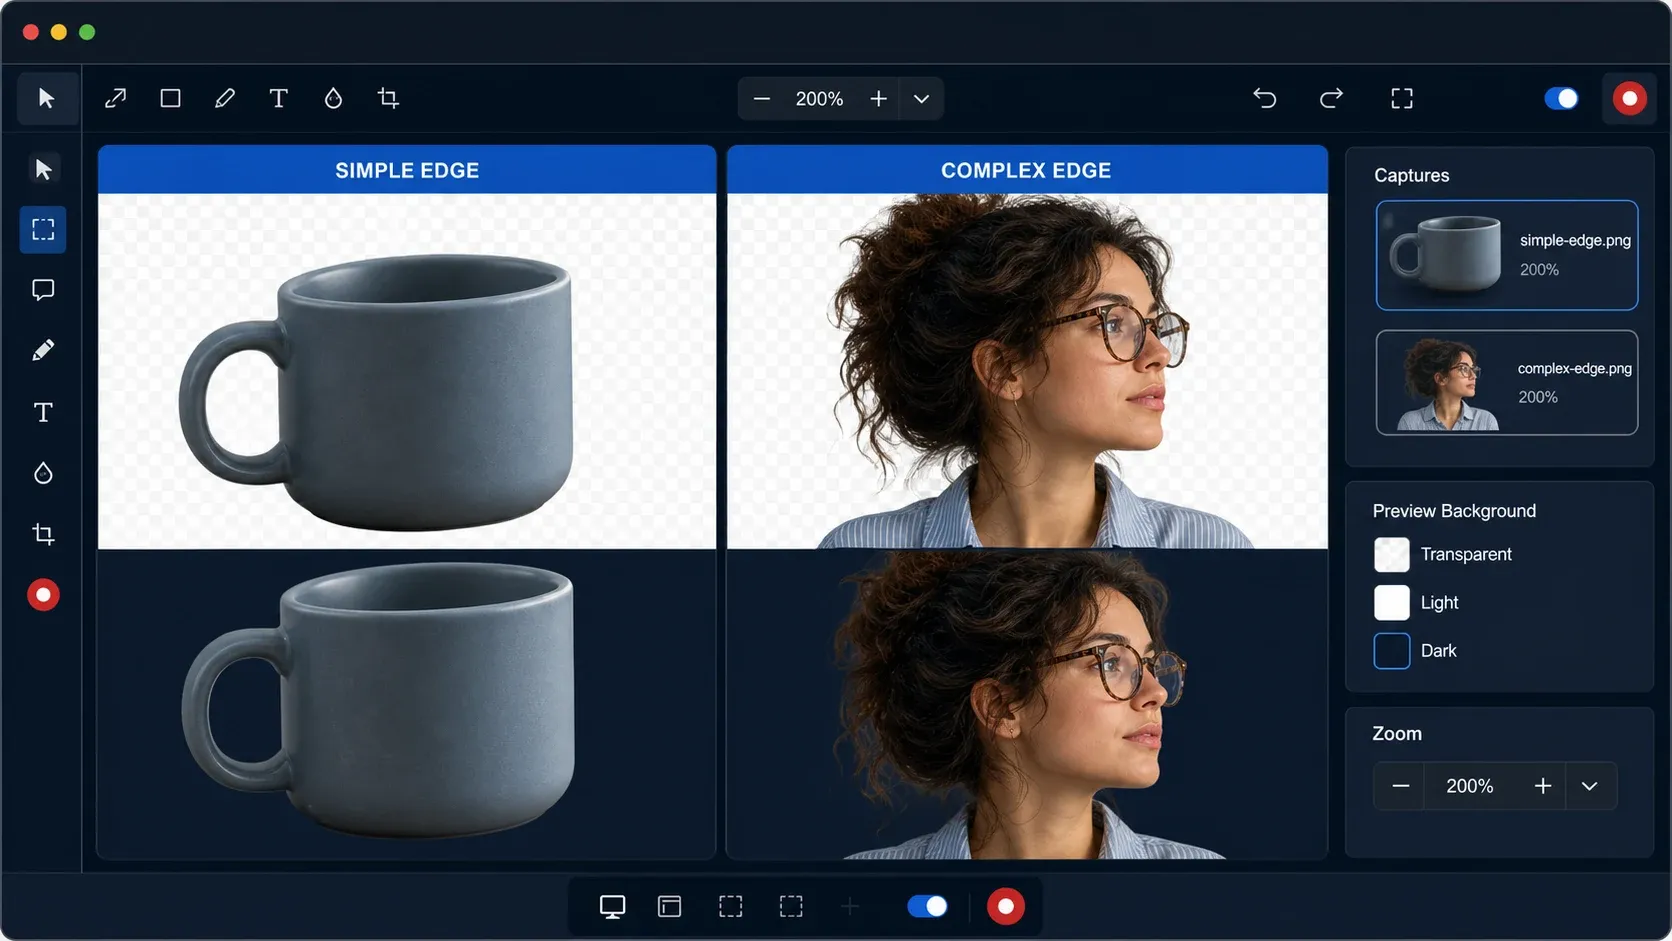
Work on the copy and keep the outline you actually need. Snapping or tracing slightly inside an edge can also cut off detail, so inspect the result at higher zoom and at its final size. For hair or translucent edges, an editor with masks and edge-refinement controls gives you a way to adjust the boundary without repeatedly deleting more of the subject.
Keep the original and test a separate PNG
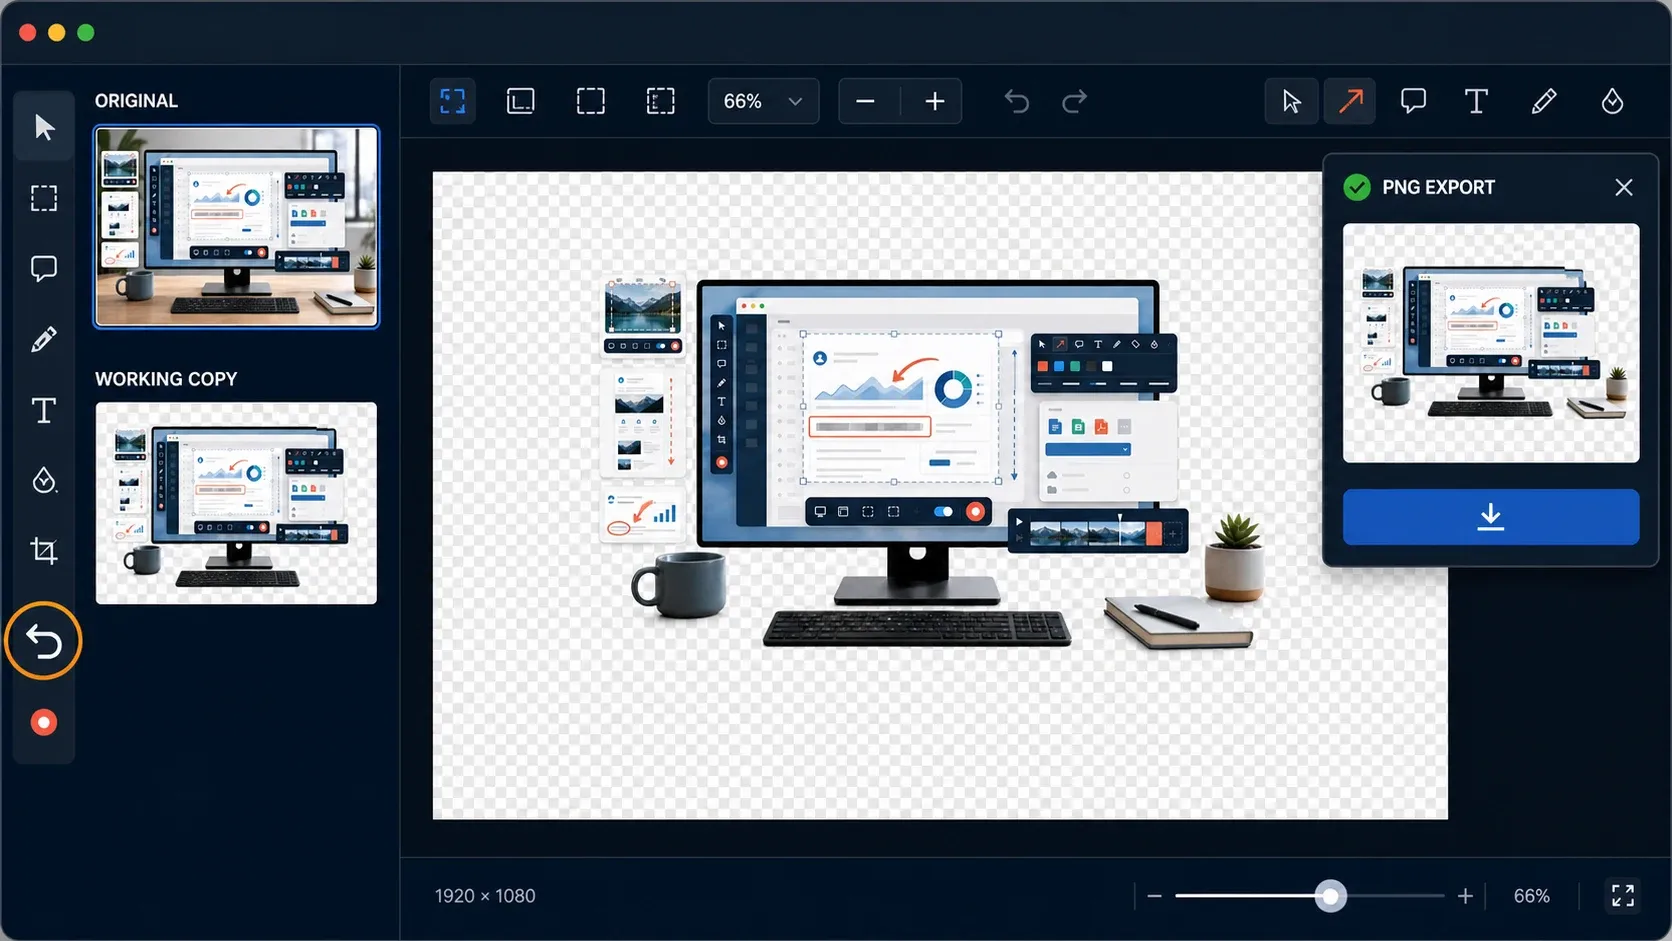
Save the original before any removal, then maintain a separate SNAGX working file. SNAGX keeps editable Snagit objects and supports transparency, but it can’t make every pixel edit reversible or restore a background you already erased. Keep the untouched source even after the working file looks correct.
To create the delivery copy, choose File > Save As, give it a separate name, select PNG as the file type and choose a save location. Keep the SNAGX working file. Place the PNG on a dark slide or document page, then on a light one, using a local app that supports transparency. Check the outline and any holes. You do not need to upload a private picture or add a temporary background shape to your master.
If the edges need work, return to the working copy, correct them and export a new PNG. The Snagit Editor guide explains the wider editing workflow, while Snagit export settings covers output size and format choices. Do not overwrite your only original during either step.
Fix rough edges, halos, and missed islands
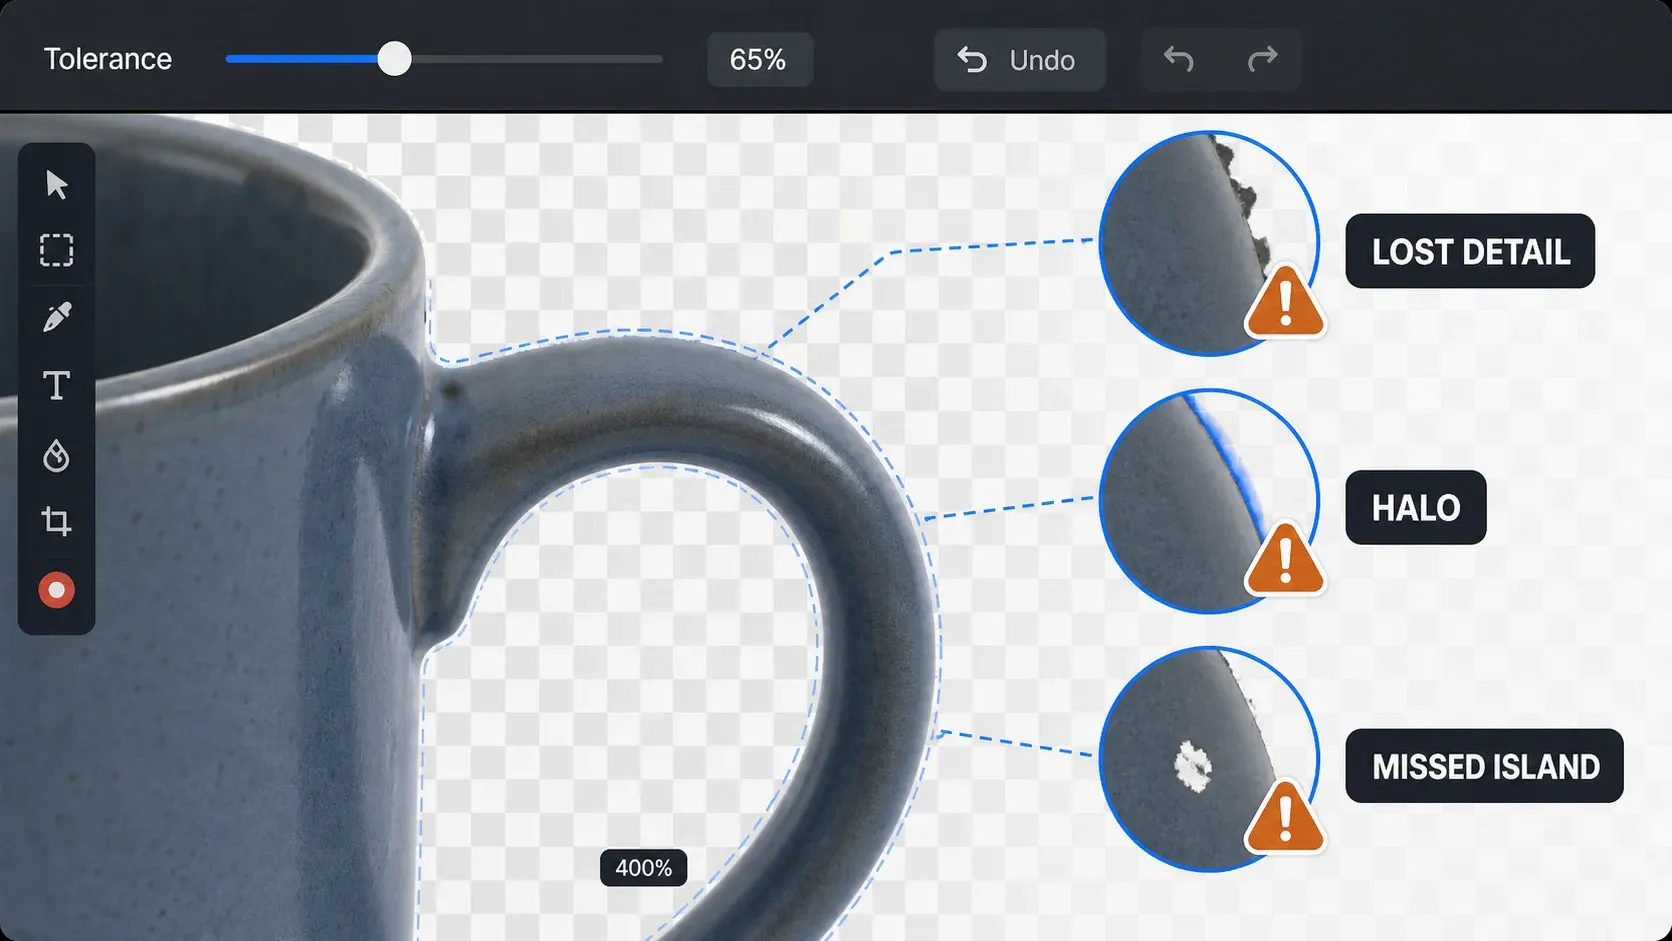
Part of the subject disappeared. Undo. The selected color range may be too broad, or global selection may include colors inside the subject. Lower the range, disable global selection when it is not needed, or trace the subject with Selection. A saved working file is not a substitute for the original if the missing pixels cannot be recovered with Undo.
A pale or colored halo remains. Edge pixels may retain color from the old background, especially when moved onto a contrasting color. Adobe’s explanation of fringe pixels describes this effect. Use a small Eraser or careful Selection for a few stray pixels. If cleanup starts damaging soft detail, use masking and edge refinement instead of increasing tolerance again.
Background remains inside holes. Fill those enclosed areas individually, or select matching colors with Magic Wand and inspect them before Delete. A gap in a handle and a light-colored detail on the object can look similar to a color-based tool.
Fill changes the wrong area. Check what you’re editing (the canvas or a floating image), which fill you selected and how broad the tolerance is. The Windows 2026.2.0 change above is relevant to floating images, but an update is not a guaranteed fix for every selection mistake.
The result stays white or shows a checkerboard in another app. Check three things: the canvas color, whether the image still contains opaque background pixels, and the actual exported format. A PNG can contain an opaque white rectangle, and converting JPG to PNG doesn’t remove it. A checkerboard pattern baked into a downloaded picture is ordinary image content, not transparency. Place the exported file over another color to tell the difference.
PNG, JPG, SNAGX, and the clipboard are not interchangeable
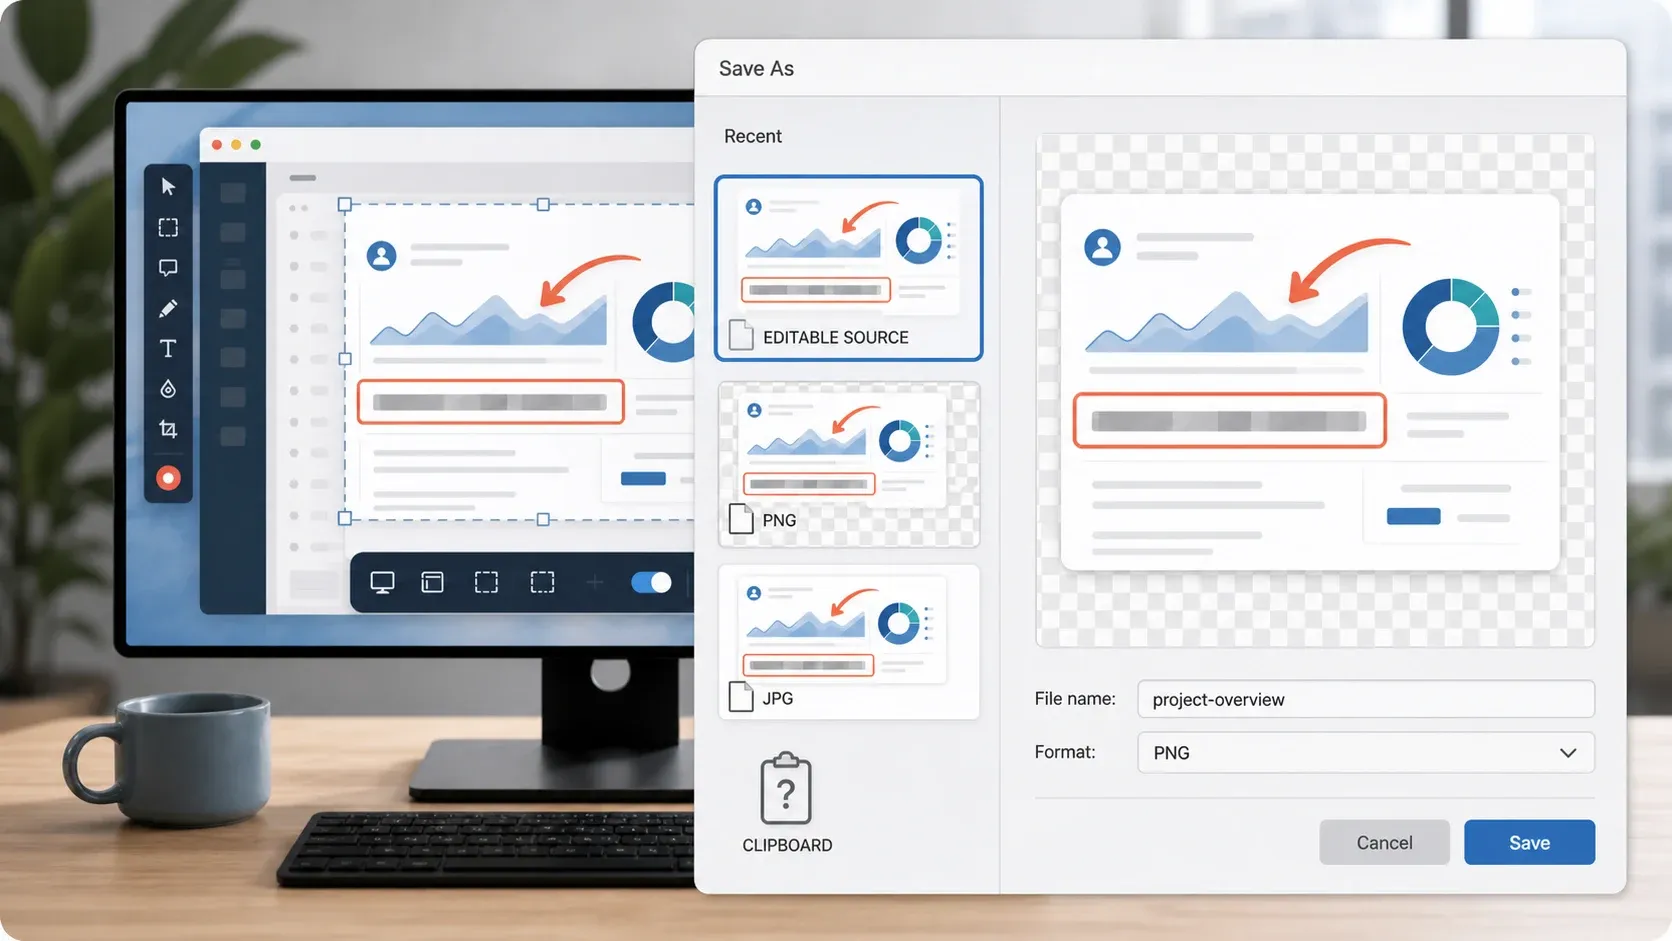
PNG is a practical delivery format for transparent screenshots and cutouts. SNAGX is the editable working format. JPEG cannot retain transparency. A receiving service can also flatten or convert an image, so check what readers receive, not just the file you uploaded. Adobe documents a delivery case where a transparent PNG input becomes an opaque JPEG output.
Clipboard output needs its own check. The destination and Snagit’s clipboard preferences can affect transparency. TechSmith documents a clipboard compatibility workaround that disables transparency; that is the opposite of preserving a transparent cutout. For this task, place the exported PNG as an image and inspect it in the destination rather than treating a successful paste as proof.
What about Snagit’s “AI Background Remover”?
TechSmith’s feature list uses the label AI background remover. Its current background-removal tutorial still describes transparent Fill, and the manual documents Selection and Magic Wand. Those sources do not establish that every installed version has an identical automatic button. If your Editor has no automatic option, use the manual controls described above.
For a simple icon on one color, try the manual method above. For a portrait with fine hair or another difficult boundary, consider a photo editor with a mask and edge refinement. For example, Photoshop’s Refine Hair workflow has dedicated boundary controls. That is a capability difference, not a measured claim that one app is faster or always produces a better result.
Windows and Mac differences that matter
The manual methods use the same sequence on Windows and Mac: select the area, choose transparent replacement, remove the unwanted pixels and save a transparency-capable file. The canvas command is Image > Canvas Color on Windows and Image > Change Canvas Color on Mac in the cited instructions. If a tool is missing, check More or the toolbar customization options.
As checked on September 21, the documented current versions are Windows 2026.3.1 and Mac 2026.3.3. The Mac release history records a 2026.3.0 fix for transparency display when switching light and dark themes. A display issue is not proof that the exported pixels are wrong. Save your work, check the relevant update notes and inspect the exact PNG in another app before repeating a destructive edit.
Run this final quality check
- Inspect the whole outline at 100% and at the final display size.
- Check holes and enclosed spaces for leftover background.
- Place the exported PNG on light, dark and intended destination colors.
- Confirm that corners, fine strokes and labels remain intact.
- Keep the original, SNAGX working file and PNG delivery copy separate.
- Check that the delivery file has no temporary test background or unrelated annotations.
- Reopen the exact PNG outside Snagit and inspect the file actually served or inserted in the destination.
If you add arrows or labels, check them at the final display size and do not rely on color alone; the screenshot annotation guide covers those choices. Background removal is not a privacy check. Inspect the remaining subject and use the separate Snagit redaction workflow for sensitive information before sharing.
FAQ
How do I remove a background in Snagit?
For an enclosed solid-color background, work on a copy, set the canvas to Transparent, choose Fill > Transparent and click the background. Undo and adjust Tolerance if needed. Save a separate PNG and check it over another color.
Why is my Snagit background white instead of transparent?
Check for a white canvas, opaque image pixels, a JPEG export or conversion by the destination. Set the canvas to Transparent, remove the unwanted pixels and export PNG. A PNG extension alone does not mean the image contains transparent pixels.
Which Snagit tool is best for removing a background?
Use Fill for an enclosed solid-color area, Magic Wand for a color-based selection, Selection and Invert Selection for an outline you can trace, and a small Eraser for cleanup. Magic Wand and Selection require Delete after you inspect the selected area.
Can Snagit remove a photo background automatically?
TechSmith markets an AI background remover, but the checked instructions describe transparent Fill and manual selection tools. They do not establish one identical automatic button across all versions. Use the documented controls in your build and inspect difficult hair, glass or soft edges carefully.
How do I make a background transparent in Snagit?
Set the canvas to Transparent as well as the tool’s replacement fill. For Magic Wand or Selection, use Background Fill > Transparent rather than Auto-Fill, then delete the selected background. Export PNG and place it over another color to check the result.
Why does Snagit remove part of the subject?
The color range may include part of the subject, global selection may include a matching foreground color, or your outline may exclude detail you wanted to keep. Undo and inspect the selection. Reduce the range or use a more accurate outline when colors overlap.
Should I save a transparent image as PNG or JPG?
Use PNG for the transparent delivery copy. JPEG cannot retain transparency. Converting an already flattened JPEG to PNG does not recreate the removed background or make white pixels transparent.
Does SNAGX keep transparency?
Yes. TechSmith lists SNAGX as a transparency-capable format, and it retains editable Snagit objects. Keep an untouched original too: saving as SNAGX does not restore pixels you have deleted. Export a separate PNG for use in other applications.
This procedure is part of the Snagit guides hub. The existing illustrations explain the editing and export workflow; they are not proof of every control’s current appearance on your installed version.