
Snagit Step Capture takes screenshots as you click through a task and builds an editable numbered guide. Start in the Capture window with Presets > Step Capture, then review the result in Editor. The feature requires Snagit 2025 or newer on Windows or Mac. TechSmith’s current feature page calls it Step Recorder; its release notes still use Step Capture.
Checked September 12, 2026. The current release notes list Windows 2026.3.1 and Mac 2026.3.2. This is a documentation-based guide, not a new hands-on test of every build. Start controls and export options can differ by platform and version; the boundaries below come from TechSmith’s dated release histories.
Create a usable Step Capture in six steps
- Prepare a demo task with safe sample data, a consistent window size, notifications off and a visible success result.
- In the Snagit Capture window, choose Presets > Step Capture and start the capture. Some interfaces expose Steps under the Image selection options.
- Follow one successful path. Wait for each screen to load before clicking the next control, and use the capture toolbar to pause if needed.
- Finish from the floating capture toolbar and review the generated guide in Editor. Do not use Escape as a finish shortcut: on Windows it cancels Step Capture.
- Delete irrelevant steps, correct the instructions and add any missing action or confirmation image. Inspect every captured screen for private information.
- Save a separate SNAGX source, export the required delivery format and ask an authorised reader to follow the guide from the documented starting state.
TechSmith’s 2026 Step Capture video covers the recording toolbar and editing controls. The instructions here also explain what to do when a click sequence misses information, why a Word export can arrive as one image, and how to choose an output your version actually supports.
Use Step Capture for the right kind of task
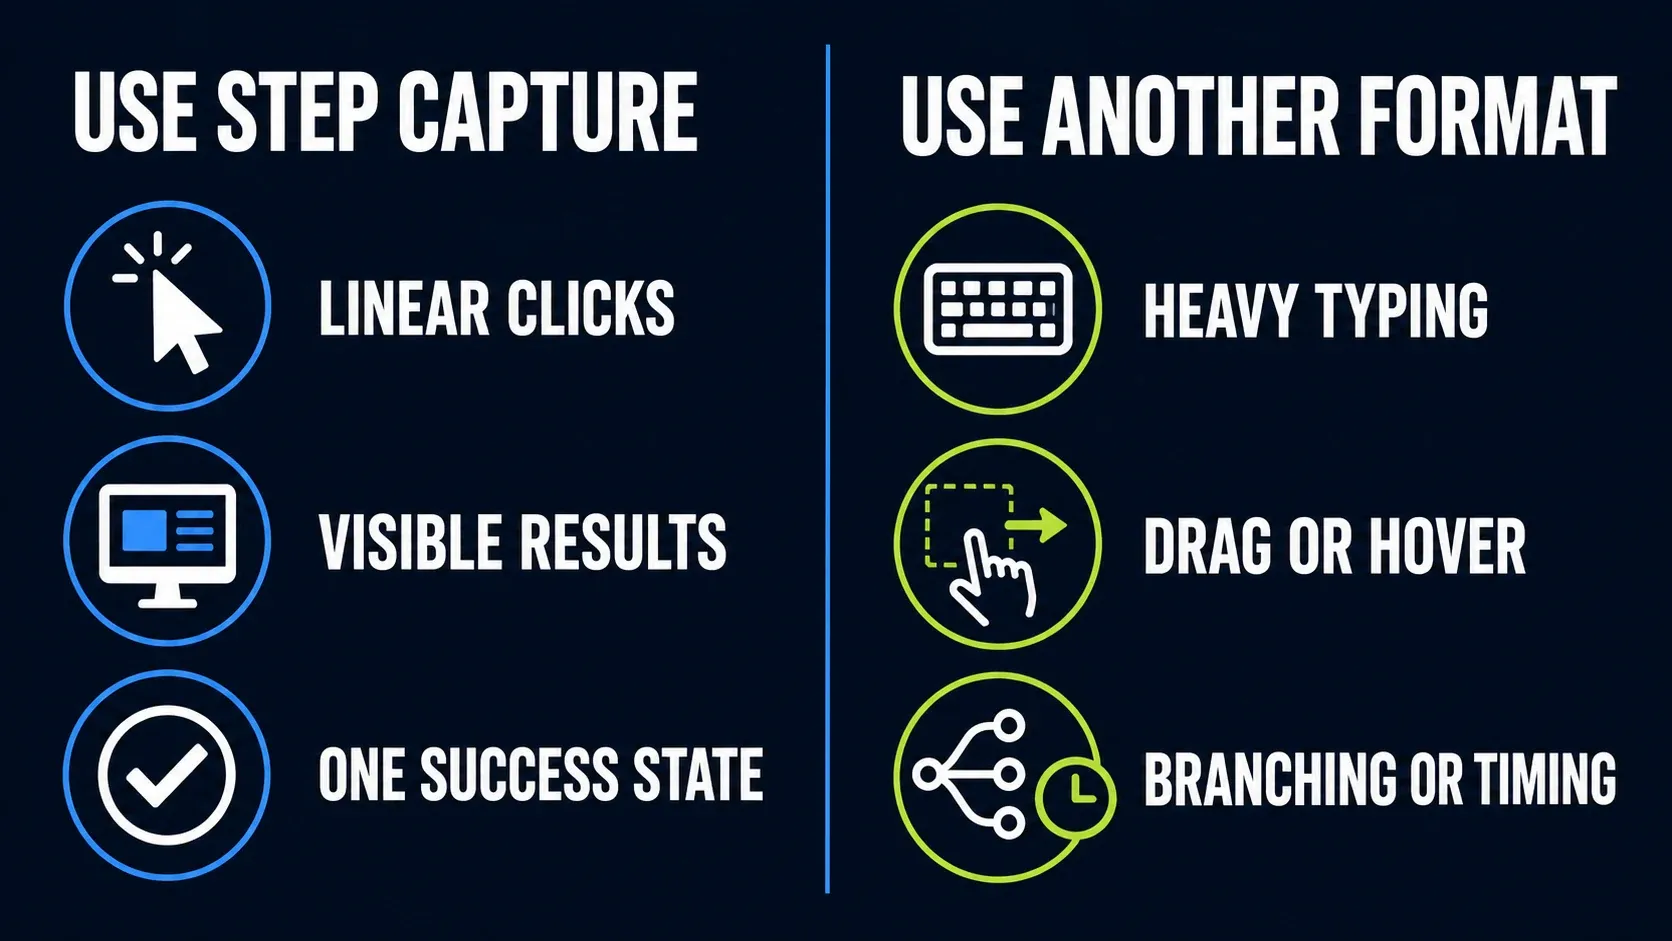
Choose Step Capture when the task has a visible starting state, a sequence of clicks and a result you can check. Examples include changing a display setting, creating a sample project or submitting a test request. Record one route; document exceptions separately.
Pick another format when the task depends on long text entry, precise drag movement, hover-only controls, exact timing, audio, or several decision branches. Manual screenshots give you tighter control over state. A short Snagit screen recording can carry motion and timing. A decision tree may suit a procedure with several valid routes.
| Task | Starting format | What you still need to explain |
|---|---|---|
| Linear clicks | Step Capture | Values, prerequisites and confirmation |
| Ordered targets on one image | Step tool | Manually place numbered markers |
| Exact values or long text entry | Manual images plus text | What to enter, not just where to click |
| Drag, hover or timing | Short video or annotated stills | Movement and the completed state |
| Several valid routes | Decision tree with selected images | Which condition leads to each route |
A 20-click setup can be linear, while a four-step sign-in procedure can branch into password reset or administrator approval. Those are examples of scope, not limits on the number of steps Snagit can capture.
Prepare the task before you record
Reset the app or website to a known state. Write down where the procedure begins and what visible result proves success. For example: start on an empty project list, create a sample project, and finish when its name appears in the list.
- Use safe sample data. Remove real customer details, credentials, tokens and private messages before capture.
- Keep the layout consistent. Use one window size and zoom level to reduce unnecessary layout changes.
- Remove interruptions. Close unrelated windows and pause notification previews.
- Write the expected path. Note the controls you will use and the confirmation you need at the end.
Use a separate demo account when the process touches billing, permissions, customer data, or production settings. A realistic sample is useful. A real secret is not.
Start, pause and finish Step Capture
Open the Capture window, expand Presets and choose Step Capture. Start with the capture control. Both the Windows 2025 release notes and Mac 2025 release notes document that preset. Some interfaces offer Steps under the Image selection options instead. If you cannot find either, check that you are in Capture rather than Editor, then check your installed version.
Use the floating toolbar to pause while you prepare the next part of the task, then resume. Before choosing a restart or cancel command, read its confirmation and decide whether you want to discard the current run. On Windows, Escape cancels Step Capture. It is not a shortcut for finishing and keeping the guide.
Finish from the capture toolbar after reaching the result. Check whether the guide includes that confirmation. If the last image only shows the button before it was clicked, add a separate capture of the completed state. Do not assume that every brief message or hover state appears automatically.
Do not treat a small detected capture area as a privacy boundary. Windows 2025.4 introduced a full-screen fallback when the detected area is smaller than 200 × 200 pixels. Prepare the whole visible workspace with safe content, then inspect what was actually captured.
Treat the automatic sequence as a draft
Read the generated guide in Snagit Editor before adjusting the layout. Confirm that the order matches the task and that the text names the right controls. Automatic descriptions are a starting point, not evidence that a new reader can complete the procedure.
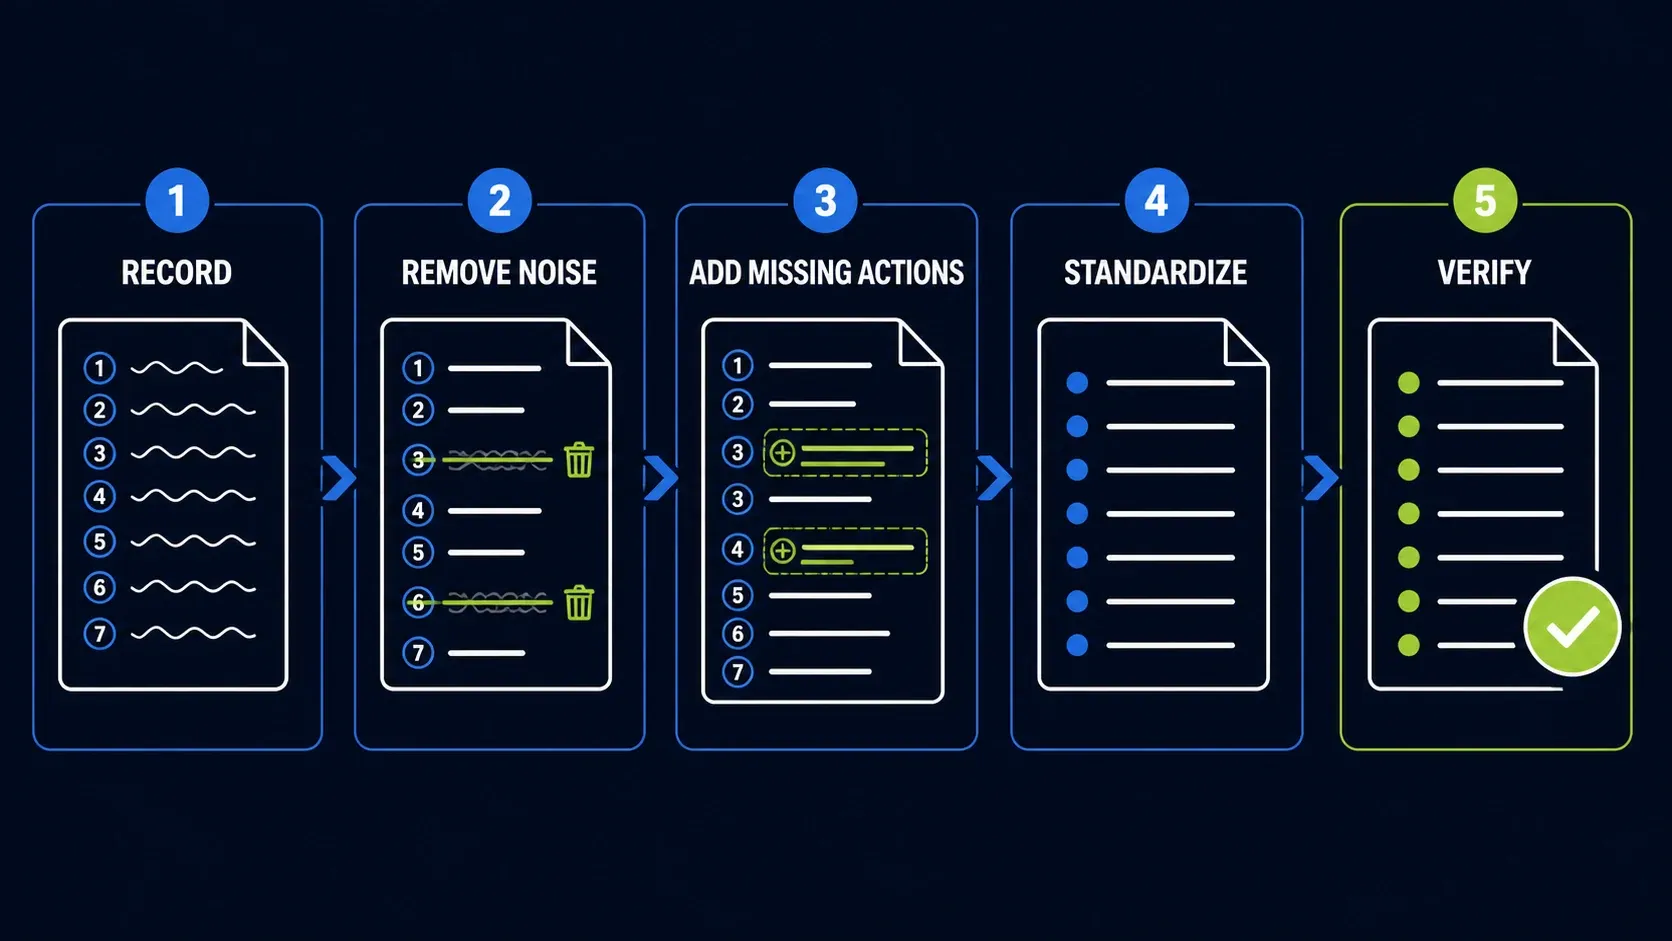
- Remove noise. Delete accidental clicks, repeated states, empty loading frames, and navigation that does not help the reader.
- Add missing actions. Insert an image or sentence where the change depends on typing, a shortcut, a wait, an upload, drag movement, hover, or a choice.
- Write one action per step. Start with a direct verb such as Open, Select, Enter, Choose, or Confirm.
- Name the target. Use the visible label and location when similar controls exist. Avoid 'click here' and 'use the button above.'
- State the result. Tell the reader what changes after an important action so they can catch a wrong state early.
- Standardize the visual treatment. Use one callout style, one crop rule, and a consistent image width. Keep the target visible in its surrounding context.
You can edit and reorder the guide, remove unnecessary steps and add explanations. Movable or removable captured cursors arrived in Windows 2025.3 and Mac 2025.2. Move a cursor that covers a label, but keep it tied to the action it represents. Check the whole sequence again after rearranging sections.
Add what the clicks do not explain
Compare each pair of images. Can a reader tell what changed and what action caused it? A captured click does not necessarily explain a typed value, keyboard command or background process. Add the missing instruction instead of expecting the reader to infer it.
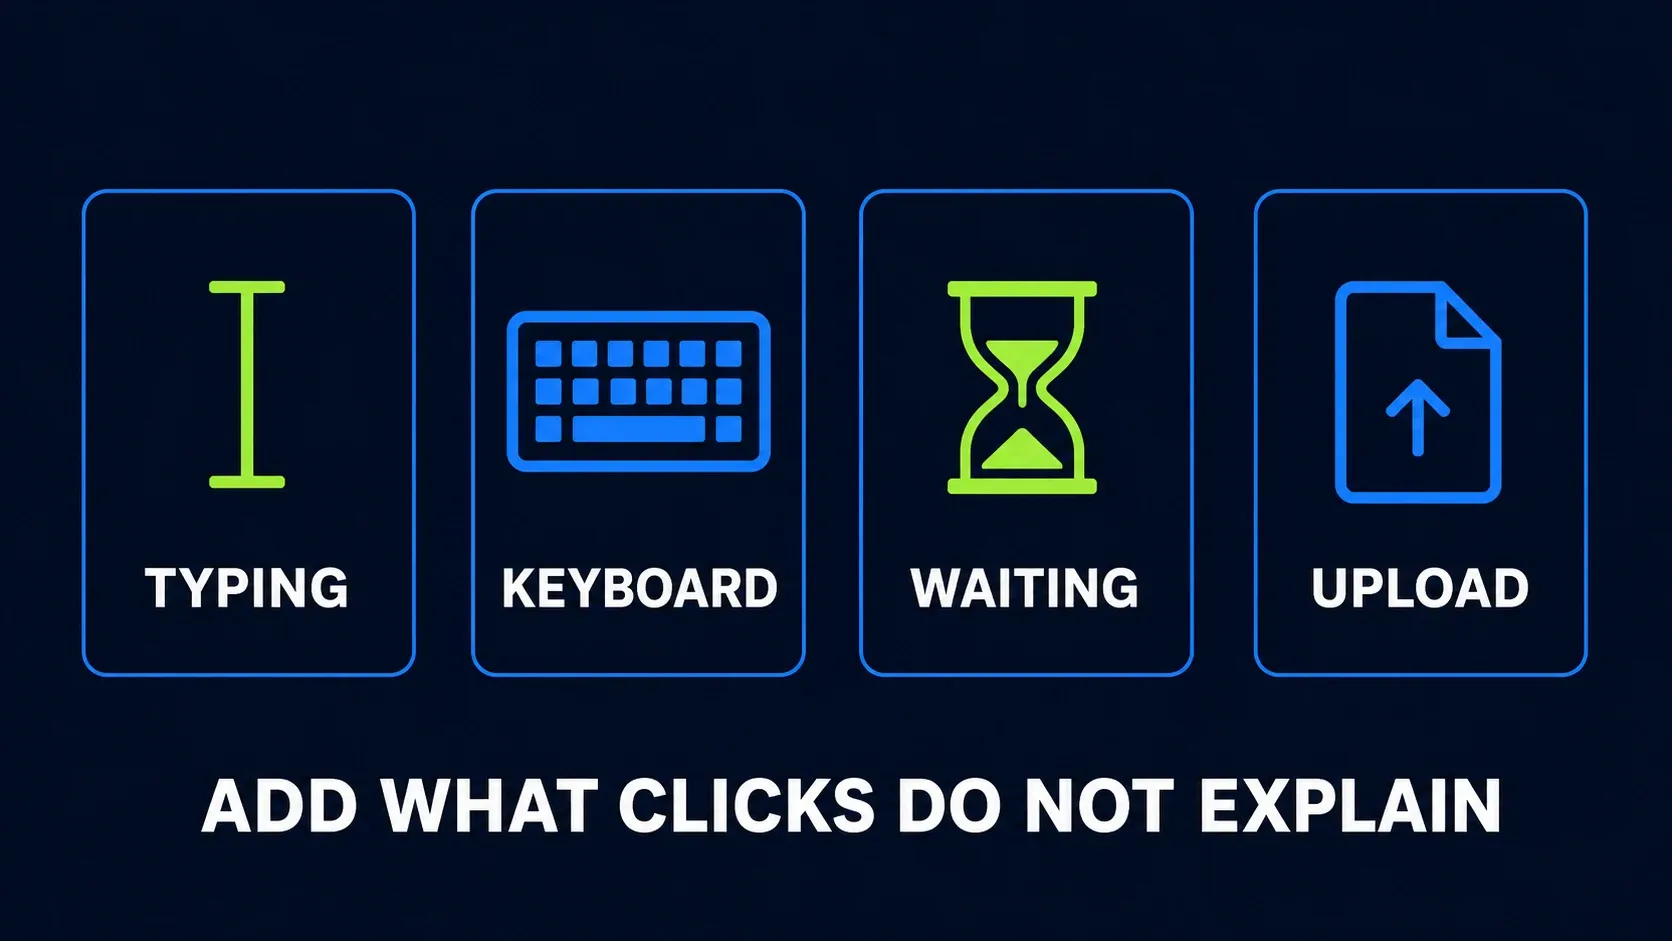
Typing and exact values
Name the field and the type of value it accepts. For example: “Enter project-archive-2026 in Project name.” Mark sample values as examples, and never publish a working credential or imply that an account-specific value applies to everyone.
Keyboard shortcuts
Write the exact key combination and label its platform. If it opens a dialog or changes a hidden setting, include the resulting state. Use the Windows and Mac shortcut reference when the procedure itself involves Snagit commands.
Waiting and background work
Name the completion signal: a progress bar disappears, a status changes or the new item appears. Avoid “wait five seconds” unless you have a reason specific to that procedure. A slow connection should not make the next instruction impossible to follow.
Uploads, drag actions, and hover states
Show the source file and the accepted end state without exposing a private filename. For drag or hover behavior, switch to a manual screenshot with a clear annotation, or a short video. A still frame can't prove motion.
Keep each step readable
A good step answers three questions: what do I do, where do I do it, and what should happen? Most steps need one short sentence and one focused image. Split a step when it contains two separate actions or two separate results.
Crop enough to make the target legible, but leave enough context for orientation. If the same toolbar appears in ten images, keep the crop consistent. If the target moves between the desktop and a modal window, make that change obvious.
Keep numbering in reading order. Add an arrow or label only when it helps locate a target or understand a change. For a single image with several targets, use the manual Step tool; it numbers an existing image rather than recording a workflow. The annotation guide covers these markings.
Write meaningful text beside every image. A numbered screenshot by itself is poor support for a screen-reader user and hard to scan on a small display. The instruction has to hold up even when the image is unavailable.
Protect private data before export
Inspect the entire canvas, not just the main form. Browser tabs, bookmarks, menu bars, filenames, recent items, notifications, avatars, account names, and background windows can reveal more than the target field ever would.
- Prefer a clean capture made with demo data.
- Remove unnecessary captured states before preparing the delivery copy.
- If you cover sensitive pixels with an opaque shape, inspect a flattened delivery image. A movable shape in an editable source is not permanent redaction.
- For a public guide, check that its intended public link opens without signing in. For a private guide, check that an authorised recipient can open it and an unauthorised signed-out visitor cannot.
Be careful with native files sent to Camtasia Online. Windows 2026.3.1 and Mac 2026.3.2 send the original SNAGX, retaining information such as cursors and text. Do not send a sensitive native source just because an opaque annotation hides something on its canvas. Keep private originals in approved storage and send only content you have checked for that destination.
Choose the output by audience and version
Use File > Save As to keep a separate SNAGX working source. TechSmith’s source graphics guidance distinguishes editable objects from a flattened PNG or JPEG. Saving a PNG back as SNAGX does not reconstruct the separate text and objects it previously contained.
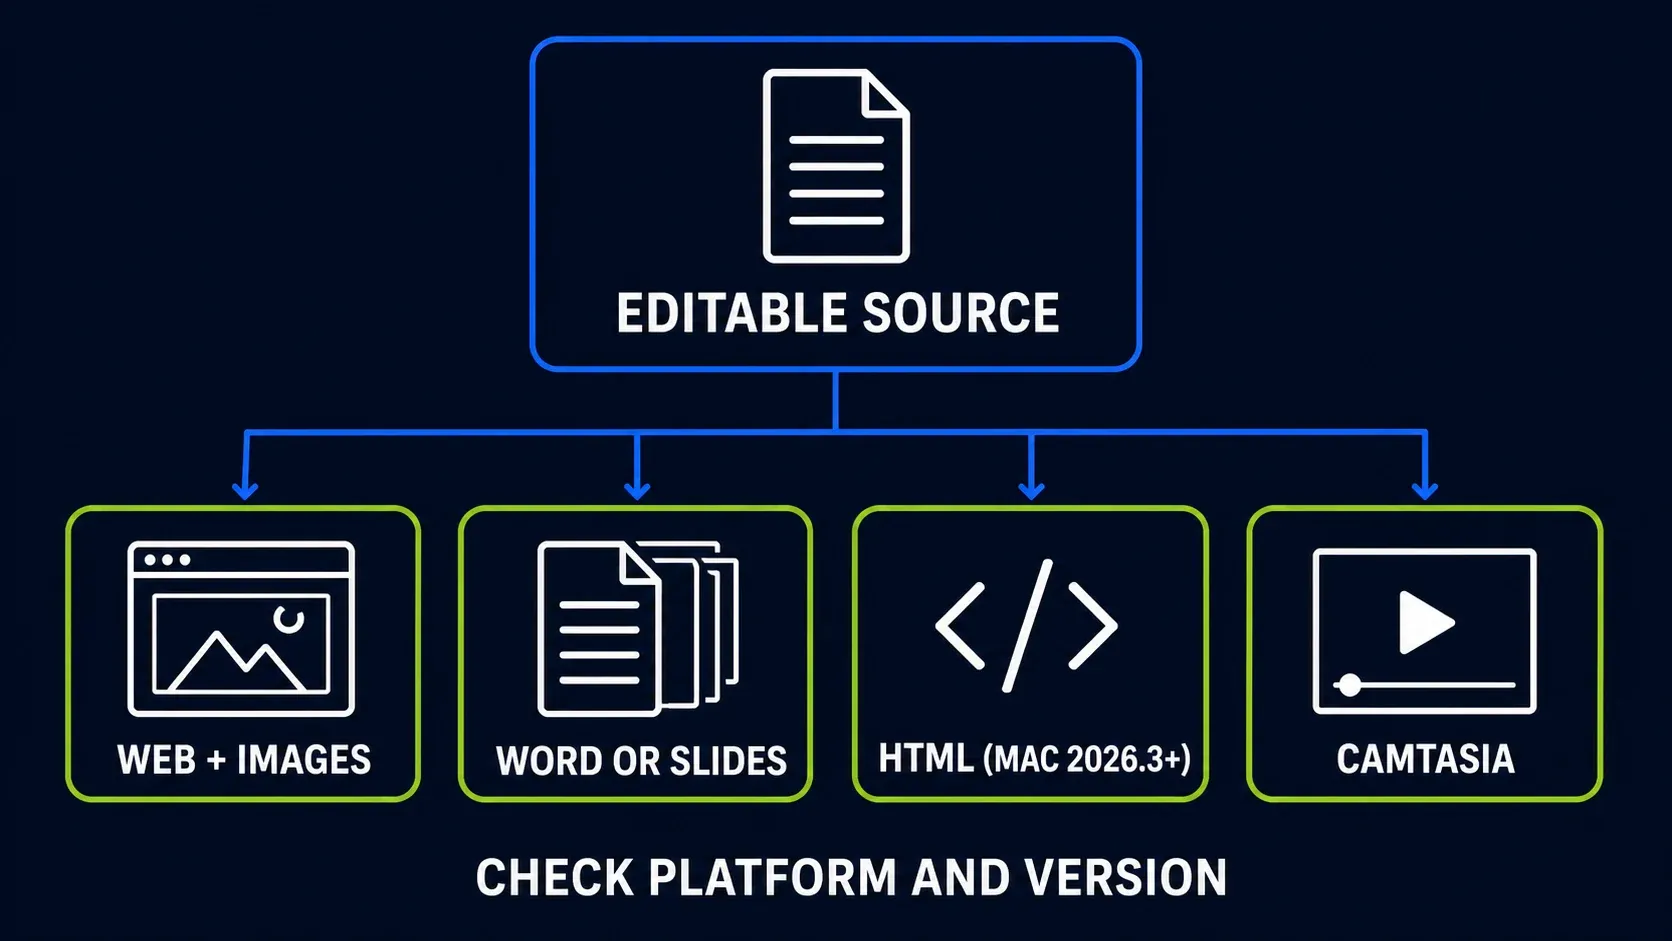
| Output | Documented minimum | Route or delivery detail |
|---|---|---|
| Word: separate images and editable text | Windows 2025.3; Mac 2025.1 | Share to Word. Earlier sharing could produce one flat image. |
| Pages: editable text and separate images | Mac 2025.2 | Choose Pages as the destination. |
| PowerPoint: editable step slides | Windows 2026.1; Mac 2026.0 | Includes a title slide and a slide per image. |
| Keynote: editable step slides | Mac 2026.0 | Mac presentation destination. |
| Markdown | Mac 2025.3 | File > Export > Markdown; keep the document and image files together. |
| Individual step images | Mac 2026.1 | File > Export > Step Capture images. Share to File gained a separate-images option in 2026.3. |
| HTML | Mac 2026.3 | File > Export > HTML; keep the HTML file with its images. |
| Camtasia handoff | Snagit 2026.3 on Windows and Mac | Camtasia Online or Camtasia Editor 2026.2.0 and newer. |
The Windows 2026 history and Mac 2026 history document the newer destinations; the 2025 histories linked above establish Word, Pages and Markdown support. The checked Windows notes do not document the same HTML or Markdown export routes as Mac. Verify the options in your build before promising either format to a recipient.
A Camtasia handoff creates a video-editing workflow from the steps. It is different from recording a live screen video in Snagit. Review narration, timing and the final exported video in the destination. Moving still images into a video editor does not recreate motion that was never recorded.
When Step Capture or its export is not working
The Steps option is missing
Check the installed version and open Capture, not just Editor. Step Capture was introduced in 2025; the older Step tool is a different feature. Check Presets and the Image selection options. Do not use an ordinary image preset and expect it to produce an automatic guide.
Word contains one long image
Open the original Step Capture source rather than a flattened PNG. Check the version against the table, then use the Word share destination instead of copying the entire canvas as an image. Inspect the result in Word: you should be able to edit the text separately. The version change added structured, editable output; it was not the first way to put a Snagit image into Word.
An action or final result is missing
Add an explicit instruction and a separate capture of the missing state. Windows 2025.3.1 fixed cases where Step Capture missed cursor actions, but an update cannot guarantee that every typed value or transient screen will be self-explanatory. Compare the guide with the actual procedure before sharing.
The output option is missing or images disappear
Check the platform, minimum version and exact export route in the table. Keep Markdown or HTML exports with their accompanying images; moving only the document can break image references. For a revised layout, keep the editable source and use the Snagit templates workflow rather than rebuilding a guide from a flattened export.
Test the published guide like a new user
Give the exported guide to an authorised reader who did not watch the recording. Ask them to follow it from a reset demo state without verbal help. Record where they hesitate or get a different result, then correct that step.
- Start from the documented prerequisite state.
- Follow the instructions in order without verbal help.
- Record the first unclear action, missing value, wrong label, or unexpected result.
- Check every link, download, permission request, and success message.
- Repeat on the supported platform or interface variant that your audience uses.
- Correct the source, export again, and retest the affected path.
For a web guide, check desktop and phone widths. Confirm that the images load, labels remain readable and wide tables can scroll. Follow the links using the permissions intended for the audience. These checks do not require sharing private files or making a private guide public.
Plan for the next interface change
Store the editable source, final exports, owner, product version, and last verification date together, and name the documented start and success states in the file or project notes. The next reviewer shouldn't have to depend on your memory.
Review the guide when the documented app changes a relevant label, layout, permission or result. Edit the affected source, export a fresh delivery copy and retest the surrounding steps. Keep the original publication date separate from the date you last verified the procedure.
For a formal procedure with an owner, prerequisites and approval requirements, use the broader SOP with screenshots workflow. Step Capture supplies the visual sequence; it does not decide your organisation’s rules or who is allowed to perform the task.
Snagit Step Capture FAQ
What is Snagit Step Capture?
Snagit Step Capture takes screenshots as you click through a task and builds an editable numbered guide. It was introduced in Snagit 2025 on Windows and Mac. TechSmith’s current feature page calls it Step Recorder, while release notes use Step Capture.
How do I start Step Capture in Snagit?
In the Capture window, choose Presets > Step Capture and start the capture. Some interfaces show Steps under the Image selection options. Follow the task, finish from the capture toolbar and review the guide in Editor. On Windows, Escape cancels rather than finishes Step Capture.
Does Step Capture record typing and keyboard shortcuts?
Do not assume that the generated guide fully explains typing, shortcuts, waits, uploads or hover states. Compare each transition with the real task and add explicit instructions or a separate capture wherever the action or result is missing.
What is the difference between Step Capture and the Step tool?
Step Capture takes screenshots during a sequence of actions and builds a guide. The Step tool manually adds numbered markers to an image already open in Snagit Editor. It does not record a multi-screen workflow.
Can I export a Snagit Step Capture to PowerPoint or Word?
Yes. Word output with separate images and editable text requires Windows 2025.3 or Mac 2025.1. Editable PowerPoint step slides require Windows 2026.1 or Mac 2026.0; Mac 2026.0 also supports Keynote. Older Word sharing could send one flat image instead.
Can I export a Step Capture as HTML?
Mac 2026.3 added File > Export > HTML, producing an HTML file and accompanying images. Keep those files together. Mac 2025.3 also supports Markdown export. The checked Windows release notes do not document the same routes; check your installed build before relying on them.
Can Step Capture create a video?
Snagit 2026.3 can send Step Capture content to Camtasia Online or Camtasia Editor 2026.2.0 and newer for video creation and editing. This is different from recording live screen motion. Review the source for private information and check the final video in the destination.
This procedure belongs to the Snagit guides hub. The existing illustrations explain planning, cleanup and output choices; they are conceptual guides, not evidence of every current interface control.