
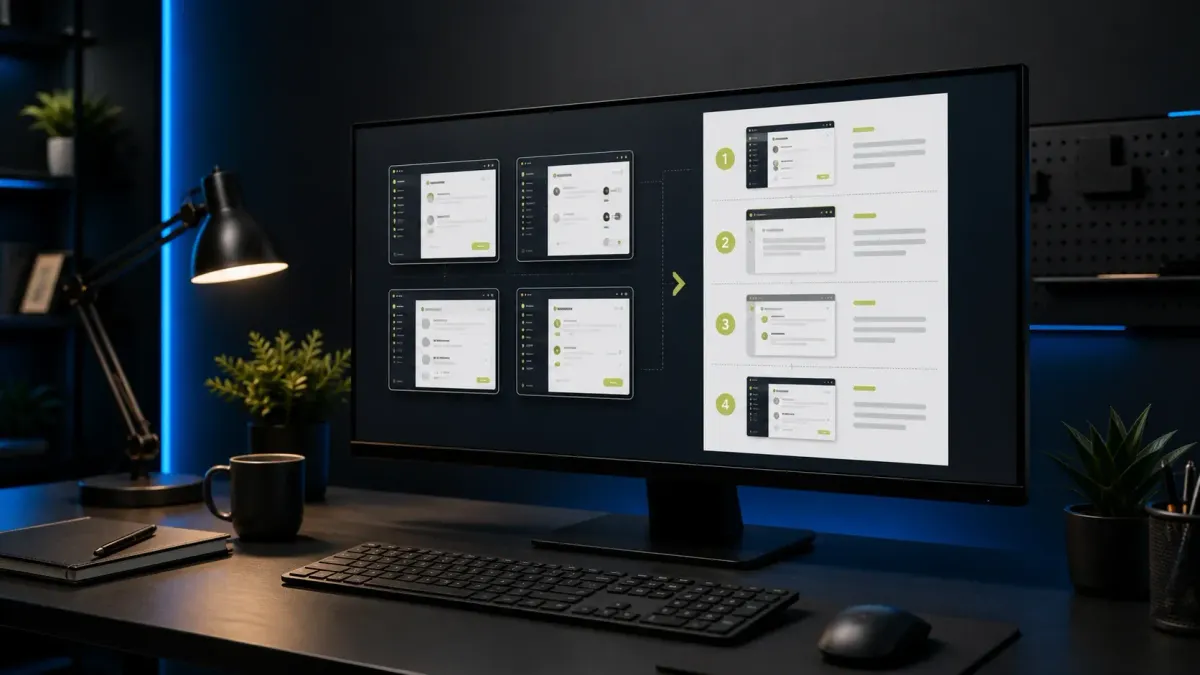
To build a visual guide in Snagit, select the screenshots in the Recent Captures tray or Library, right-click, and choose Combine in Template. Pick a layout, put the images in reading order, replace every placeholder, and save an editable SNAGX master before exporting a delivery copy. Use Apply Template for one selected image or Create > Image from Template when you want to start with a blank layout.
Choose the right Snagit guide workflow
| Your task | Best starting point | Reason |
|---|---|---|
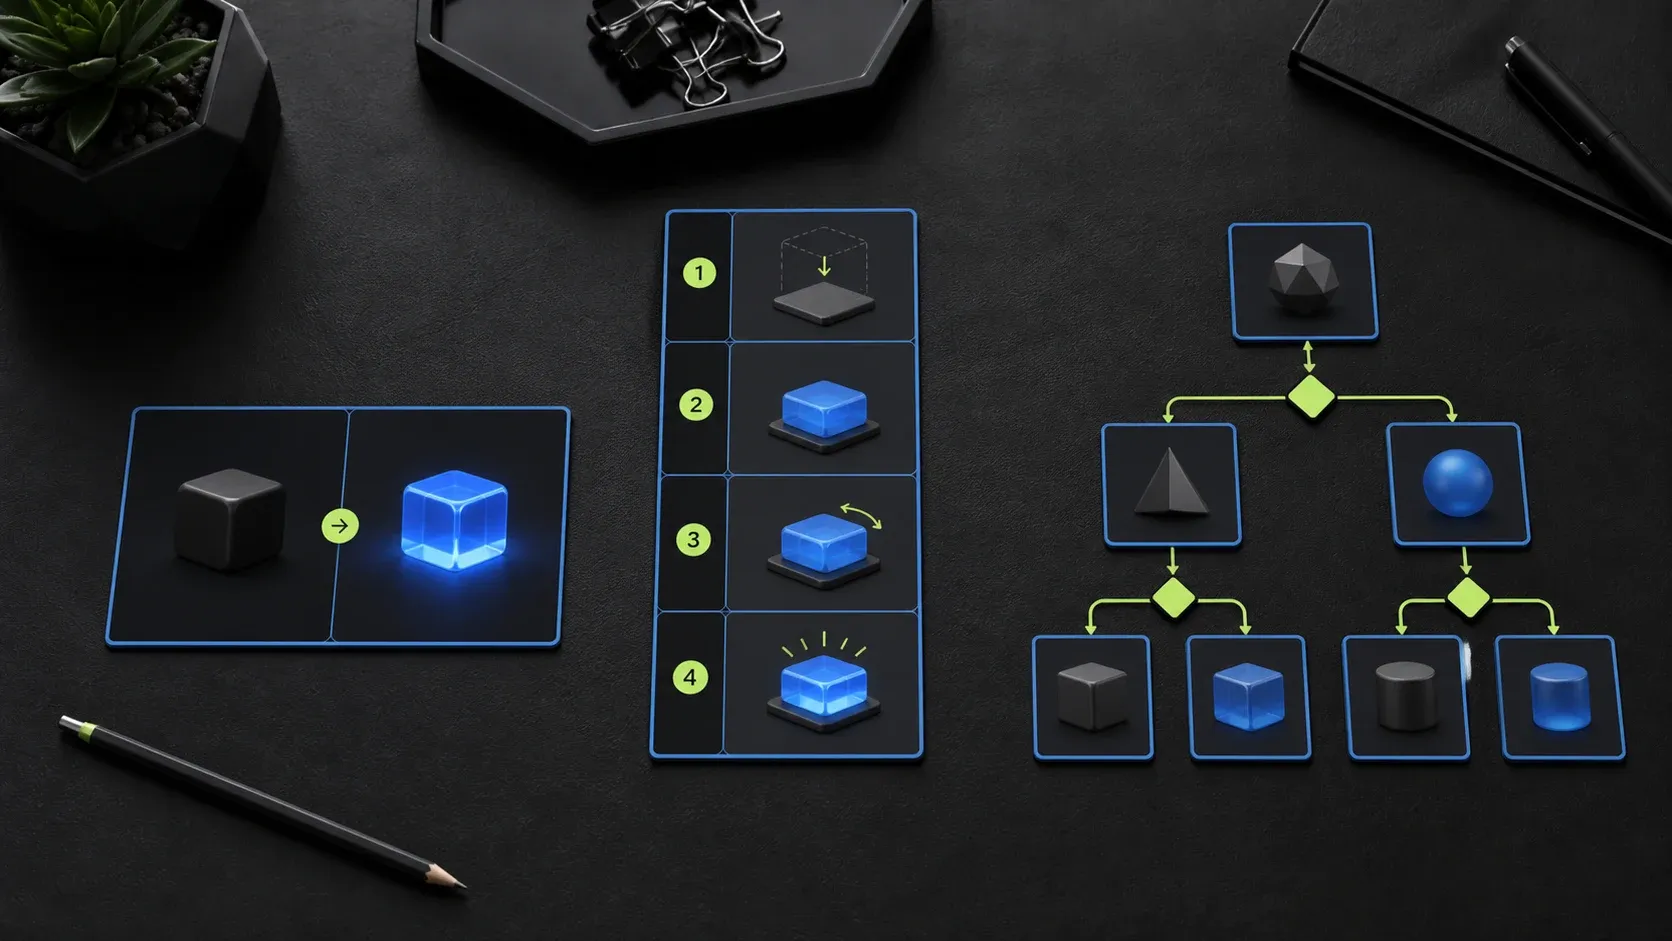
| Before and after | Template | One compact two-state comparison |
| Two to six curated steps | Template | You choose and clean every source |
| Click-heavy linear process | Step Capture | Snagit records a sequence from clicks |
| Branching or exception-heavy process | Separate screenshots and HTML | The reader must see decisions, not one fixed order |
| Frequently updated help page | Short template or separate images | One changed screen is faster to replace |
Templates arrange images you already chose. My Snagit Step Capture guide covers that separate tool, and TechSmith's current Step Capture tutorial documents the click-driven sequence and its PowerPoint, Keynote, HTML, separate-image, and Camtasia sharing paths. Those outputs don't turn an ordinary template into a slide deck.
A template earns its spot when the relationship is obvious: two states, a short timeline, or a compact linear procedure. If the reader has to choose a branch, wait for a background job, switch applications, or recover from an error, keep the screenshots separate. One long composite hides those decisions — and becomes a pain to update.
Create a visual guide in seven steps
Choose Templates, Step Capture, or separate screenshots
Use a template for a comparison or a short sequence you curate. Use Step Capture for a click-driven process. Keep branching or long procedures in separate HTML steps and images.
Prepare every source at full size
Use consistent window size, display scale, crop, theme, and safe demo data. Remove private details and keep editable source captures.
Start from the correct entry route
Use Combine in Template for several selected captures, Apply Template for one selected image, or Create > Image from Template for a blank layout.
Set the template behavior
Choose Fit or Fill, filter for the selected image count, set the platform-specific author label, and confirm the number of image areas.
Arrange and write for the reader
Put captures in action order, replace every placeholder, add concise captions, and use one consistent theme and annotation system.
Save the editable master
Save the maintained layout as SNAGX. Reopen it and confirm that images, captions, and annotations remain editable.
Export and test the delivery copy
Export for the real destination, reopen the file at its displayed size, and confirm reading order, privacy, legibility, contrast, alt text, and equivalent HTML instructions.
Prepare the source screenshots before combining them
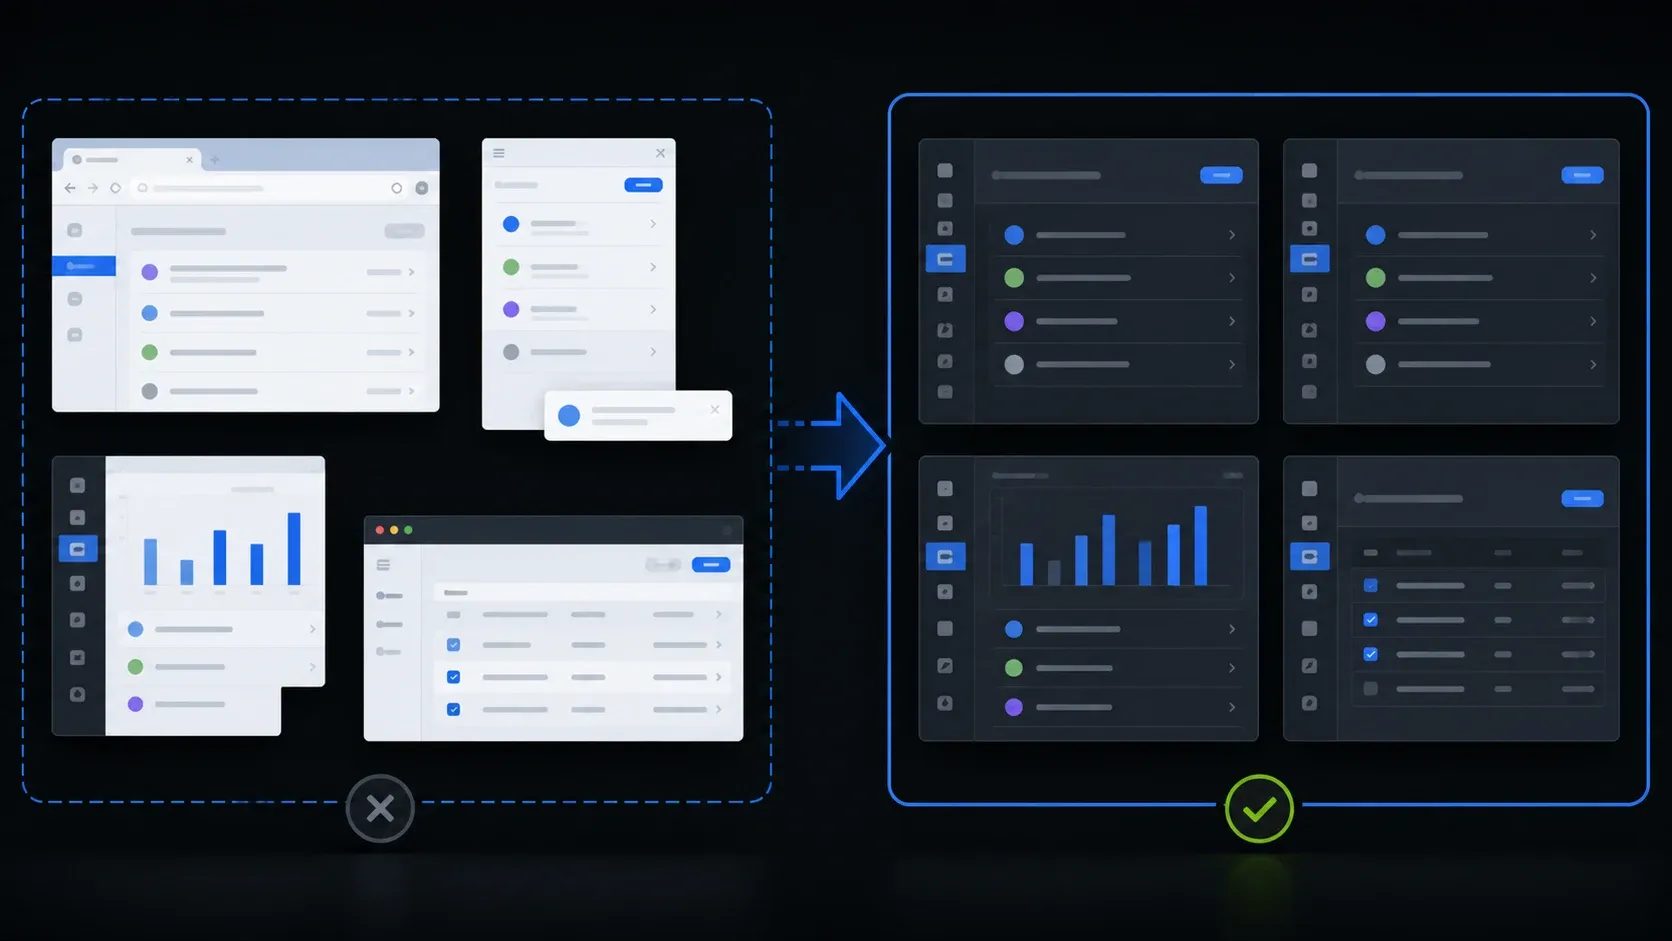
A template shrinks every source, which makes inconsistent crops, tiny controls, and overlooked private details harder to spot. Clean each screenshot at full size before it goes into the layout.
- Capture the same application theme, display scale, and window size for repeated screens.
- Crop repeated screens to the same boundary so the interface does not jump between steps.
- Remove notifications, unrelated tabs, account names, ticket numbers, and live customer data.
- Use the Snagit redaction workflow when a value must be removed, then inspect the exported copy.
- Keep cursor visibility consistent unless the pointer itself explains the action.
- Name or tag sources in their intended order, not the order in which you captured them.
- Keep editable SNAGX sources for screens that are likely to change.
If one source is a full webpage, validate it before combining. The scrolling screenshot guide covers repeated headers, missing sections, and browser-native alternatives — fix those faults while the capture is still full size.
Start from selected captures or a blank template
Combine several selected images
- In the Recent Captures tray or Library, Control-click on Windows or Command-click on Mac to select the sources.
- Right-click one selected image and choose Combine in Template.
- Enable the filter that matches templates to the number of selected images when you want a direct fit.
- Choose a layout and open Settings before continuing.
- Arrange the thumbnails in the reader's action order, then add the title and captions.
- Choose a theme, font, text color, canvas background, and optional Number Images treatment.
- Click Combine and review the result on the Editor canvas.
These steps follow TechSmith's current Image from Template tutorial. If a layout has more image areas than the sources you selected, you'll get empty areas — you can drag more captures or local images into them later. Just don't add filler to occupy every placeholder.
Apply a template to one image
Select one source in the tray or Library, right-click, and choose Apply Template. This route is handy for a branded title card, one annotated reference screen, or a reusable frame — but it's not the multi-image combine command.
Start with an empty layout
Select Create > Image from Template, choose a layout, open Settings, and click Create. The empty template opens on the canvas. Drag captures or local image files into its image areas, then replace the title and captions.
The current keyboard shortcuts are Ctrl+Alt+T on Windows or Option+Shift+T on Mac for Create Image from Template. Apply Template or Combine in Template uses Ctrl+Alt+C on Windows or Option+Shift+C on Mac. TechSmith lists these pairs in its current Snagit hotkey guide.
Choose Fit or Fill before placing every image
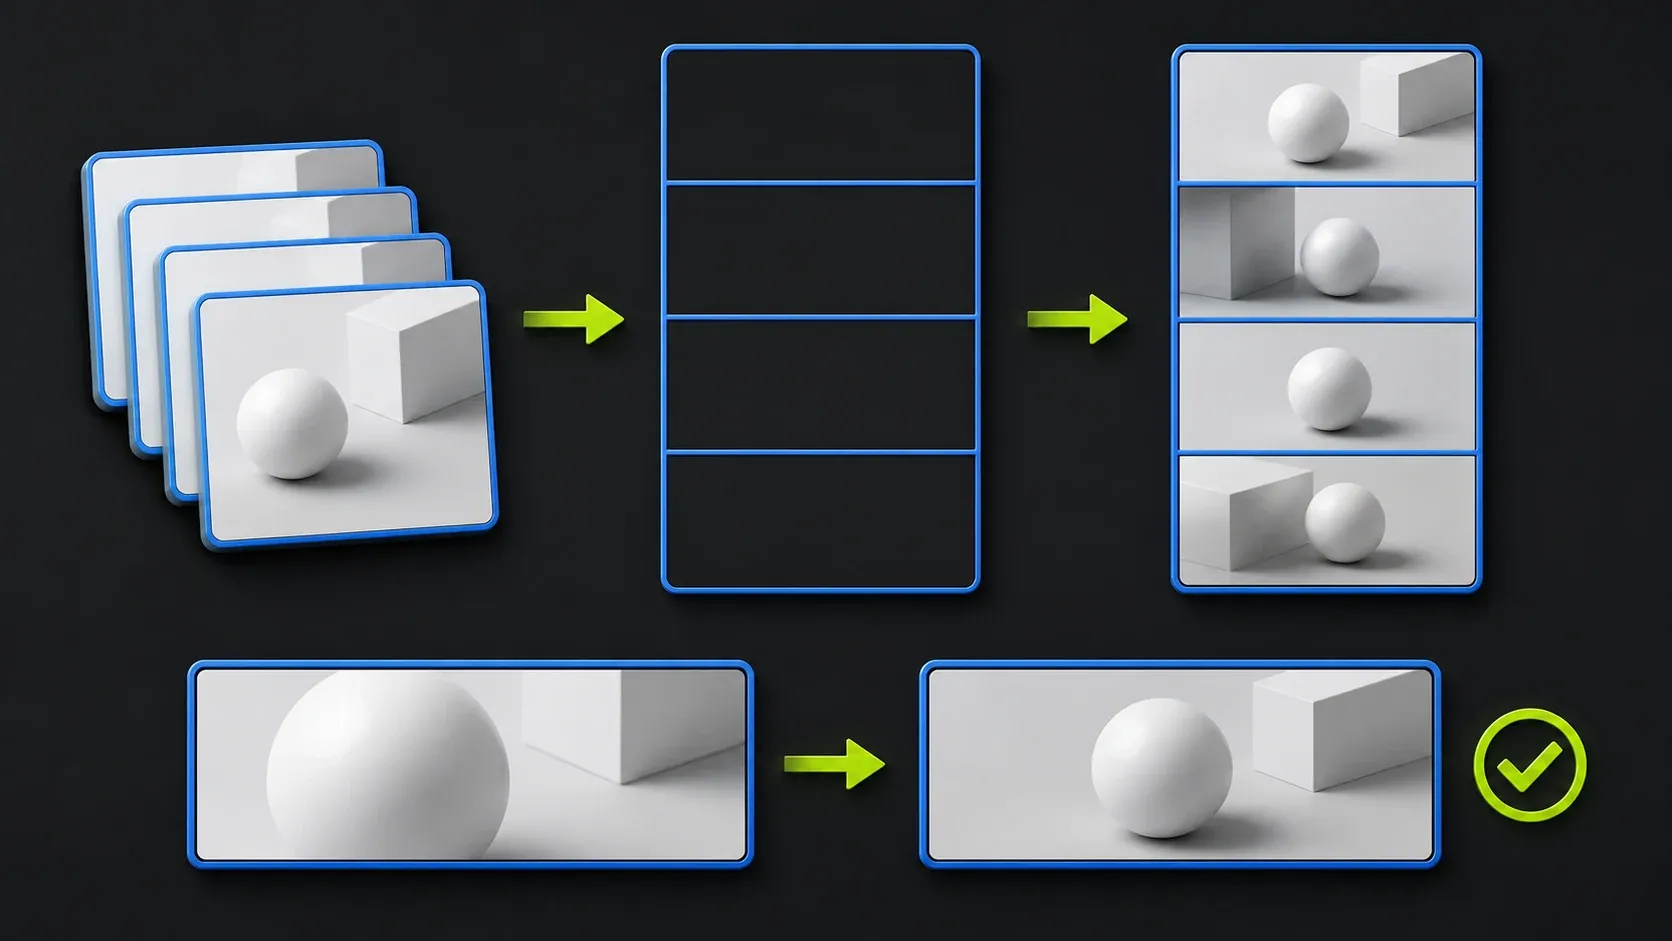
Open Template Settings before you commit to the layout. The image-scale choice controls what happens inside every image area:
- Fill entire drop zone scales the image until the area is full. A larger source can lose content at the edges. A smaller source may be enlarged.
- Fit entire image preserves the complete source inside the area. The template may show empty space around it.
Use Fit when a button, dialog edge, warning, or page boundary has to stay visible, and Fill only when the edge crop is harmless. After placing a source, double-click it and reposition it inside the image area if you need to. If the important control still doesn't fit, recrop the source or choose a different layout.
The same Settings dialog controls the footer name — TechSmith calls it Footer Author Name on Windows and Created By on Mac. Use a role or team name when a group maintains the guide, and never expose a personal computer name in a public template.
Write captions that let the reader act
A caption needs an action or outcome. Write "Select Include cursor" instead of "Settings." Use the exact control label from the current interface. Add the result when it is not obvious: "Choose PNG so small interface text stays sharp."
Keep the template order identical to the surrounding article. If the composite says step 3 but the HTML instructions call it step 4, one of them is wrong. Put warnings beside the action that creates the risk, not in a detached note after the image.
One cue for one action. A single arrow, outline, or numbered marker is easier to scan than an arrow, box, highlight, and callout stacked over the same control. The screenshot annotation guide covers when each annotation type earns its place.
A two-state comparison should mirror the crop and label the states clearly. A short procedure usually reads down the page. A grid works for alternatives the reader can inspect in any order — but a grid alone doesn't communicate sequence.
Edit a layout and reuse it as a SNAGX master
TechSmith's Edit a Template tutorial documents how to add, resize, or delete sections, move image areas and text boxes, swap an image with its caption, and apply theme colors. On Mac, use the edit control in the upper-right of an image area or text box before changing it.
The reuse boundary matters here. Save the edited file with File > Save As > SNAGX. TechSmith describes that file as something you can use in place of a template later — it does not say the SNAGX becomes a new installed template asset. Keep the master in a maintained project folder and open a copy when you start the next guide.
Keep the guide owner, product version, and verification date outside the pixels — in the CMS or documentation repository. A practical master name might be billing-export-guide_v3.snagx; the delivery file can follow the destination's naming convention.
Back up the editable master with your other maintained sources. The Snagit Library backup guide separates Library migration from ordinary file export and shows how to verify a backup before you retire the old machine.
Download more Snagit templates without mixing the platform paths
TechSmith's current Assets tutorial labels assets as Starter or Premium. Starter assets are free for Snagit users; Premium assets need an annual Assets subscription.
- Windows: click Assets in Editor, sign in on the TechSmith Assets website, choose a template, click Send to Snagit, and approve Open Snagit. The template then appears in the Create Image from Template dialog.
- Mac: click Assets in Editor, browse or search the Templates category, download the asset, then click Open. Snagit opens the Create Image from Template dialog with that template.
TechSmith's Assets support page, updated June 11, 2026, says the paid collection includes more than 100 million premium royalty-free assets with unlimited downloads and is included with Snagit Pro and Snagit Create. Treat that as a dated entitlement claim, though. Your teammate may have Starter assets only, a different subscription, or an organization-managed catalog — share the editable guide and document the exact asset dependency.
Deliver a guide that stays readable and maintainable
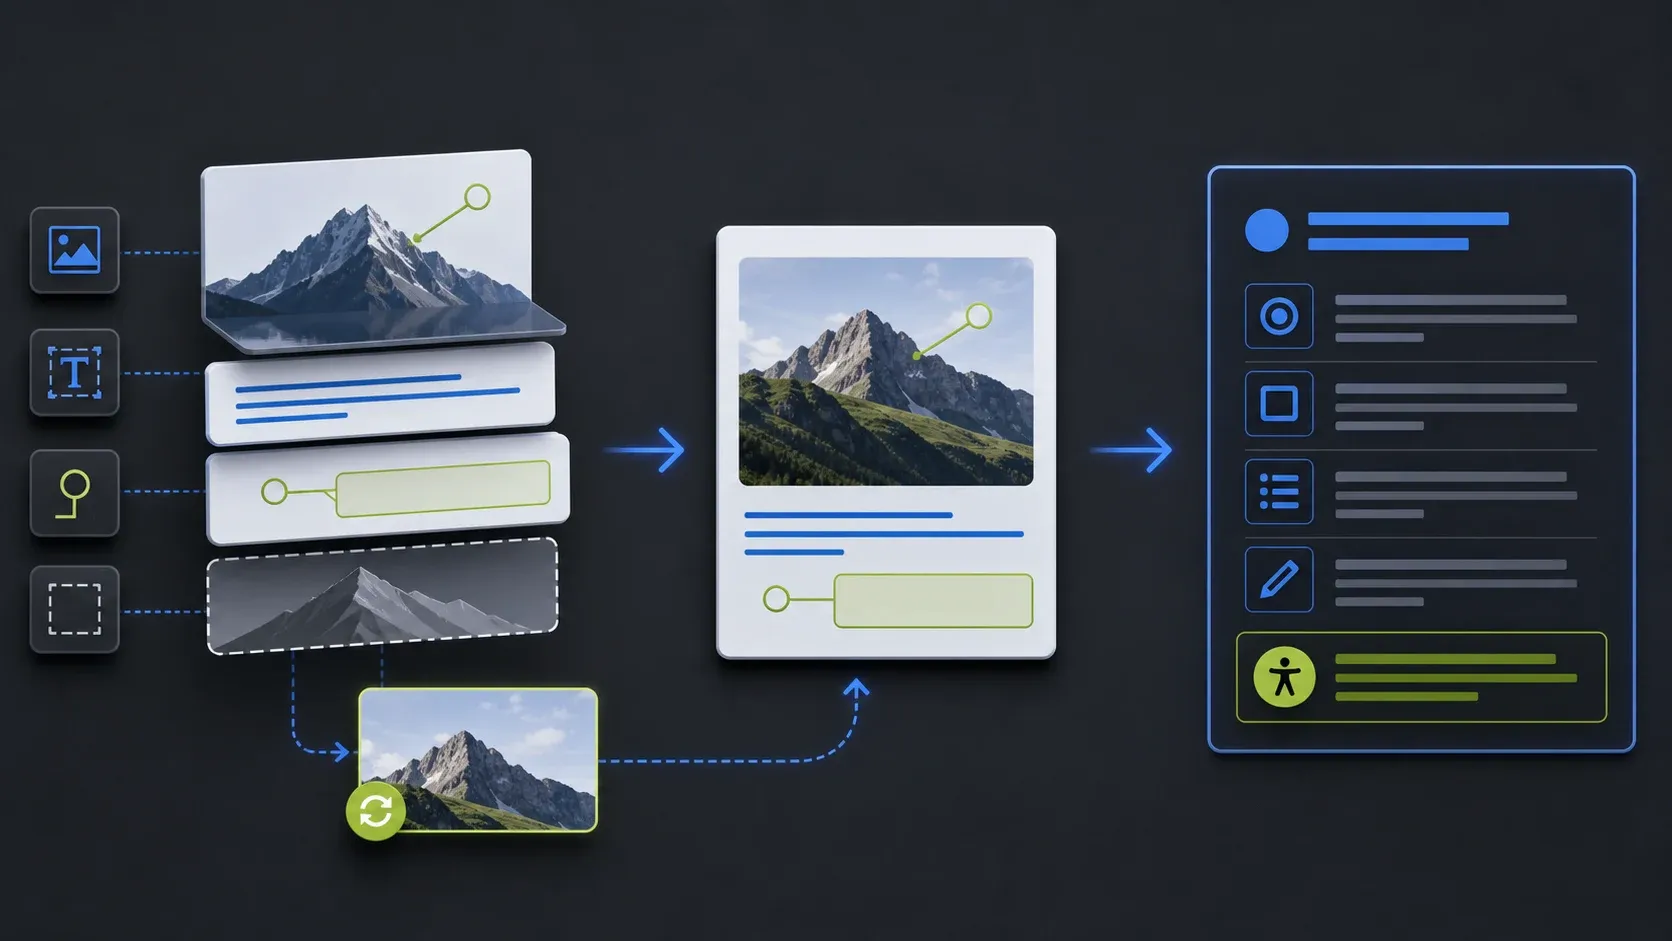
Keep two files with two different jobs. The SNAGX master preserves the objects and replacement work; the delivery copy is the flattened file the website, ticket, email, or handout actually uses. Reopen both before approval.
- Open the SNAGX and confirm that sources, captions, and annotations can still be selected.
- Open the exported delivery copy at the width where readers will see it.
- Check every panel for crop loss, blurry interface text, weak contrast, and stale demo data.
- Confirm that numbers and reading order match the HTML procedure.
- Run an accessibility check. Write alt text that summarizes the sequence and outcome instead of transcribing every pixel.
- Keep critical controls, warnings, and decisions in real HTML text outside the image.
- Test the final page on mobile. Split the composite when readers must zoom to identify a control.
The Snagit export settings guide owns the detailed PNG, JPEG, PDF, transparency, size, and DPI decisions. One warning: changing DPI metadata can't rescue interface text that was already made too small inside the template.
Fix common Snagit template problems
A screenshot is cropped
Change the scale from Fill to Fit, reposition the source, recrop it, or choose a roomier layout. Confirm the named control at the final display size.
The template has empty image areas
Count the selected sources against the visible areas. Drag another capture or local image into an empty area, or delete the unneeded section. Do not duplicate a screen to make the layout look complete.
Recent edits do not appear
Confirm that you selected the edited capture, not an older duplicate. Then install the current maintenance update. The Windows 2026 release history records a fix for images added to a template not reflecting recent edits.
Resizing a section adds unwanted space on Mac
Update Snagit before rebuilding the layout. The Mac 2026 release history records a fix for extra space added when template sections were resized.
The guide is blurry or unreadable
Open the delivery copy at actual size. Replace an undersized source, reduce the panel count, or split the procedure. A sharper export cannot restore detail that the layout compressed away.
The visual order changes after swapping sections
Review captions, numbers, arrows, and surrounding HTML after every swap. A moved image can remain technically editable while the documented procedure becomes wrong.
Snagit templates FAQ
How do I combine screenshots in a Snagit template?
Select the captures in the Recent Captures tray or Library, right-click, choose Combine in Template, select a layout, arrange the images, replace the captions, and click Combine.
What is the difference between Apply Template and Combine in Template?
Apply Template starts with one selected image. Combine in Template starts with multiple selected images. Both open a template workflow, but the source count and initial placement differ.
Should I use Fit entire image or Fill entire drop zone?
Use Fit when the complete screenshot must remain visible. It may leave empty space. Use Fill when edge cropping is acceptable and the image should occupy the whole area. Always inspect the important control after placement.
Can I create a reusable custom Snagit template?
You can modify a layout and save the result as a SNAGX file to reuse later. TechSmith documents this as using an editable SNAGX in place of a template, not installing a new template asset.
Can I add images after choosing the template?
Yes. If a layout has more image areas than the selected captures, the extra areas remain empty. Drag more captures or local image files into those areas.
Where can I download more Snagit templates?
TechSmith offers Starter and Premium template assets. Windows sends assets from the TechSmith Assets website into Snagit. Mac can browse and download templates from the Assets tab in Editor.
How many images can a Snagit template hold?
TechSmith does not advertise a fixed combine-image limit, but the selected layout, canvas size, readability, and performance create practical limits. Split the guide before interface text becomes hard to read.
Are Snagit template images accessible?
A composite image is not a replacement for structured page text. Keep critical steps in HTML, use useful alt text and a contextual caption, and split panels when the final display size makes controls unreadable.